
Sansevieria, also known as snake plant, mother-in-law’s tongue, or viper’s bowstring hemp, has gained immense popularity among plant enthusiasts and casual gardeners alike. With its striking appearance, easy-care nature, and air-purifying properties, it’s no wonder that many people want to multiply their Sansevieria plants. This guide will delve into the various methods for propagating Sansevieria, providing step-by-step instructions, tips, and insights to help you grow your green family effortlessly.
Understanding Sansevieria
Before diving into the propagation process, let’s take a moment to appreciate the unique characteristics of Sansevieria. This resilient plant is native to Africa and has adapted to survive in a variety of environments. Its long, sword-like leaves, which can be variegated or solid green, grow upright and can reach impressive heights. Sansevieria is also known for its low light tolerance and drought resistance, making it an ideal choice for beginners and seasoned plant parents alike.
One of the best features of Sansevieria is its air-purifying capabilities. NASA’s Clean Air Study highlighted that Sansevieria can effectively remove toxins such as formaldehyde and benzene from the air, contributing to a healthier indoor environment.
Why Propagate Sansevieria?
- Cost-Effective: Propagation allows you to expand your plant collection without spending money on new plants.
- Gifts for Friends: Sharing your Sansevieria cuttings with friends and family is a thoughtful gift idea.
- Enhancing Your Space: More plants can improve the aesthetic appeal of your home, adding greenery and character.
- Rescue and Recovery: If your plant becomes overgrown or unhealthy, propagation can help you rejuvenate the plant and eliminate any disease issues.
Methods of Propagating Sansevieria
There are several effective methods to propagate Sansevieria, each with its advantages. Here, we will cover the most popular techniques: leaf cuttings, division, and offsets.
1. Leaf Cuttings
Step 1: Gather Your Materials
Before starting, gather the necessary materials:
- A healthy Sansevieria plant
- Clean, sharp knife or scissors
- Well-draining potting mix
- Pots with drainage holes
- Water
Step 2: Select a Healthy Leaf
Choose a robust, mature leaf from your Sansevieria. Look for a leaf that is free from blemishes or pests.
Step 3: Cut the Leaf
Using your knife or scissors, cut the leaf into sections that are about 4-6 inches long. Ensure that each section has a bottom end (the part closest to the root) and a top end (the tip of the leaf). This distinction is crucial for successful rooting.
Step 4: Let Them Callous
Allow the cut ends of the leaf sections to dry for 1-2 days. This process helps to form a callus, reducing the risk of rot when planted.
Step 5: Plant the Cuttings
Fill your pots with well-draining potting mix. Insert the cut ends of the leaf sections into the soil, ensuring they are upright. You can plant several cuttings in one pot, leaving some space between them.
Step 6: Water Sparingly
After planting, water the soil lightly. It’s essential not to overwater at this stage, as the cuttings need to establish roots before receiving more water.
Step 7: Provide the Right Environment
Place the pots in a warm area with indirect sunlight. Avoid direct sunlight, as this can scorch the cuttings. A temperature range of 70°F to 85°F is ideal for rooting.
Step 8: Monitor Growth
In about 4-6 weeks, you should see new growth emerging from the soil, indicating that the cuttings have rooted successfully.
2. Division
Step 1: Prepare the Parent Plant
To propagate by division, you’ll need to choose a mature Sansevieria with multiple stems. Remove the plant from its pot and gently shake off the soil.
Step 2: Separate the Clumps
Carefully separate the clumps of leaves by hand, ensuring that each division has a healthy root system. Use a clean knife if necessary to cut through any stubborn roots.
Step 3: Pot the Divisions
Place each division in its own pot filled with well-draining potting mix. Make sure the roots are well-covered and the leaves are upright.
Step 4: Water and Care for New Plants
Water the divisions lightly and place them in a warm location with indirect light. Monitor their growth, and in a few weeks, they will establish themselves.
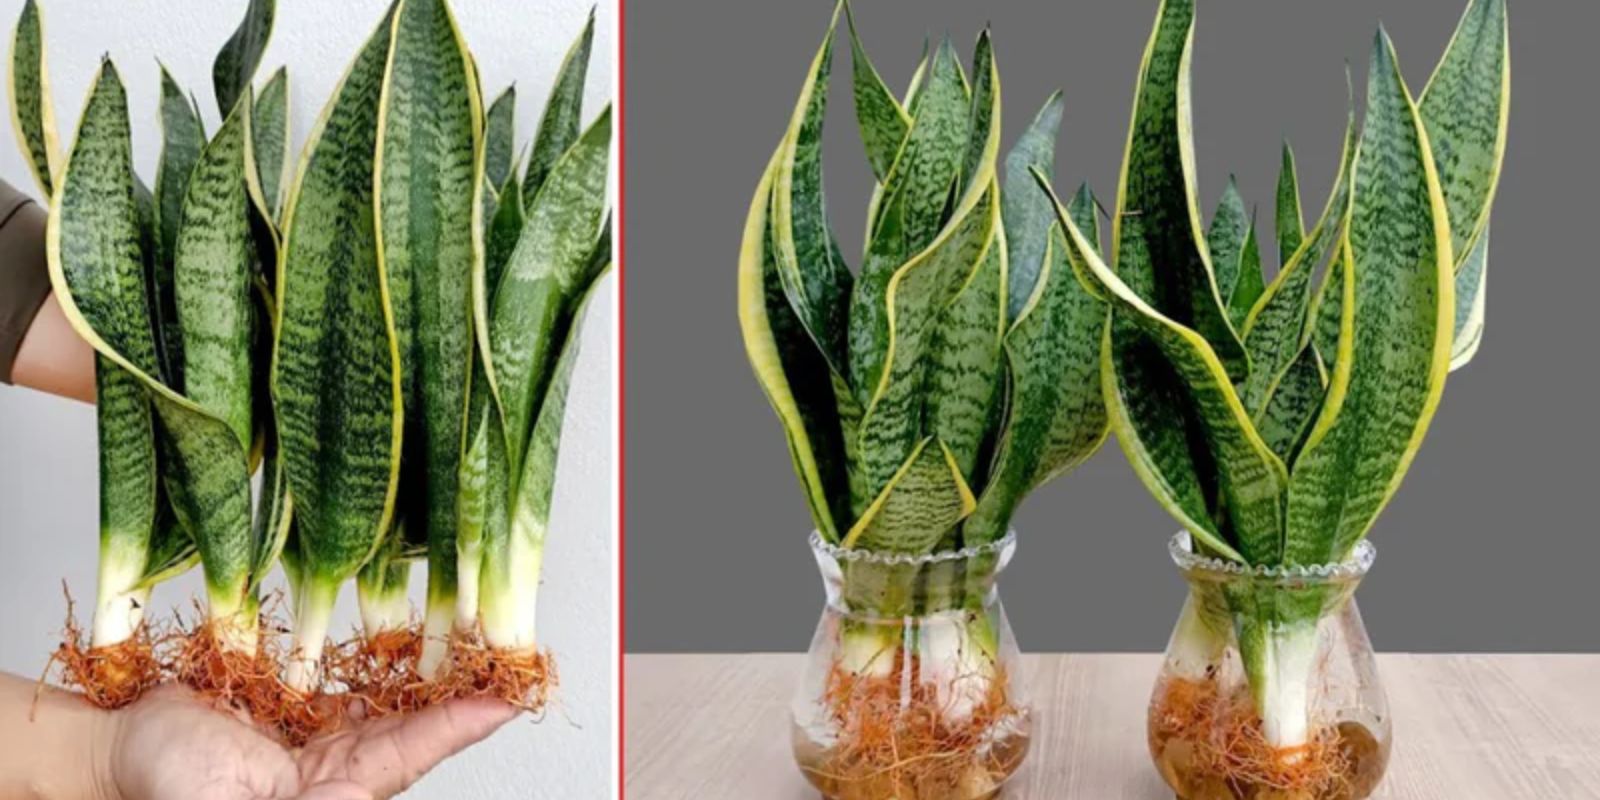
3. Offsets
Sansevieria plants often produce offsets, or “pups,” which are small plants that grow at the base of the parent plant. This method of propagation is simple and effective.
Step 1: Identify the Offsets
Look for small plants growing at the base of the main Sansevieria. These offsets should have their own roots.
Step 2: Remove the Offsets
Gently pull the offset away from the parent plant. Use a clean knife to cut it away if necessary.
Step 3: Pot the Offsets
Place the offsets in pots with well-draining potting mix. Water lightly to settle the soil around the roots.
Step 4: Provide Proper Care
Like other propagation methods, place the pots in a warm, bright location with indirect sunlight. Water sparingly until the offsets establish themselves.
Caring for Your New Sansevieria Plants
Once your Sansevieria cuttings, divisions, or offsets have rooted, it’s important to provide them with the right care to ensure healthy growth.
Light Requirements
Sansevieria thrives in indirect light but can tolerate low light conditions. However, for optimal growth, provide them with bright, indirect sunlight. Avoid direct sunlight, as it can scorch the leaves.
Watering
One of the most common mistakes in Sansevieria care is overwatering. Allow the top 1-2 inches of soil to dry out between waterings. During the winter months, reduce watering frequency, as the plant enters a dormant phase.
Fertilizing
Fertilize your Sansevieria during the growing season (spring and summer) with a balanced, water-soluble fertilizer diluted to half strength. Fertilization is not necessary during the dormant winter months.
Temperature and Humidity
Sansevieria is quite adaptable, thriving in a temperature range of 60°F to 85°F. It can tolerate dry indoor air but benefits from moderate humidity levels.
Pruning and Maintenance
Occasionally check for dead or damaged leaves and prune them as needed. This helps maintain the plant’s overall health and appearance.
Troubleshooting Common Issues
Even though Sansevieria is a hardy plant, it can encounter some issues. Here are some common problems and their solutions:
1. Yellowing Leaves
Yellowing leaves can indicate overwatering. Ensure that the pot has adequate drainage and that you are not watering too frequently.
2. Root Rot
Root rot often occurs due to overwatering. If you notice mushy or darkened roots, remove the plant from the pot, trim away the affected roots, and repot in fresh soil.
3. Pests
Sansevieria is relatively pest-resistant, but issues can arise from mealybugs or spider mites. Wipe the leaves with a damp cloth and use insecticidal soap if necessary.
Conclusion
Multiplying your Sansevieria is a rewarding and enjoyable process that allows you to expand your plant collection while enhancing your indoor space. Whether you choose to propagate through leaf cuttings, division, or offsets, each method is straightforward and yields excellent results.
With proper care and attention, your newly propagated Sansevieria plants will thrive and flourish for years to come. So gather your tools, get ready to propagate, and watch your green family grow!