
Growing your own wheat can be a rewarding and sustainable practice, providing you with a source of fresh grain that can be used for various culinary purposes. Whether you have a large backyard or a small balcony, this guide will walk you through the steps necessary to successfully cultivate wheat at home. We’ll cover everything from choosing the right variety to harvesting and storing your grains. Let’s dig in!
Why Grow Wheat?
Wheat is one of the most widely grown crops in the world, serving as a staple food for billions. Growing wheat at home can provide several benefits:
- Freshness: Homegrown wheat is fresher than store-bought options, retaining more nutrients and flavor.
- Sustainability: By growing your own wheat, you contribute to a more sustainable food system, reducing your carbon footprint.
- Self-Sufficiency: Cultivating wheat allows you to take control of your food sources and experiment with different recipes.
- Educational Experience: Growing wheat can be a fun and educational experience, teaching you about agriculture, sustainability, and the food production process.
Choosing the Right Wheat Variety
Before you begin, it’s essential to choose the right variety of wheat. There are several types of wheat, each suited for different climates and purposes. Here are the most common varieties you might consider:
- Hard Red Winter Wheat: High in protein, this variety is ideal for bread-making and thrives in areas with cold winters.
- Soft White Wheat: This type is low in protein and is perfect for pastries and cakes. It grows best in mild climates.
- Hard Red Spring Wheat: Similar to hard red winter wheat, this variety has a high protein content and is typically planted in spring.
- Durum Wheat: Known for its hardness, durum wheat is primarily used for pasta and requires a warm climate to thrive.
Choose a variety based on your climate, intended use, and local growing conditions. Check with local agricultural extension offices or seed suppliers for recommendations tailored to your area.
Preparing the Soil
Proper soil preparation is crucial for successful wheat cultivation. Follow these steps to ensure your soil is ready for planting:
- Select a Site: Choose a location with full sun exposure and well-drained soil. Wheat prefers sandy loam or loamy soils.
- Test the Soil: Conduct a soil test to determine pH levels and nutrient content. Wheat grows best in slightly acidic to neutral soils (pH 6.0 to 7.0). You can purchase soil testing kits from garden centers or send samples to local agricultural extension offices.
- Amend the Soil: Based on the soil test results, amend your soil with organic matter like compost, well-rotted manure, or peat moss. This will improve soil structure, fertility, and drainage.
- Tilling: Loosen the soil to a depth of at least 6 inches. You can use a garden fork or tiller for this purpose. Break up any large clumps and remove rocks or debris.
- Leveling: Rake the soil to create a smooth, level seedbed. This helps ensure even planting and consistent moisture distribution.
Sowing the Seeds
Now that your soil is prepared, it’s time to sow your wheat seeds. Here’s how:
- Timing: Plant wheat at the right time, depending on your variety. Winter wheat is typically sown in the fall, while spring wheat is sown in early spring. Check your local growing season to determine the best planting time.
- Planting Depth: Sow seeds about 1-2 inches deep. This depth helps protect them from pests and ensures adequate moisture.
- Spacing: Space seeds 6-8 inches apart in rows. If you’re planting in a small area, consider broadcasting the seeds (scattering them evenly over the soil) and then lightly raking them in.
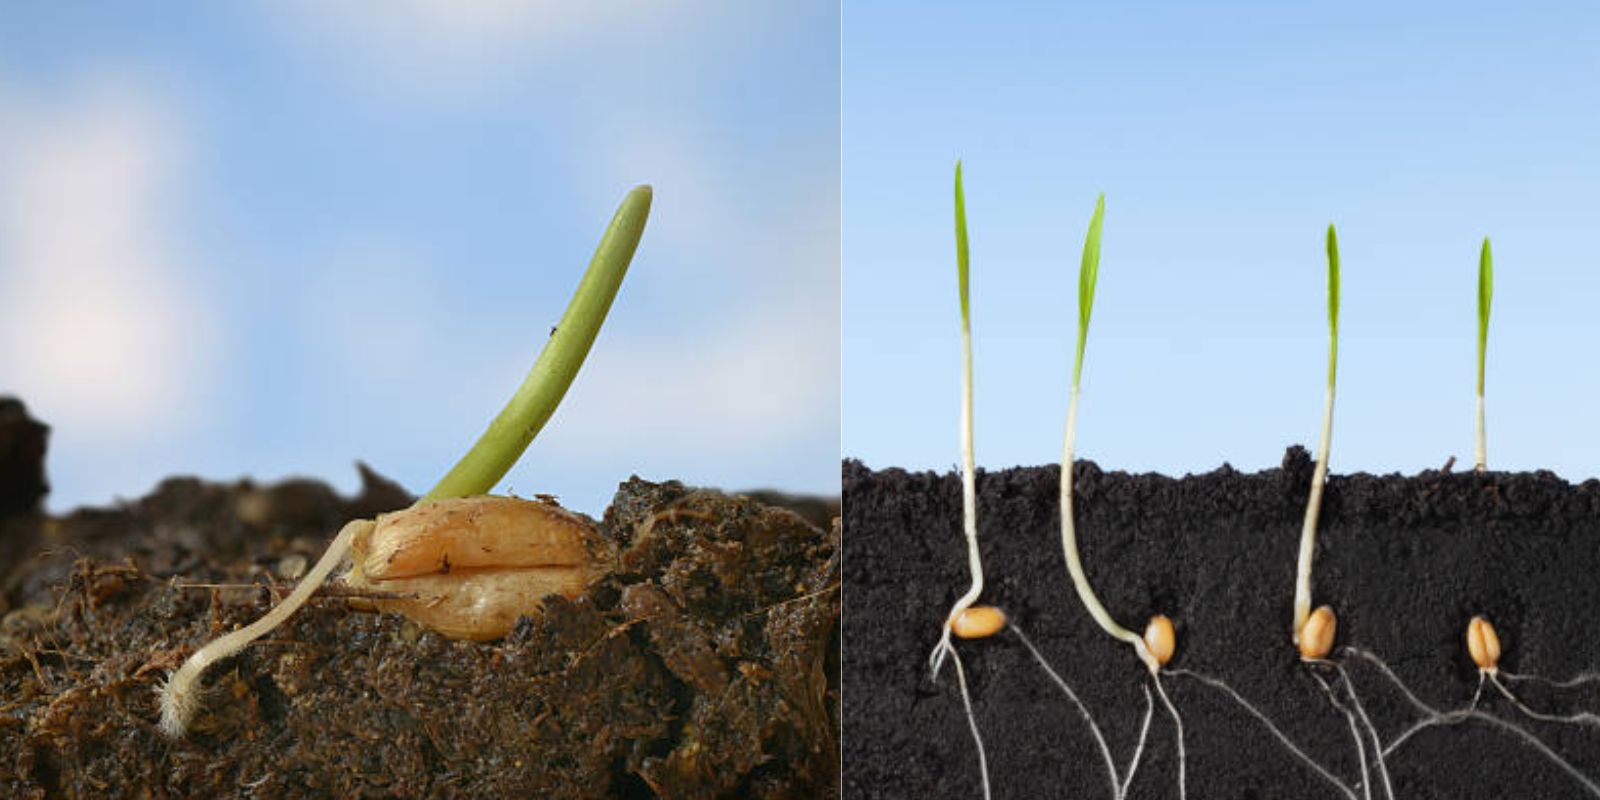
- Watering: Water the newly sown seeds gently to avoid displacing them. Ensure the soil remains consistently moist until the seeds germinate, which usually takes 7-14 days.
Watering and Irrigation
Wheat requires adequate moisture to grow, especially during the germination and early growth stages. Here are some tips for watering:
- Consistent Moisture: Keep the soil consistently moist but not waterlogged. Wheat needs about 1-2 inches of water per week, depending on weather conditions.
- Irrigation Systems: If you live in a dry area, consider installing a drip irrigation system or soaker hoses to provide consistent moisture without over-saturating the soil.
- Monitoring Soil Moisture: Check the soil moisture regularly by digging a small hole or using a moisture meter. Water when the top inch of soil feels dry.
Weeding and Pest Control
Weeds and pests can compete with your wheat for nutrients and water, so it’s essential to manage them effectively.
- Weed Control: Regularly check for weeds and remove them by hand or with a hoe. Mulching around your wheat plants can help suppress weed growth and retain soil moisture.
- Pest Management: Keep an eye out for common pests like aphids and armyworms. Use organic pest control methods such as neem oil or insecticidal soap to treat infestations. Encourage beneficial insects like ladybugs to help control pest populations.
Fertilizing Your Wheat
To ensure optimal growth, fertilize your wheat based on soil test results. Here’s a general guideline:
- Nitrogen Needs: Wheat is a nitrogen-loving plant. Apply a balanced fertilizer with a higher nitrogen ratio (like 10-20-10) at planting time and again during the early growth stage.
- Timing: Fertilize in early spring when the wheat is actively growing. Follow the instructions on the fertilizer packaging for application rates.
- Organic Options: If you prefer organic fertilizers, consider using compost, fish emulsion, or blood meal to provide essential nutrients.
Harvesting Wheat
Once your wheat has matured, it’s time to harvest. This usually occurs 90-120 days after planting, depending on the variety. Here’s how to harvest:
- Signs of Maturity: Wheat is ready to harvest when the heads turn golden brown, and the grains feel hard to the touch. The stalks should also be dry.
- Cutting the Wheat: Use a sickle, scythe, or garden shears to cut the wheat stalks about 6 inches above the ground. Be careful not to damage the surrounding plants.
- Drying the Harvest: After cutting, tie the wheat stalks into small bundles and hang them upside down in a dry, well-ventilated area to allow them to dry for a few days.
- Threshing: Once the wheat is thoroughly dried, thresh the grains by hand or with a mechanical thresher. This process separates the grains from the chaff.
Storing Your Wheat
Proper storage is essential to keep your harvested wheat fresh and free from pests. Follow these guidelines for storing your grains:
- Cool, Dry Place: Store your wheat in a cool, dry location to prevent moisture and mold growth.
- Airtight Containers: Use airtight containers, such as glass jars or plastic bins, to keep your wheat protected from pests.
- Labeling: Label your containers with the type of wheat and the date of harvest to keep track of your inventory.
- Use Within a Year: For the best quality, try to use your stored wheat within a year of harvest.
Conclusion
Growing your own wheat grain can be a fulfilling and sustainable endeavor, allowing you to take control of your food sources while enjoying the benefits of fresh grains. By following the steps outlined in this guide—from choosing the right variety to harvesting and storing your wheat—you’ll be well on your way to a successful wheat-growing experience. So grab your gardening tools, get started, and enjoy the journey of cultivating this essential crop in your own backyard!
Ready to grow your own wheat? Share your gardening journey and inspire others with #HomegrownWheat #SustainableGardening #GrowYourOwnFood #BackyardFarming!