
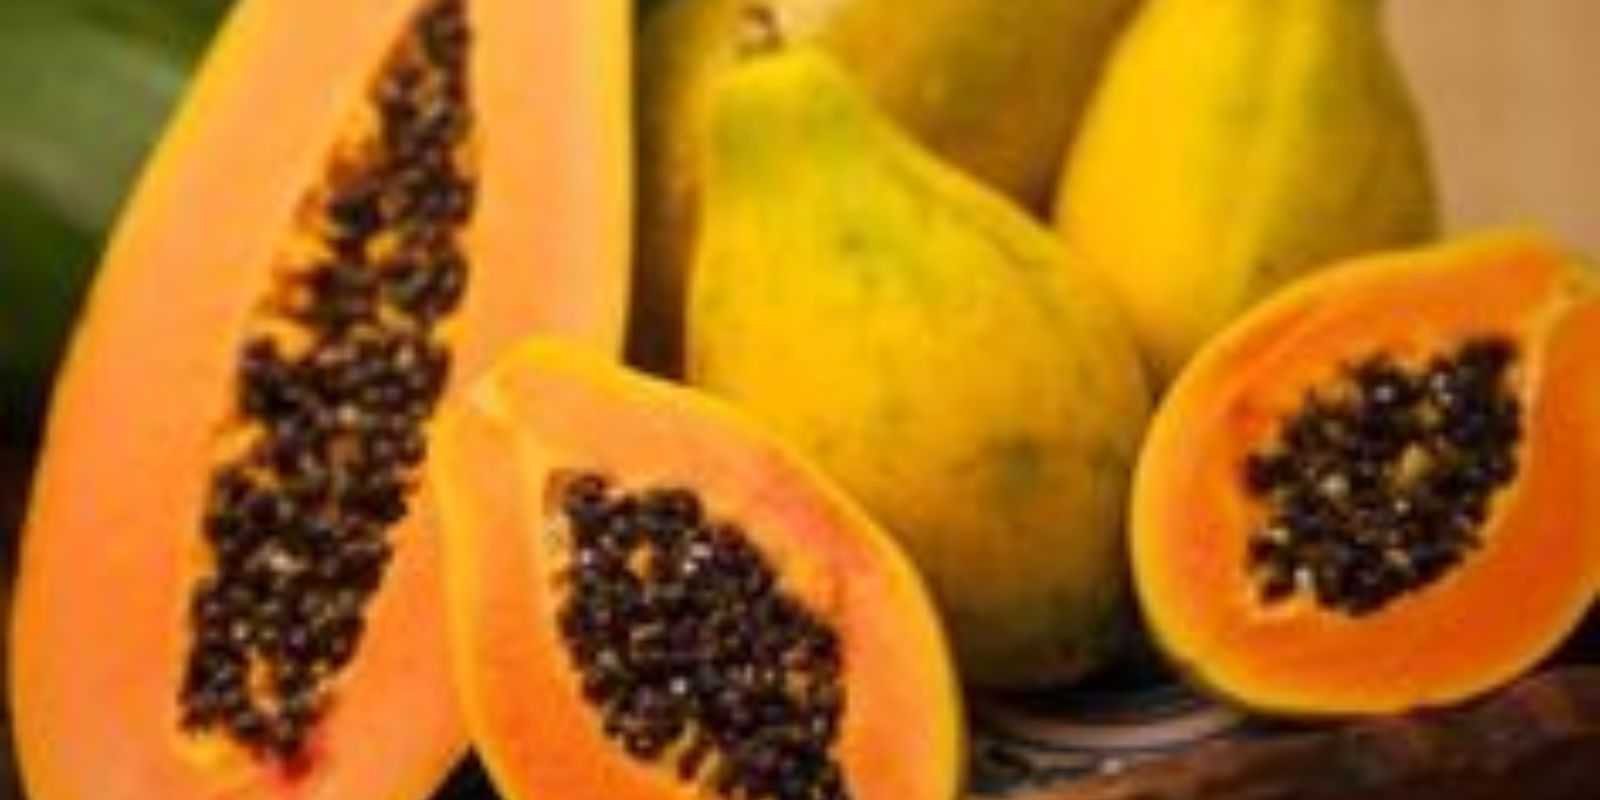
Papayas are tropical fruits known for their sweet, juicy flesh and impressive health benefits. Growing papayas at home can be a rewarding experience, especially when you don’t have access to a traditional garden space. By cultivating papayas in pots, you can enjoy fresh, home-grown fruit right from your balcony or terrace. This article will guide you through the steps needed to successfully grow papayas in pots and ensure a bountiful harvest.
Introduction to Growing Papayas in Pots
Papayas (Carica papaya) are native to tropical regions of Central and South America and are well-suited to warm climates. They thrive in well-draining soil and plenty of sunlight, making them ideal candidates for container gardening. Growing papayas in pots not only makes it possible to cultivate these fruits in limited spaces but also provides greater control over environmental conditions, leading to potentially better fruit production.
Benefits of Growing Papayas in Pots
There are several advantages to growing papayas in pots:
- Space Efficiency: Ideal for small outdoor spaces, such as balconies or terraces, where ground planting is not possible.
- Mobility: Pots allow you to move the plants to optimize light exposure or protect them from harsh weather conditions.
- Controlled Environment: Easier to manage soil conditions, watering, and fertilization compared to ground planting.
Materials Needed
Before you start, gather the following materials:
- Pot: A deep container with good drainage holes. The pot should be at least 18 inches in diameter and depth.
- Potting Soil: A well-draining mix, such as a combination of potting soil, compost, and perlite.
- Papaya Seeds: Healthy seeds from a reputable source.
- Watering Can: For regular watering.
- Fertilizer: A balanced, water-soluble fertilizer or one formulated for tropical plants.
- Mulch (Optional): To help retain soil moisture and regulate temperature.
Step-by-Step Guide to Growing Papayas in Pots
1. Choosing the Right Pot
Selecting the right pot is crucial for successful papaya cultivation:
- Size: Choose a pot that is at least 18 inches in diameter and depth. Papayas have deep roots, so a pot with ample depth is necessary for proper growth.
- Drainage: Ensure the pot has good drainage holes to prevent waterlogging, which can lead to root rot. If your pot doesn’t have drainage holes, drill some before planting.
2. Preparing the Soil
Papayas require well-draining soil to thrive:
- Soil Mix: Use a potting mix that incorporates compost and perlite or sand. This mix promotes good drainage and provides essential nutrients.
- pH Level: Papayas prefer a slightly acidic to neutral soil pH (6.0 to 7.0). Test the soil pH and amend as needed.
3. Planting the Seeds
Planting papaya seeds correctly is essential for healthy growth:
- Seed Preparation: Start by soaking the papaya seeds in water for about 24 hours to help with germination. This step is optional but can improve seedling success.
- Sowing: Plant the seeds about 1 inch deep in the soil. Space the seeds about 6 inches apart if planting multiple seeds in one pot. Cover lightly with soil and water gently.
4. Providing Optimal Light
Papayas need plenty of sunlight to grow and produce fruit:
- Sunlight: Place the pot in a location that receives at least 6 hours of direct sunlight each day. Papayas thrive in full sun, which promotes robust growth and fruit production.
- Indoor Growing: If growing indoors, use a south-facing window or supplement with grow lights to ensure the plant receives enough light.
5. Watering and Fertilizing
Proper watering and fertilizing are key to a successful harvest:
- Watering: Keep the soil consistently moist but not waterlogged. Water the plant when the top inch of soil feels dry. Avoid letting the soil dry out completely.
- Fertilizing: Feed the papaya plant every 4-6 weeks with a balanced, water-soluble fertilizer or one designed for tropical plants. Follow the manufacturer’s instructions for the correct dosage.
6. Maintaining the Plant
Regular maintenance helps ensure a healthy, productive plant:
- Pruning: Prune any dead or damaged leaves to promote better air circulation and reduce the risk of disease. If the plant becomes too tall or leggy, trim back to encourage bushier growth.
- Mulching: Apply a layer of mulch around the base of the plant to help retain soil moisture and regulate temperature. This is especially useful in hot or fluctuating temperatures.
7. Dealing with Common Issues
Papayas can face a few challenges, but with proper care, you can manage them effectively:
- Pests: Keep an eye out for common pests such as aphids, spider mites, and whiteflies. Treat infestations with insecticidal soap or neem oil as needed.
- Diseases: Watch for signs of fungal diseases like powdery mildew or root rot. Ensure proper drainage and avoid overhead watering to reduce the risk of disease.
Harvesting Papayas
Once your papaya plant is mature, you’ll want to harvest the fruit at the right time:
- Fruit Maturity: Papayas are ready to harvest when they turn from green to yellow or orange. The fruit should be firm but slightly soft to the touch.
- Harvesting: Gently cut the fruit from the plant using a sharp knife. Be careful not to damage the plant or other fruits.
Conclusion
Growing papayas in pots is an excellent way to enjoy these delicious tropical fruits, even if you have limited space. By choosing the right pot, preparing well-draining soil, providing ample sunlight, and following proper watering and fertilizing practices, you can achieve a bountiful harvest of fresh, home-grown papayas.
Motivation: Embrace the joy of cultivating tropical fruits at home and savor the delicious taste of your home-grown papayas! 🌴
Whether you’re a seasoned gardener or new to container gardening, growing papayas in pots offers a rewarding and fruitful experience. With a little care and attention, you can bring the exotic flavor of papayas right into your home.