
Introduction
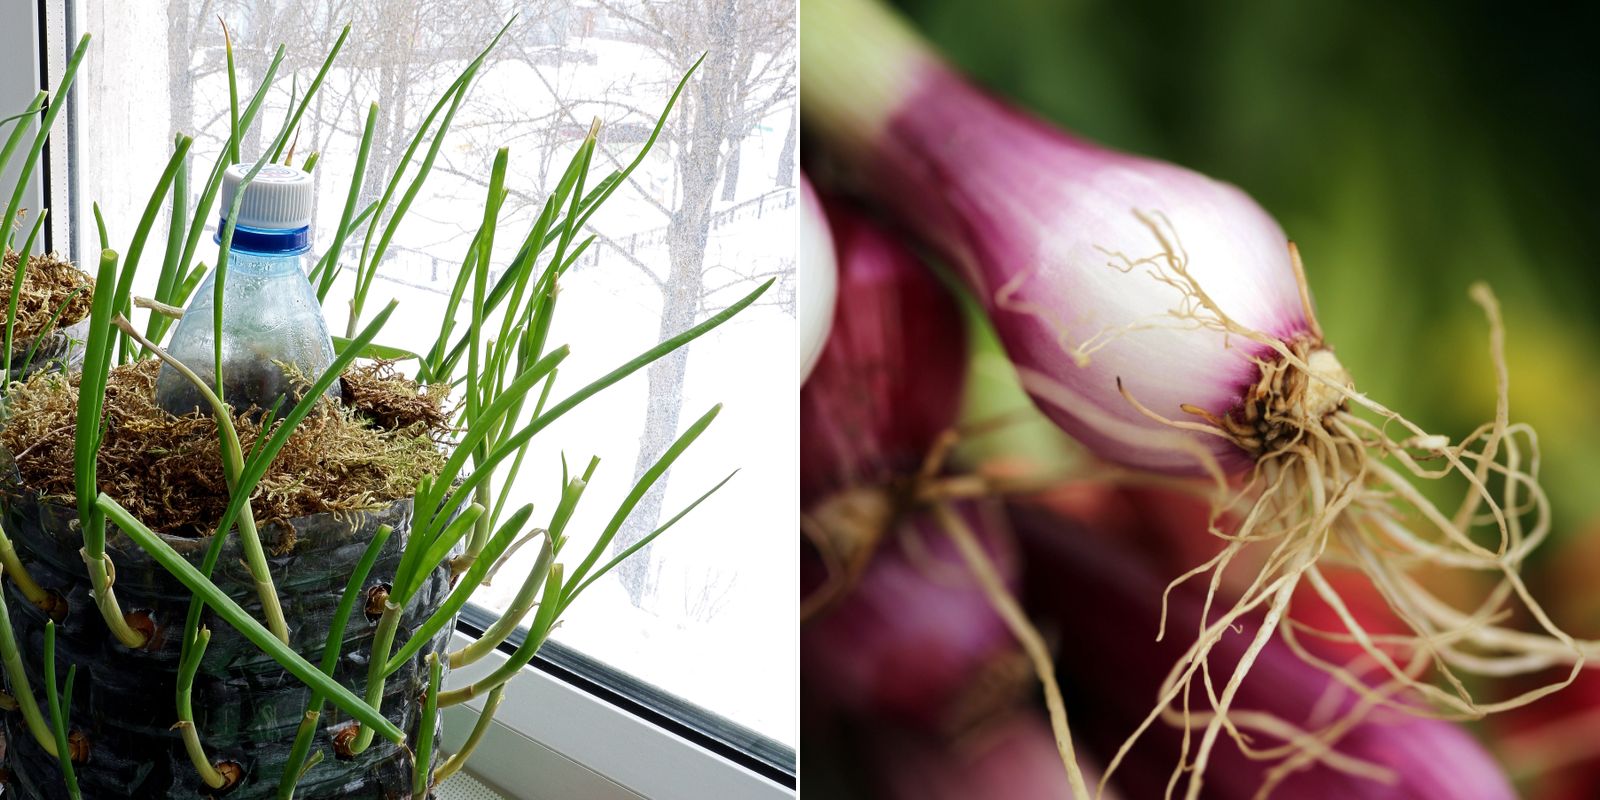
Gardening at home has become a passion for many, but not everyone has the luxury of a sprawling backyard or space for a large garden. If you’re an urban gardener or someone with limited space, there’s no need to miss out on growing your own fresh produce. One of the easiest crops to grow at home is onions, and surprisingly, you don’t need much space. A 5-liter plastic bottle is all it takes to create your very own mini onion farm!
This step-by-step guide will walk you through the process of growing onions in 5-liter plastic bottles. It’s an excellent eco-friendly method to recycle plastic and simultaneously grow fresh, organic onions right in the comfort of your home. Whether you’re a seasoned gardener or a complete beginner, this technique is both fun and incredibly effective.
Why Onions?
Onions are a staple in kitchens around the world. They are versatile, nutritious, and add flavor to countless dishes. But what makes onions a great crop for home gardening?
- Easy to Grow: Onions are relatively low-maintenance and can thrive in small spaces.
- Fast Results: You can see visible growth in a short amount of time, making it rewarding.
- Low Space Requirement: Using a 5L plastic bottle minimizes the need for traditional gardening space.
- Sustainable: Growing your own onions ensures you have fresh, organic produce while reducing plastic waste by repurposing bottles.
How to Grow Onions in 5L Plastic Bottles
Follow these simple steps to set up your onion-growing project at home.
Step 1: Gather Your Materials
You’ll need the following items:
- A clean 5-liter plastic bottle
- Onion sets or small onion bulbs
- Nutrient-rich potting soil
- Scissors or a sharp knife to cut the bottle
- A watering can or spray bottle
- A sunny spot where your onions can grow
The best part is that these materials are affordable, and you can often use what you already have around the house, making this a cost-effective and sustainable gardening method.
Step 2: Prepare the Plastic Bottle
First, take your clean 5-liter plastic bottle and carefully cut off the top. You can either discard the top or keep it to cover the onions in case of extreme weather or pests. Additionally, make small drainage holes at the bottom of the bottle to prevent water from pooling inside, which could lead to root rot.
Next, using a pair of scissors or a knife, cut small holes on the sides of the bottle. These holes will serve as spots where you can plant the onion bulbs, giving them enough room to grow. Ensure that the holes are evenly spaced for optimal growth.
Step 3: Fill the Bottle with Soil
Once your bottle is ready, fill it with nutrient-rich potting soil. Onion plants thrive in well-draining soil, so if you’re using heavy soil, consider mixing it with some sand or perlite to improve drainage. Fill the bottle, leaving a few inches of space from the top.
As you fill the bottle, make sure the soil is firm but not too compact. Looser soil will allow the onion roots to spread more easily, promoting healthier growth.
Step 4: Plant the Onion Sets
Now it’s time to plant the onion sets. Gently place one onion bulb into each of the holes you’ve created in the bottle, with the tip of the bulb pointing outwards. Onions grow best when they have a little bit of space, so try not to overcrowd the holes.
Once you’ve planted the onions in the side holes, you can also plant a few more on the top of the soil inside the bottle. Simply press the bulbs into the soil, leaving just the tips exposed.
Step 5: Watering and Care
Watering is a crucial part of the growing process. Onions like their soil moist but not soggy. Overwatering can lead to root rot, so it’s important to find the right balance. A watering can or a spray bottle works well for providing gentle, even moisture.
Aim to water the onions every few days or whenever the top layer of soil feels dry. Keep an eye on the drainage holes to make sure excess water escapes easily.
Step 6: Provide Ample Sunlight
Onions need plenty of sunlight to grow strong and healthy. Place your onion-filled bottle in a sunny location, such as a windowsill, balcony, or any spot that gets at least 6 hours of sunlight per day.
If you live in an area with limited sunlight, consider moving the bottle throughout the day to follow the sun, or use an indoor grow light to supplement natural light.
Step 7: Monitor Growth and Thin Out Seedlings
Within a week or two, you’ll begin to see green shoots emerging from the onions. This is a sign that your plants are taking root and growing strong. As the onions grow, keep an eye out for overcrowding. If you’ve planted too many bulbs too close together, you may need to thin out the weaker plants to give the stronger ones room to thrive.
Simply pinch off the less vigorous plants to allow the healthier ones to flourish.
Step 8: Harvesting Your Onions
Onions are ready to harvest when the green tops start to yellow and fall over. This typically occurs about 90-120 days after planting, depending on the variety of onions you’re growing. To harvest, gently pull the onions from the soil, shake off any excess dirt, and let them cure in a dry, well-ventilated area for a week or so.
Once cured, you can store them in a cool, dark place for months, or use them fresh in your favorite recipes.
Why Use 5L Plastic Bottles?
Using plastic bottles to grow onions is an ingenious solution for small-space gardening. Here are some reasons why it works so well:
- Eco-Friendly: Repurposing plastic bottles keeps them out of landfills and reduces waste.
- Space-Saving: Vertical planting in bottles allows you to grow more plants in less space, making it perfect for urban or balcony gardens.
- Portable: These bottles can easily be moved around to catch sunlight or avoid harsh weather conditions.
- Low-Cost: Using recycled materials like bottles makes gardening more affordable for everyone.
Benefits of Growing Onions at Home
Growing onions at home offers several benefits:
- Fresh, Organic Produce: You can enjoy pesticide-free, fresh onions whenever you need them.
- Convenience: Having onions within reach eliminates the need for last-minute trips to the grocery store.
- Educational: If you have kids, this is a great way to teach them about the life cycle of plants and the importance of sustainability.
Common Mistakes to Avoid
- Overwatering: Too much water can cause the onions to rot, so ensure proper drainage and avoid waterlogging the soil.
- Not Enough Sunlight: Onions need sunlight to thrive, so make sure your bottle garden gets plenty of it.
- Overcrowding: Planting too many onion sets in one bottle can stifle their growth. Thin out weaker plants if necessary to give the others space to develop fully.
Conclusion
Growing onions at home in 5-liter plastic bottles is a simple, eco-friendly, and space-saving solution for gardeners of all levels. Whether you have a large backyard or just a small balcony, this method allows you to enjoy fresh, organic onions year-round while helping the environment by repurposing plastic waste. By following the steps outlined in this guide, you can create your own sustainable mini-garden and harvest delicious onions in just a few months.
Give this DIY project a try and start growing your onions today! 🌿💧 #GrowYourOwnFood #EcoGardening #SustainableLiving #UrbanGardening #OnionHarvest #GardeningHacks #PlasticBottleGarden