
Grapes are one of the most beloved fruits globally, and the idea of growing your own vines at home is appealing to many. While most people might think you need a large backyard or a dedicated garden to cultivate grapevines, the reality is that you can successfully grow grapes from seeds in containers. This method not only saves space but also allows those with limited gardening areas—like apartment balconies or small patios—to enjoy the satisfaction of homegrown grapes.
Why Grow Grapes from Seeds?
Before diving into the process, it’s essential to understand the benefits of growing grapes from seeds, especially in containers. First, starting from seeds offers a broader range of grape varieties compared to nursery-bought plants. You can experiment with different types of grapes, including those not typically found in local stores. Additionally, growing grapes from seeds allows you to observe the full lifecycle of the plant, offering a more fulfilling gardening experience.
Growing grapes in containers also provides flexibility. You can move the containers around to ensure the vines receive optimal sunlight or protect them from harsh weather conditions. Furthermore, controlling the soil quality, water, and nutrients is easier in a container, which can lead to healthier plants.
Selecting the Right Grape Seeds
The journey begins with choosing the right grape seeds. You can either extract seeds from fresh grapes or purchase seeds from a reputable supplier. If you opt to extract the seeds yourself, ensure the grapes are organic, as non-organic grapes might have been treated with chemicals that affect seed viability.
Once you have your seeds, it’s crucial to understand that grape seeds require stratification—a process that mimics the natural wintering period seeds would undergo in the wild. This step is vital for breaking the seed’s dormancy and encouraging germination.
Preparing the Seeds for Planting
- Soaking the Seeds:
Begin by soaking the grape seeds in lukewarm water for 24 hours. This step softens the seed coat and helps kickstart the germination process. - Stratification:
After soaking, drain the seeds and place them on a damp paper towel. Fold the towel around the seeds, place it in a plastic bag, and store it in the refrigerator for 2-3 months. During this time, check periodically to ensure the towel remains moist but not soggy. This cold treatment mimics the winter season, which is necessary for the seeds to germinate when exposed to warmth later.
Planting the Seeds
Once the stratification period is over, it’s time to plant the seeds.
- Choosing the Right Container:
Start with small pots or seed trays. Fill the containers with a well-draining potting mix, ideally one that is rich in organic matter. The soil should be loose and airy to allow the young roots to establish easily. - Planting Depth:
Plant the seeds about 1/4 inch deep into the soil. Cover them lightly and water gently to settle the soil. The seeds should be spaced adequately if you’re using a tray, as this will make transplanting easier later on. - Optimal Conditions:
Place the containers in a warm, bright location. Grapevines need plenty of light to grow—ideally, 6-8 hours of sunlight per day. Maintain consistent moisture in the soil, but be cautious not to overwater, as this can lead to rot.
Care and Maintenance
- Transplanting:
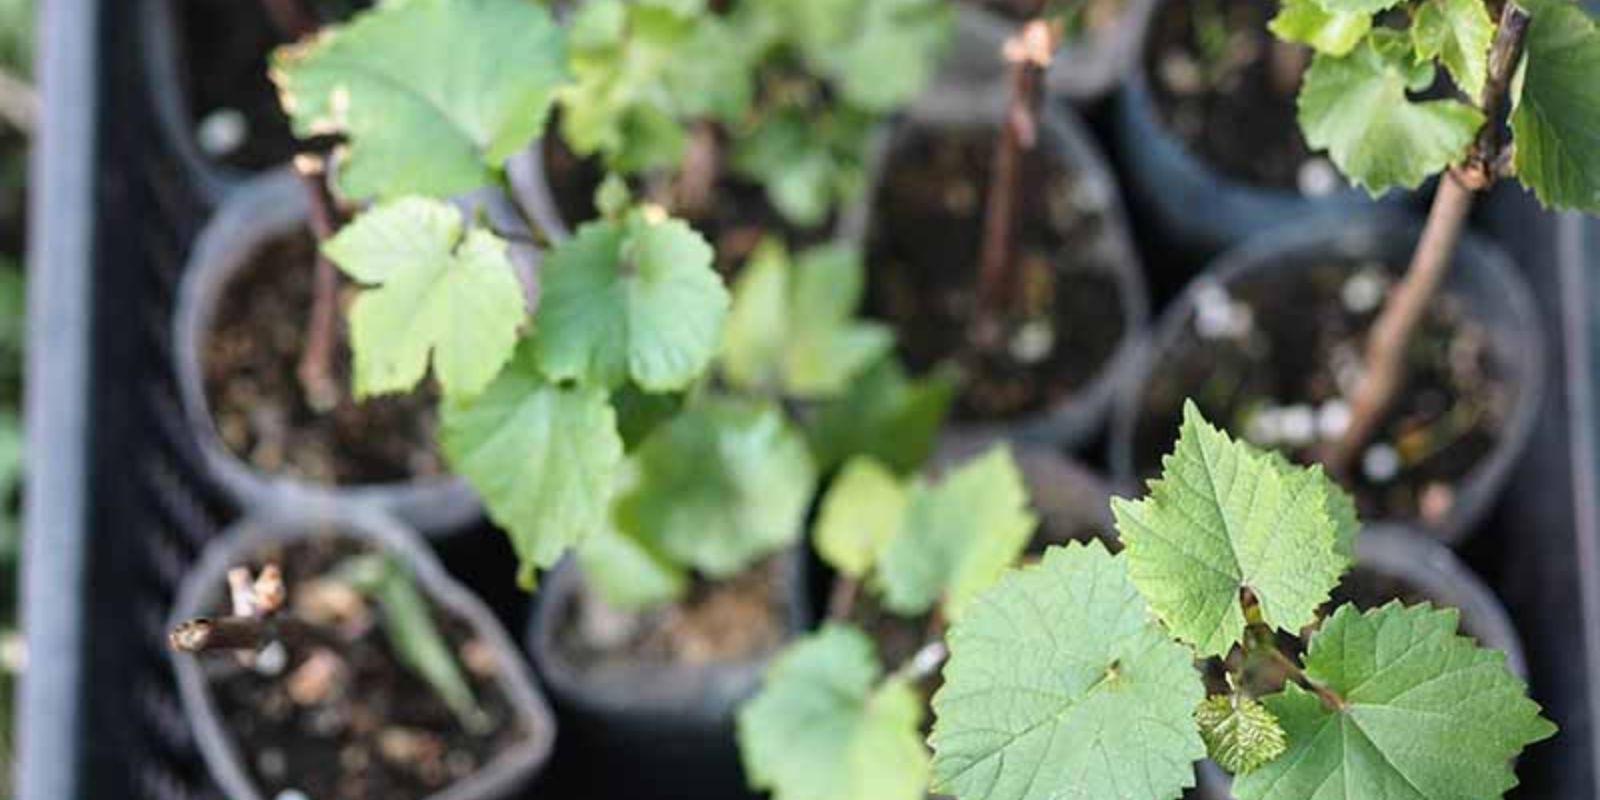
Once the seedlings have grown a few inches tall and developed a couple of true leaves, they are ready to be transplanted into larger containers. Select containers that are at least 15-20 gallons in size. This size will accommodate the deep root systems that grapevines develop and provide enough space for the plant to grow robustly. - Supporting the Vines:
Grapevines are climbers and will need support as they grow. Installing a trellis, stake, or any other type of support in the container is crucial. This not only helps the vine grow upwards but also ensures proper air circulation around the plant, reducing the risk of fungal diseases. - Watering and Feeding:
Grapevines in containers require regular watering, especially during dry periods. However, it’s essential to ensure that the container has good drainage to prevent waterlogging. Feeding the vines with a balanced fertilizer during the growing season will promote healthy growth and improve the chances of fruiting. - Pruning:
Pruning is a vital aspect of grapevine care. Regularly prune the vines to remove dead or damaged parts and to shape the plant. This encourages the plant to direct its energy towards producing fruit rather than excessive foliage. Pruning also improves sunlight penetration and air circulation within the plant.
Harvesting Grapes
Patience is key when growing grapes from seeds, as it can take several years for the vines to mature enough to produce fruit. However, with proper care, your grapevines will eventually reward you with a bountiful harvest.
When the time comes, you’ll notice the grapes changing color as they ripen. Harvesting should be done when the grapes are fully ripe, which is typically indicated by their color, size, and taste. Use pruning shears to cut the grape clusters from the vine carefully.
Conclusion
Growing grapes from seeds in containers is a rewarding project that combines the joys of gardening with the satisfaction of producing your own fruit. It’s an excellent way to enjoy fresh, homegrown grapes, even if you have limited space. By following the steps outlined above—choosing the right seeds, providing optimal growing conditions, and maintaining your vines with care—you’ll be well on your way to cultivating a thriving mini-vineyard right at home.
Not only will you enjoy the delicious fruits of your labor, but you’ll also gain a deeper appreciation for the process of nurturing plants from seed to harvest. So why not give it a try? Start your grape-growing journey today and share your experiences with others who might be inspired to do the same!