
Introduction
Gourds are one of the most versatile and fascinating plants you can grow in your garden. From decorative uses to functional crafts, these unique fruits offer endless possibilities for creativity. With a variety of shapes, colors, and textures, growing gourds can add a visually striking element to your garden, while also providing a fun and practical harvest. In this guide, we’ll explore everything you need to know about growing gourds—from selecting the right type to harvesting and curing for long-term use.
Why Grow Gourds?
Gourds have been cultivated for centuries, valued for their beauty, utility, and artistic potential. When properly grown and harvested, gourds can be transformed into birdhouses, containers, or festive decorations. Their low-maintenance nature makes them an excellent choice for beginners and seasoned gardeners alike.
Step 1: Choosing the Right Gourd Variety
There are several types of gourds, each with unique characteristics. Here’s a breakdown of the main types to help you decide:
- Hard-Shell Gourds (Lagenaria spp.)
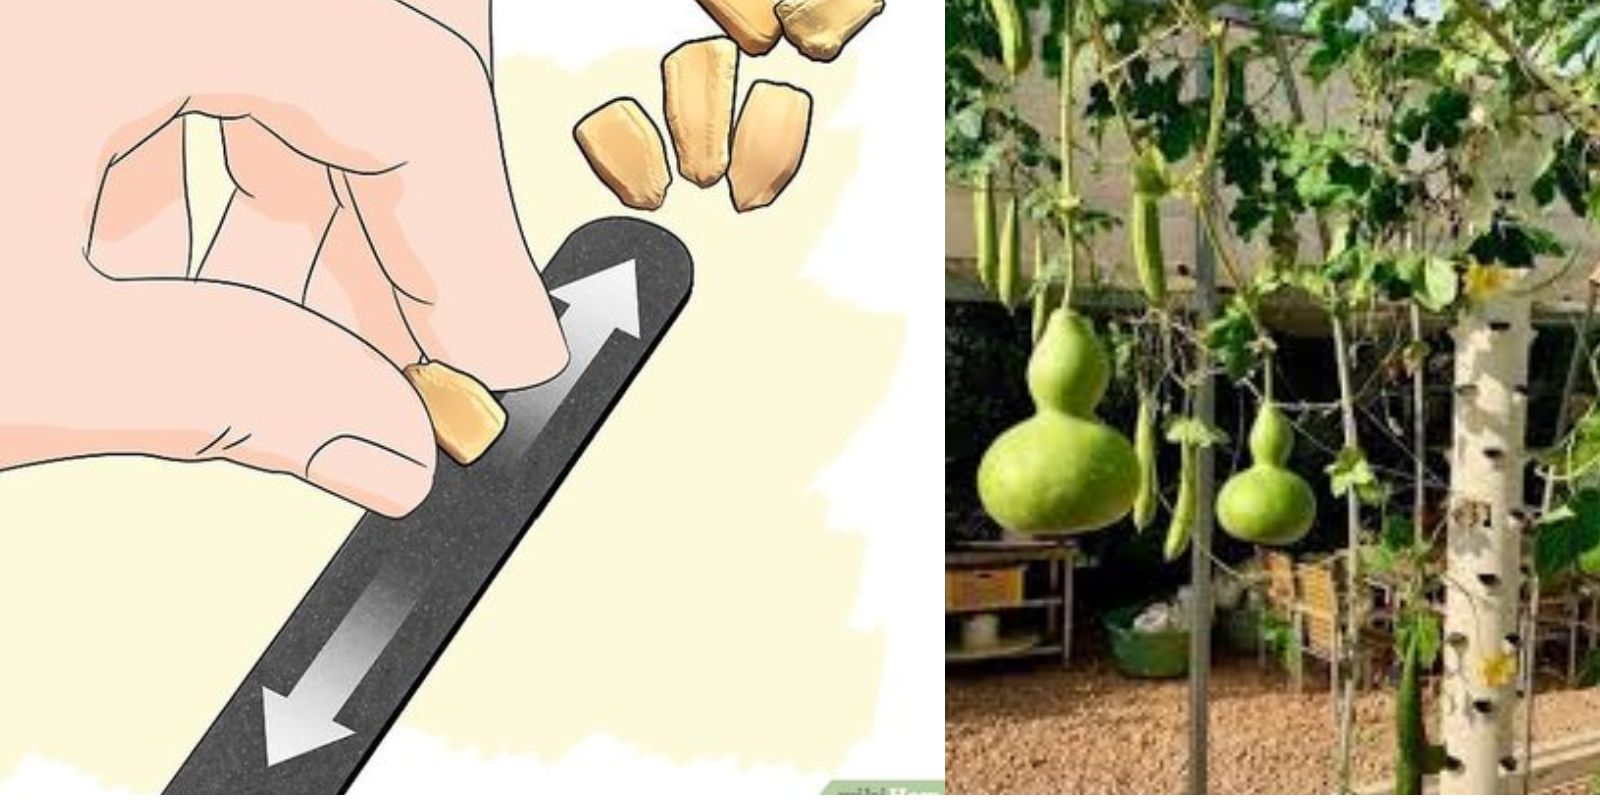
These gourds are thick-skinned and highly durable, making them perfect for functional crafts like birdhouses, bowls, and instruments. Popular varieties include bottle gourds and birdhouse gourds. - Ornamental Gourds (Cucurbita spp.)
These are smaller and more colorful than hard-shell gourds, ideal for decorative purposes. They come in various shapes, including small pumpkins, bumpy turban shapes, and winged gourds. - Sponge Gourds (Luffa spp.)
Also known as luffa or loofah gourds, these gourds are dried to create natural sponges for bath and kitchen use. They are unique in appearance and are grown similarly to other gourd varieties.
Choose your gourd variety based on how you want to use it after harvest. Some gardeners enjoy growing a mix of all three for variety in color, shape, and use.
Step 2: Starting Gourd Seeds Indoors
Gourds require a long growing season, so it’s best to start seeds indoors if you live in a cooler climate. Here’s how:
- Timing
Start your seeds indoors 4-6 weeks before the last frost date in your area. - Container & Soil
Use small pots filled with seed-starting mix. Plant each seed about 1 inch deep. - Warmth & Light
Place the pots in a warm spot (70-80°F is ideal) with plenty of natural light or under grow lights. Keep the soil moist but not overly wet.
Once seedlings have two to three sets of true leaves and the outdoor temperature is warm, they’re ready for transplanting.
Step 3: Transplanting Seedlings Outdoors
Gourds need plenty of space, sun, and rich soil. Follow these tips to ensure successful transplanting:
- Site Selection
Choose a location with full sun and well-drained soil. Gourds thrive in loamy soil with a pH of 6.0-6.5. - Spacing
Space plants 4-5 feet apart in rows that are 6-8 feet apart. Gourds are vigorous growers and require ample room to spread. - Soil Preparation
Amend the soil with compost or well-rotted manure before planting to provide necessary nutrients for robust growth. - Planting Technique
Dig a hole slightly larger than the pot, place the seedling in the hole, and gently cover with soil. Water thoroughly after planting.
Step 4: Supporting and Training the Vines
Gourd plants produce long, sprawling vines that can benefit from vertical support to improve air circulation and ease harvesting. Here are some support options:
- Trellises
Build a sturdy trellis to support the vines. Gourds are heavy, so ensure the structure is strong enough to handle their weight. - Arches
If you have space, try using garden arches to allow the vines to climb over a pathway. This adds a beautiful vertical element to the garden while supporting the fruit. - Fences
Plant gourds along a sturdy fence for natural support, but remember that vines will need some encouragement to climb.
Supporting the vines keeps the fruit off the ground, which reduces the risk of rot and improves air circulation.
Step 5: Watering and Fertilizing
Gourds are thirsty plants that require consistent moisture throughout the growing season.
- Watering
Deeply water the plants once or twice a week, allowing the water to reach the root zone. In hot climates, you may need to water more frequently. - Mulching
Apply a layer of mulch around the base of the plants to retain moisture, reduce weeds, and regulate soil temperature. - Fertilizing
Apply a balanced, slow-release fertilizer at the time of planting. Once the plants begin flowering, switch to a phosphorus-rich fertilizer to encourage fruiting.
Step 6: Pollination and Fruit Development
Gourds produce male and female flowers and rely on pollinators, such as bees, to transfer pollen. If pollination is poor, try hand-pollinating:
- Identifying Flowers
Male flowers grow on thin stems, while female flowers have a small, swollen base (the future gourd). - Hand-Pollination
Use a small paintbrush to transfer pollen from the male flower to the female flower.
Good pollination will result in more and larger fruits.
Step 7: Harvesting Gourds
Gourds should be left on the vine until fully mature to ensure they dry properly.
- Maturity Check
Gourds are ready to harvest when their stems turn brown and feel dry. The skin should be hard to the touch. - Cutting
Use pruning shears to cut the stem, leaving a few inches attached to the gourd. - Curing
Place the gourds in a well-ventilated area to dry. This can take several weeks to months. Turn them occasionally to ensure even drying.
Step 8: Curing and Preserving Gourds
Curing is essential for gourds intended for decorative or functional use. Here’s how to do it:
- Drying Process
Spread the gourds in a single layer in a cool, dry place. Avoid direct sunlight. Once fully dried, the gourds will be lightweight and have hard shells. - Cleaning
Once cured, scrub the gourds with a brush to remove any mold or dirt. Polish them if you’re using them for crafts. - Storage
Store dried gourds in a cool, dry place to prevent rotting.
Tips for Using Gourds
The best part about growing gourds is the endless possibilities for creative use:
- Crafts and Decorations
Paint, carve, or decorate dried gourds for unique home decorations or gifts. - Functional Uses
Turn hard-shell gourds into birdhouses, bowls, or musical instruments. - Natural Loofah
Sponge gourds can be cut and used as biodegradable bath or kitchen sponges.
Common Pests and Problems
- Squash Bugs and Beetles
These pests can harm gourd vines. Use natural pest control methods, such as introducing beneficial insects or using neem oil. - Powdery Mildew
This fungal disease appears as white patches on the leaves. Improve airflow by pruning and applying fungicidal sprays if needed. - Root Rot
Overwatering or poor drainage can lead to root rot. Plant gourds in well-drained soil and avoid excessive watering.
Conclusion
Growing gourds is a delightful and creative addition to any garden. With minimal care, gourds reward you with a unique harvest that can be used decoratively, practically, or simply as a conversation starter. Try growing different varieties and discover the fun and beauty that gourds bring to your garden.
Are you ready to start your own gourd garden? Share your favorite gourd varieties and craft ideas! 🌱🎨 #GourdGrowing #GardenCreativity #HarvestFun #GrowYourOwn