
Giant lavender, with its robust stature and abundant blooms, is a standout in any garden landscape. Known for its resilience to frost and its aromatic flowers, cultivating giant lavender can bring both beauty and practicality to your outdoor space. Whether you choose to grow it from seeds or cuttings, understanding the process and best practices ensures success in nurturing these impressive shrubs. In this comprehensive guide, we will explore everything you need to know about growing giant lavender, from propagation methods to care tips for thriving plants.
Introduction to Giant Lavender
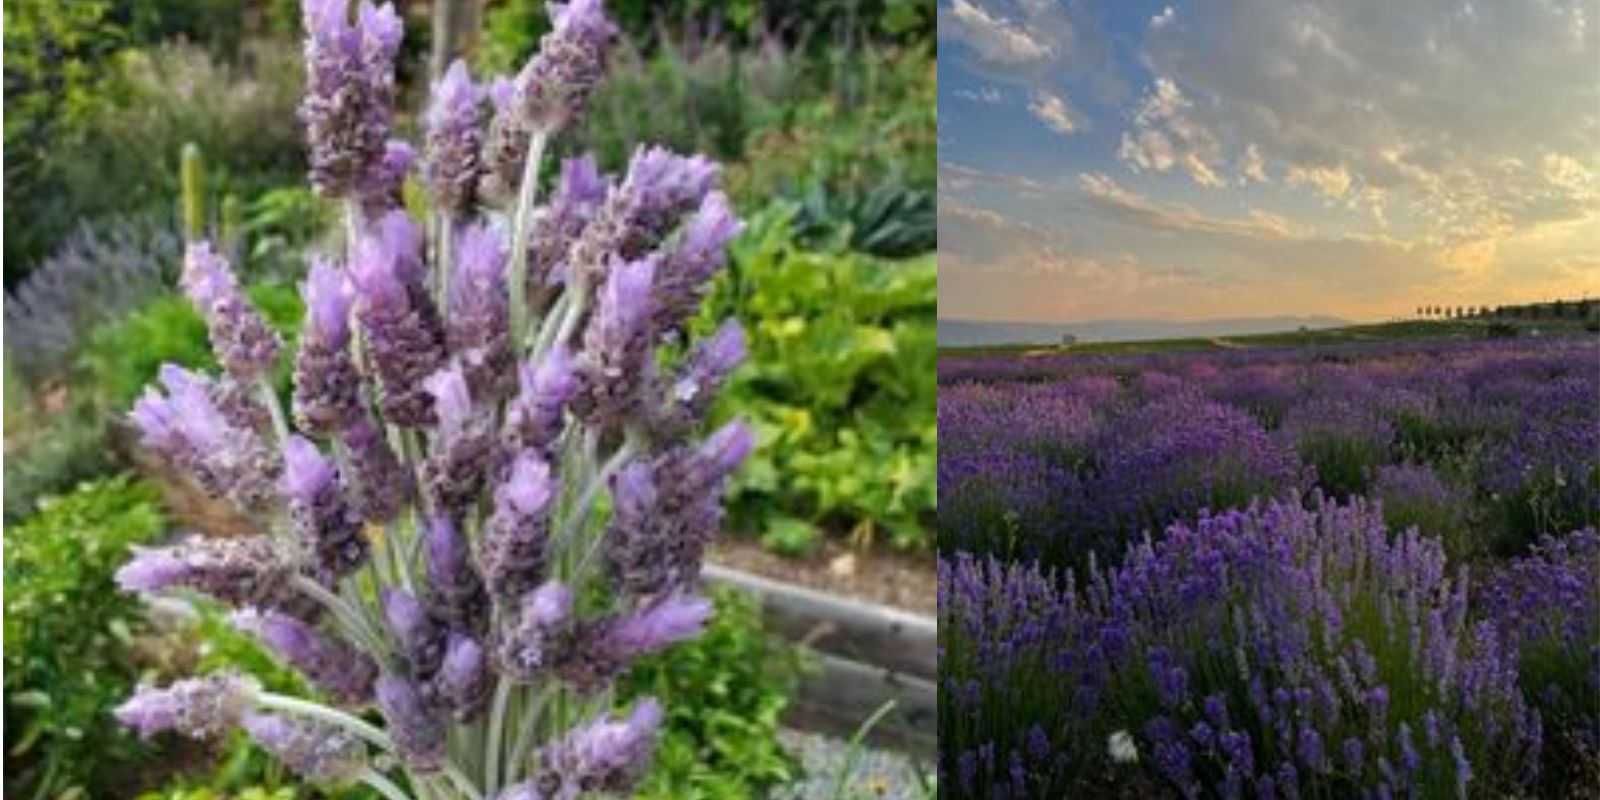
Giant lavender (Lavandula x intermedia) is a hybrid lavender species that combines the cold hardiness of English lavender (Lavandula angustifolia) with the larger size and aromatic qualities of spike lavender (Lavandula latifolia). This hybridization results in a plant that not only withstands colder temperatures but also produces an abundance of fragrant flowers, making it a favorite among gardeners seeking both ornamental beauty and practical uses.
Propagation Methods
1. Growing from Seeds
Step-by-Step Process:
- Seed Selection: Choose high-quality lavender seeds suited for your climate. Start seeds indoors in early spring or late winter to give them a head start before the growing season begins.
- Seed Starting: Fill a seed tray or small pots with well-draining potting soil. Plant the seeds just below the surface, gently pressing them into the soil. Keep the soil consistently moist but not waterlogged.
- Light and Temperature: Place the seed tray in a sunny location or under grow lights. Lavender seeds germinate best with temperatures around 70-75°F (21-24°C).
- Transplanting: Once seedlings have developed several sets of true leaves and are sturdy enough to handle, transplant them into individual pots or directly into the garden. Choose a sunny, well-draining location with sandy or gravelly soil.
2. Propagation from Cuttings
Step-by-Step Process:
- Cutting Selection: Take 4-6 inch cuttings from a healthy, mature giant lavender plant. Choose non-flowering stems and remove the lower leaves, leaving a few at the top.
- Preparing the Cutting: Dip the cut end of the stem in rooting hormone powder to encourage root development. Plant the cutting in a small pot filled with a mixture of perlite and potting soil or directly in the garden soil.
- Rooting: Place the pot in a warm, bright location with indirect sunlight. Keep the soil evenly moist but not soggy. Rooting typically takes 4-6 weeks, after which roots should begin to develop.
- Transplanting: Once roots are well-established, transplant the cutting into a larger pot or directly into the garden. Ensure the planting site receives full sun and has excellent drainage.
Care and Maintenance
1. Location and Soil Requirements
Giant lavender thrives in sunny locations with well-draining soil. It prefers sandy or gravelly soil with a pH level between 6.5 and 7.5. Good drainage is crucial to prevent root rot, especially in cooler climates.
2. Watering
Establishment Phase: Water newly planted lavender regularly to help roots establish. Provide about an inch of water per week, adjusting based on rainfall and soil moisture.
Mature Plants: Once established, lavender is drought-tolerant and prefers slightly dry conditions. Water deeply but infrequently, allowing the top few inches of soil to dry out between waterings.
3. Pruning and Deadheading
Pruning: Regular pruning helps maintain the shape of giant lavender and promotes new growth and flowering. Prune after the first bloom in early summer and again lightly in late summer to encourage a second flush of flowers.
Deadheading: Remove spent flower spikes promptly to encourage continuous blooming and prevent the plant from expending energy on seed production.
4. Fertilizing
Giant lavender is not heavy feeder and excessive fertilization can lead to leggy growth with fewer flowers. Apply a balanced fertilizer sparingly in early spring or incorporate compost into the soil annually to provide essential nutrients.
5. Winter Protection
While giant lavender is frost-hardy, providing some protection during severe winters can ensure its survival and vigor. Apply a layer of mulch around the base of the plant in late fall to insulate roots and protect them from freezing temperatures.
Benefits of Growing Giant Lavender
1. Ornamental Beauty
Giant lavender adds a striking visual appeal to gardens with its tall, fragrant flower spikes and silver-green foliage. It attracts pollinators like bees and butterflies, contributing to a healthy ecosystem.
2. Aromatic Qualities
Harvested lavender flowers can be dried and used in sachets, potpourris, and culinary dishes, adding a delightful fragrance to your home and garden.
3. Medicinal and Culinary Uses
Lavender has long been prized for its therapeutic properties. Its flowers can be infused into teas, oils, and skincare products for their calming and healing effects.
Troubleshooting Common Issues
1. Pest and Disease Management
Monitor plants regularly for signs of pests such as aphids and spider mites. Use insecticidal soap or neem oil for organic pest control. Ensure good air circulation around plants to prevent fungal diseases like powdery mildew.
2. Root Rot
Overwatering and poorly draining soil can lead to root rot in lavender plants. Improve soil drainage and water lavender sparingly to prevent this issue.
Conclusion
Cultivating giant lavender from seeds or cuttings is a gratifying endeavor that rewards gardeners with stunning, aromatic shrubs that thrive in various climates. By following the steps outlined in this guide—choosing the right propagation method, providing proper care and maintenance, and addressing common challenges—you can successfully grow giant lavender in your garden. Whether you’re looking to enhance your landscape with beautiful blooms or harness lavender’s practical benefits, this versatile plant is sure to bring joy and beauty to your outdoor space.
Motivation:
Start growing giant lavender today and transform your garden with its magnificent blooms and aromatic allure! Share your experiences and learn from fellow gardeners in our community. Happy gardening!