
Cantaloupes, with their sweet, juicy flesh and refreshing taste, are a summertime favorite for many gardeners. However, not everyone has the luxury of a large garden space or perfect soil conditions to grow these delicious melons. This is where the innovative technique of growing cantaloupe in soil bags comes into play. In this article, we will explore the advantages of this method, provide a detailed step-by-step guide, and offer tips to ensure a bountiful harvest.
Understanding Cantaloupes
Cantaloupes, also known as muskmelons, are part of the Cucurbitaceae family, which includes cucumbers, squash, and pumpkins. These melons thrive in warm weather and require a long growing season to develop their sweet flavor and distinctive aroma. With their high water content and nutrient-rich profile, cantaloupes are not only delicious but also beneficial to your health, providing vitamins A and C, potassium, and hydration.
Advantages of Growing Cantaloupe in Soil Bags
- Space Efficiency: Soil bags are ideal for those with limited garden space, such as urban dwellers or those with small backyards. You can place them on patios, balconies, or even rooftops.
- Improved Drainage: Unlike traditional ground planting, soil bags provide excellent drainage, reducing the risk of overwatering and root rot.
- Better Soil Control: Using a quality potting mix allows you to control the soil quality, ensuring it is nutrient-rich and suitable for cantaloupes.
- Easy Mobility: Soil bags are portable, making it easy to move your plants to optimize sunlight exposure or protect them from harsh weather conditions.
- Pest Management: Elevated soil bags can deter some pests that typically invade ground-level gardens, reducing the risk of infestations.
Step-by-Step Guide to Growing Cantaloupe in Soil Bags
Step 1: Choose the Right Soil Bags
Select heavy-duty soil bags that can hold at least 1-2 cubic feet of soil. Look for bags specifically designed for gardening, as they often have better drainage capabilities. You can also opt for biodegradable options if you’re looking to reduce plastic waste.
Step 2: Select Quality Seeds or Seedlings
Choose disease-resistant cantaloupe varieties for the best results. Popular options include:
- Hale’s Best: Known for its sweet, aromatic flavor and excellent quality.
- Ambrosia: A hybrid variety with a high sugar content and rich taste.
If you are starting from seeds, you can sow them indoors 4-6 weeks before the last frost or directly into the soil bags once the weather warms up.
Step 3: Prepare the Soil
Fill the bags with a high-quality, nutrient-rich potting mix. A mix that contains compost or organic matter will provide essential nutrients and improve drainage. Aim for a pH level of around 6.0 to 6.8 for optimal growth.
Step 4: Plant the Seeds or Seedlings
- Seeds: Plant 2-3 seeds per bag, about 1 inch deep. Space the seeds about 12-18 inches apart to allow room for the plants to grow.
- Seedlings: If you have purchased seedlings, transplant them carefully, ensuring the roots are well covered and the soil is packed around them to prevent air pockets.
Step 5: Water Regularly
Cantaloupes thrive in consistently moist soil but be careful not to overwater. Water the bags thoroughly after planting, then monitor the moisture levels regularly. As the plants grow, consider using a drip irrigation system to ensure even moisture distribution without wetting the foliage.
Step 6: Provide Support
Cantaloupe vines can spread quite a bit, so it’s helpful to provide support as they grow. Consider using trellises or cages to keep the vines off the ground. This will not only save space but also help reduce the risk of disease and pests.
Step 7: Fertilize
Using a balanced fertilizer every few weeks is crucial for healthy growth. Look for a fertilizer with a balanced NPK ratio (nitrogen, phosphorus, potassium) or one specifically formulated for melons. Fertilizing should increase when the plants begin to flower and set fruit, promoting better yields.
Step 8: Monitor for Pests and Diseases
Keep an eye out for common pests like aphids, cucumber beetles, and squash bugs. You can use organic pest control methods, such as insecticidal soap or neem oil, to manage infestations. Additionally, practice crop rotation and maintain good hygiene in your gardening area to prevent diseases.
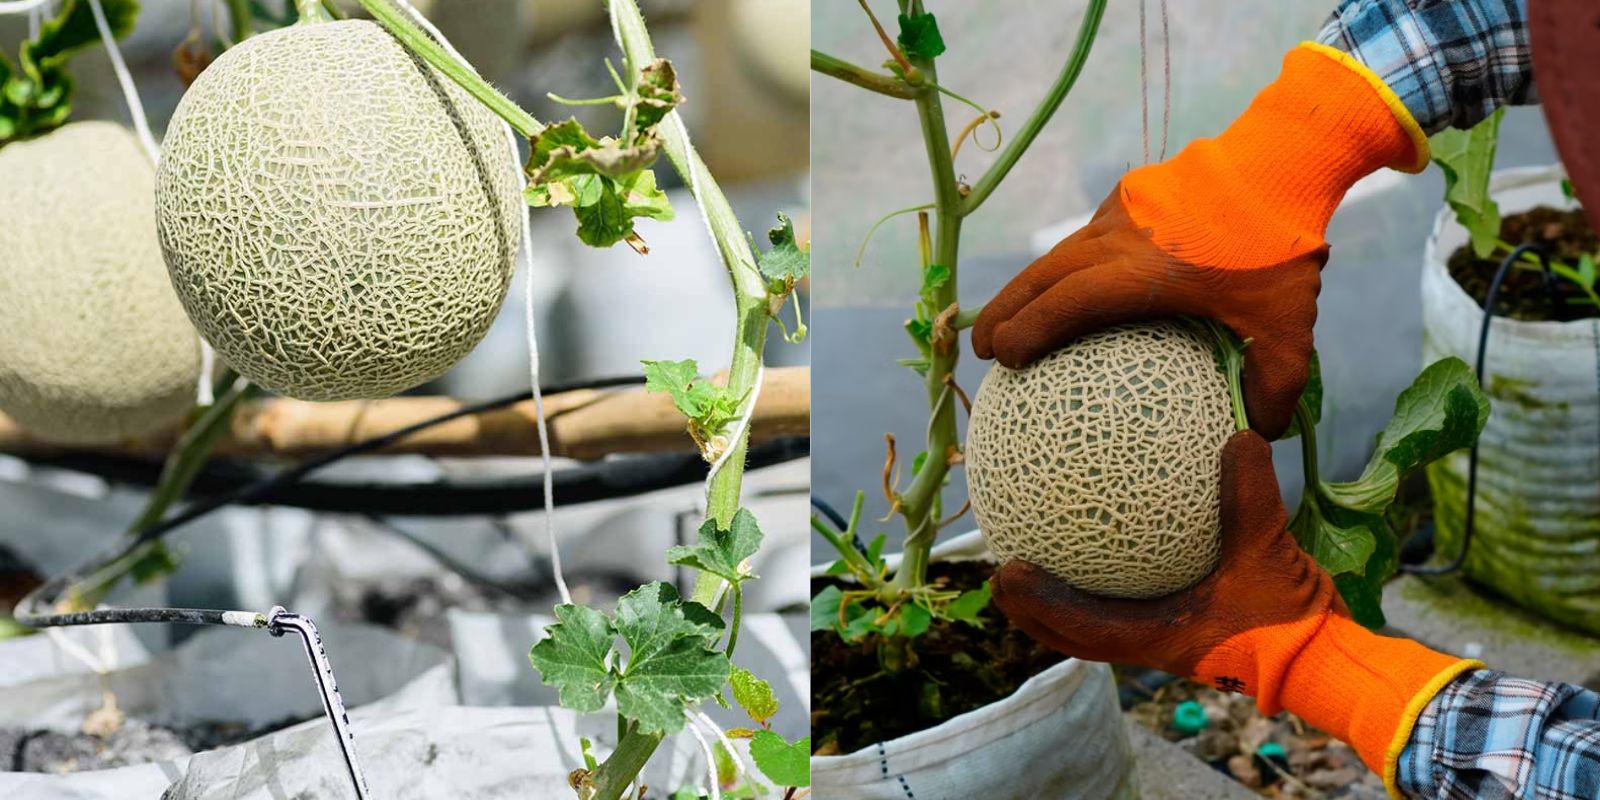
Step 9: Harvesting Cantaloupe
Cantaloupes are ready to harvest when they feel heavy for their size and the skin color changes from green to a beige or golden hue. You can gently squeeze the fruit; if it gives slightly, it’s ripe. They should easily separate from the vine when you twist them gently.
Tips for Success
- Sunlight: Ensure that your soil bags receive at least 6-8 hours of direct sunlight daily for optimal growth.
- Temperature: Cantaloupes love warm weather. Ensure nighttime temperatures are consistently above 60°F (15°C) for best results.
- Mulching: Adding a layer of mulch on top of the soil can help retain moisture, suppress weeds, and maintain even soil temperatures.
- Regular Monitoring: Check your plants regularly for signs of stress, pests, or disease, and address issues promptly to ensure healthy growth.
- Companion Planting: Consider planting companion plants like marigolds or basil nearby to help deter pests naturally.
Conclusion
Growing cantaloupe in soil bags is a fantastic way to enjoy fresh, homegrown melons, even if you have limited space or less-than-ideal soil conditions. With careful planning, proper techniques, and a bit of patience, you can cultivate delicious cantaloupes right in your own home. So gather your supplies, get your hands dirty, and embark on your cantaloupe-growing adventure today!
Call to Action
Ready to try your hand at growing cantaloupe in soil bags? Share your gardening journey and tips with fellow enthusiasts! Don’t forget to tag your posts with relevant gardening hashtags to connect with others in the gardening community.
#Cantaloupe #MelonGrowing #HomeGardening #UrbanGardening #GardeningTips #SustainableLiving #GrowYourOwnFood