
Introduction
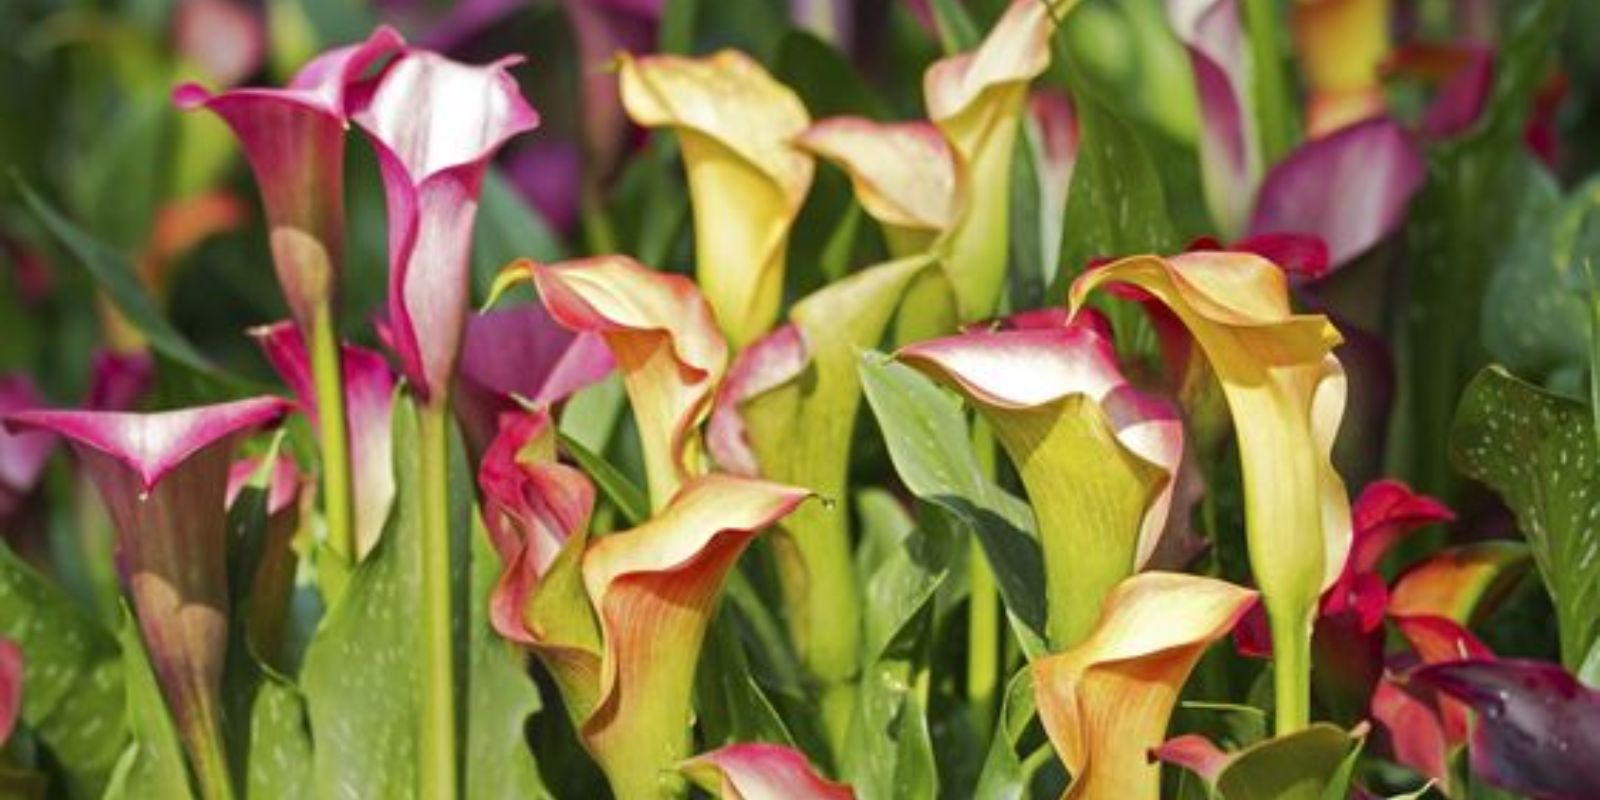
Calla lilies (Zantedeschia spp.), known for their elegant, trumpet-shaped flowers and lush foliage, are a favorite among gardeners and floral enthusiasts. These perennials, native to southern Africa, are not true lilies but are named for their lily-like appearance. Their striking blooms come in a range of colors, including white, pink, yellow, and deep purple, making them a versatile choice for gardens and floral arrangements. This comprehensive guide will cover everything you need to know about growing and caring for calla lilies, ensuring they thrive and bring beauty to your garden or home.
Step 1: Choosing the Right Location
The first step in growing healthy calla lilies is selecting an appropriate location. Calla lilies thrive in sunny to partially shaded areas. They require at least six hours of sunlight per day but can benefit from afternoon shade, especially in hot climates. The chosen spot should have well-draining soil, as calla lilies do not tolerate waterlogged conditions.
Step 2: Planting Time
Calla lilies should be planted in the spring after the last frost. This timing ensures that the soil has warmed up enough to promote healthy growth. In regions with mild winters, calla lilies can be planted in the fall for an early spring bloom. The key is to avoid planting them when the soil is too cold or waterlogged.
Step 3: Soil Preparation
Proper soil preparation is crucial for the successful growth of calla lilies. Here’s how to prepare the soil:
- Drainage: Ensure the soil has good drainage to prevent bulb rot. If your garden soil is heavy clay, consider amending it with sand or organic matter to improve drainage.
- Nutrients: Calla lilies thrive in nutrient-rich soil. Incorporate organic compost or well-rotted manure into the planting area to provide essential nutrients.
- pH Level: Aim for a soil pH between 6.0 and 6.5. You can test your soil’s pH and adjust it if necessary using soil amendments.
Step 4: Planting Depth and Spacing
Planting depth and spacing are important to ensure your calla lilies have enough room to grow and flourish:
- Depth: Plant calla lily bulbs 3-4 inches deep. This depth protects the bulbs from temperature fluctuations and ensures they are securely rooted.
- Spacing: Space the bulbs 12-18 inches apart to allow for adequate air circulation and room for the plants to grow. Crowded conditions can lead to fungal diseases and reduced blooming.
Step 5: Watering
Watering is critical to the health of calla lilies. They prefer consistently moist soil but do not tolerate waterlogged conditions:
- Initial Watering: After planting, water the bulbs thoroughly to help settle the soil and encourage root development.
- Consistent Moisture: Keep the soil consistently moist during the growing season. Water deeply once or twice a week, depending on rainfall and temperature. Avoid overhead watering to prevent fungal issues on the foliage.
- Mulching: Apply a layer of mulch around the plants to help retain soil moisture and suppress weeds. Organic mulches like straw or bark work well.
Step 6: Fertilizing
Fertilizing your calla lilies will promote vigorous growth and abundant blooms:
- Balanced Fertilizer: Use a balanced, water-soluble fertilizer with an N-P-K ratio of 10-10-10 or 5-5-5. Fertilize every 4-6 weeks during the growing season.
- Application: Apply the fertilizer according to the manufacturer’s instructions, being careful not to over-fertilize, which can lead to lush foliage but fewer blooms.
Step 7: Winter Care
Calla lilies are sensitive to frost and need special care in colder regions:
- Lifting Bulbs: In regions with freezing winters, dig up the calla lily bulbs before the first frost. Carefully lift the bulbs from the ground, shaking off excess soil.
- Storage: Allow the bulbs to dry for a few days in a cool, dry place. Once dried, store them in peat moss or sand in a cool, dark, and well-ventilated area, such as a basement or garage. Check periodically for signs of rot or mold.
- Replanting: Replant the bulbs in the spring after the last frost, following the same planting guidelines.
Additional Tips for Growing Calla Lilies
- Pest and Disease Management: Calla lilies are generally resistant to pests, but they can be susceptible to aphids, spider mites, and slugs. Inspect your plants regularly and use appropriate organic or chemical controls if necessary. Avoid overwatering to prevent fungal diseases such as root rot and leaf spot.
- Deadheading: Remove spent flowers to encourage new blooms and maintain the plant’s appearance. This practice also prevents the plant from putting energy into seed production.
- Companion Planting: Plant calla lilies with other moisture-loving plants like hostas, ferns, and astilbes. Their complementary textures and colors can create a stunning garden display.
- Container Growing: Calla lilies can also be grown in containers, making them suitable for patios, balconies, and indoor environments. Choose a large pot with good drainage and follow the same planting and care instructions.
- Cut Flowers: Calla lilies make excellent cut flowers for arrangements. Cut the flowers in the morning when they are fully open, and place them in a vase with clean water. Change the water every few days to prolong their vase life.
Conclusion
Growing calla lilies can be a rewarding experience, adding a touch of elegance and beauty to any garden or home. By following these steps—choosing the right location, preparing the soil, planting at the appropriate time and depth, watering and fertilizing correctly, and providing winter care—you can ensure that your calla lilies thrive. Whether planted in the ground or in containers, these stunning flowers will reward you with their striking blooms and lush foliage. Embrace the joy of gardening with calla lilies and enjoy their captivating presence in your outdoor or indoor spaces. Happy gardening!