
Introduction
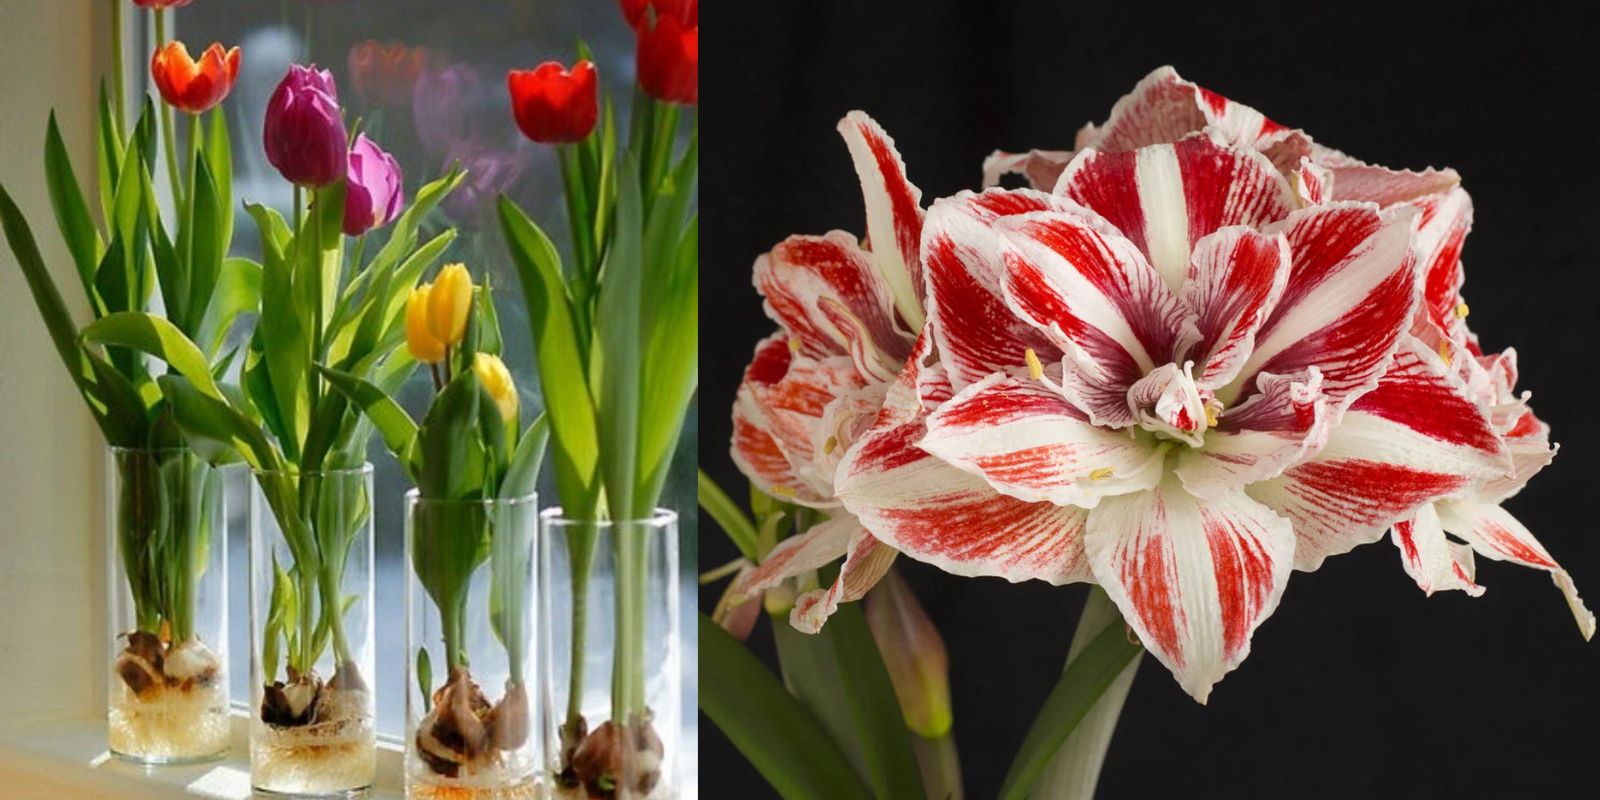
Amaryllis bulbs are known for their dramatic, trumpet-shaped flowers that can brighten up any indoor space during the colder months. While most people think of planting Amaryllis in soil, growing them in water using plastic cups offers a unique and visually appealing method. This approach not only allows you to observe the rooting process but also saves space and adds a touch of elegance to your decor. If you’re eager to grow Amaryllis in water and enjoy its stunning blooms, this comprehensive guide will walk you through the process step by step.
Why Grow Amaryllis in Water?
Growing Amaryllis in water is an excellent alternative to traditional soil planting for several reasons:
- Visual Appeal: Clear plastic cups let you watch the root development, adding a decorative touch to your indoor garden.
- Space-Saving: This method is perfect for those with limited space or who want to avoid soil mess.
- Ease of Care: Water culture can be simpler than soil gardening, requiring less frequent watering and less mess.
Materials You Will Need
Before you begin, gather the following materials:
- Healthy Amaryllis bulbs (available at garden centers or online)
- Clear plastic cups (preferably with no holes for better water retention)
- Clean water (tap water or distilled)
- A sunny location or grow light
Step-by-Step Guide to Growing Amaryllis in Water
1. Select Amaryllis Bulbs
Choose plump, firm Amaryllis bulbs from a reputable source. The bulbs should be free of mold, soft spots, or any signs of disease. Healthy bulbs are crucial for successful growth and blooming.
2. Prepare the Plastic Cups
Clear plastic cups are ideal for growing Amaryllis in water because they allow you to monitor root growth. Ensure the cups are clean and free of any residues. If you have cups with small drainage holes, consider using them for additional air circulation around the roots, but ensure the water level is carefully managed to avoid over-soaking the bulbs.
3. Add Water
Fill each plastic cup with clean water. The water level should be just enough to touch the base of the Amaryllis bulb but not so high that it covers the bulb’s neck. The bulb should be partially submerged, with the top half remaining above the waterline. This positioning helps prevent rot while encouraging root development.
4. Position the Bulbs
Place the Amaryllis bulbs in the prepared cups. Ensure that the base of the bulb is in contact with the water but that the bulb’s top remains exposed. This setup helps the bulb establish roots in the water while keeping the growth area free from excess moisture.
5. Place in a Bright Spot
Amaryllis bulbs need plenty of light to thrive. Position the plastic cups in a warm, sunny location. A south-facing window is ideal, or you can use a grow light if natural light is insufficient. The warmth and light will encourage the bulb to start growing and developing roots.
6. Change Water Regularly
To keep the water fresh and prevent stagnation, change the water in the cups every week. Rinse the bulbs gently if needed to remove any residue. Ensure that the water level remains consistent, touching the base of the bulb but not submerging it.
Monitoring Growth and Development
As your Amaryllis bulbs start to grow, you’ll see roots developing in the water. These roots will spread out, anchoring the bulb and absorbing nutrients. The stem and leaves will begin to emerge from the bulb, eventually leading to the formation of flower buds.
Troubleshooting Common Issues
1. Root Rot: If you notice any signs of root rot, such as a foul smell or discolored roots, remove the affected parts and replace the water. Ensure that the bulb’s base is not submerged too deeply.
2. Yellowing Leaves: Yellowing leaves can indicate a lack of nutrients or excess water. Adjust the water level and consider adding a balanced liquid fertilizer if necessary.
3. Slow Growth: If growth appears slow, ensure that the bulbs are receiving adequate light and warmth. Consider using a grow light if natural light is insufficient.
Caring for Blooming Amaryllis
Once the Amaryllis starts to bloom, you’ll enjoy vibrant flowers that can last for several weeks. To prolong the blooming period, keep the plant in a bright location and continue to change the water regularly. If you want to save the bulbs for future use, allow the plant to complete its flowering cycle, then store the bulbs in a cool, dry place until the next growing season.
Conclusion
Growing Amaryllis in water using plastic cups is a fascinating and rewarding method that allows you to enjoy the beauty of these stunning flowers while minimizing mess and maximizing space. By following the steps outlined in this guide, you’ll be able to successfully grow Amaryllis bulbs in water and witness their vibrant blooms up close.
Call to Action:
Have you tried growing Amaryllis in water? Share your experiences, tips, and photos in the comments below. We’d love to hear about your success and any additional tricks you’ve discovered along the way! 🌸💧