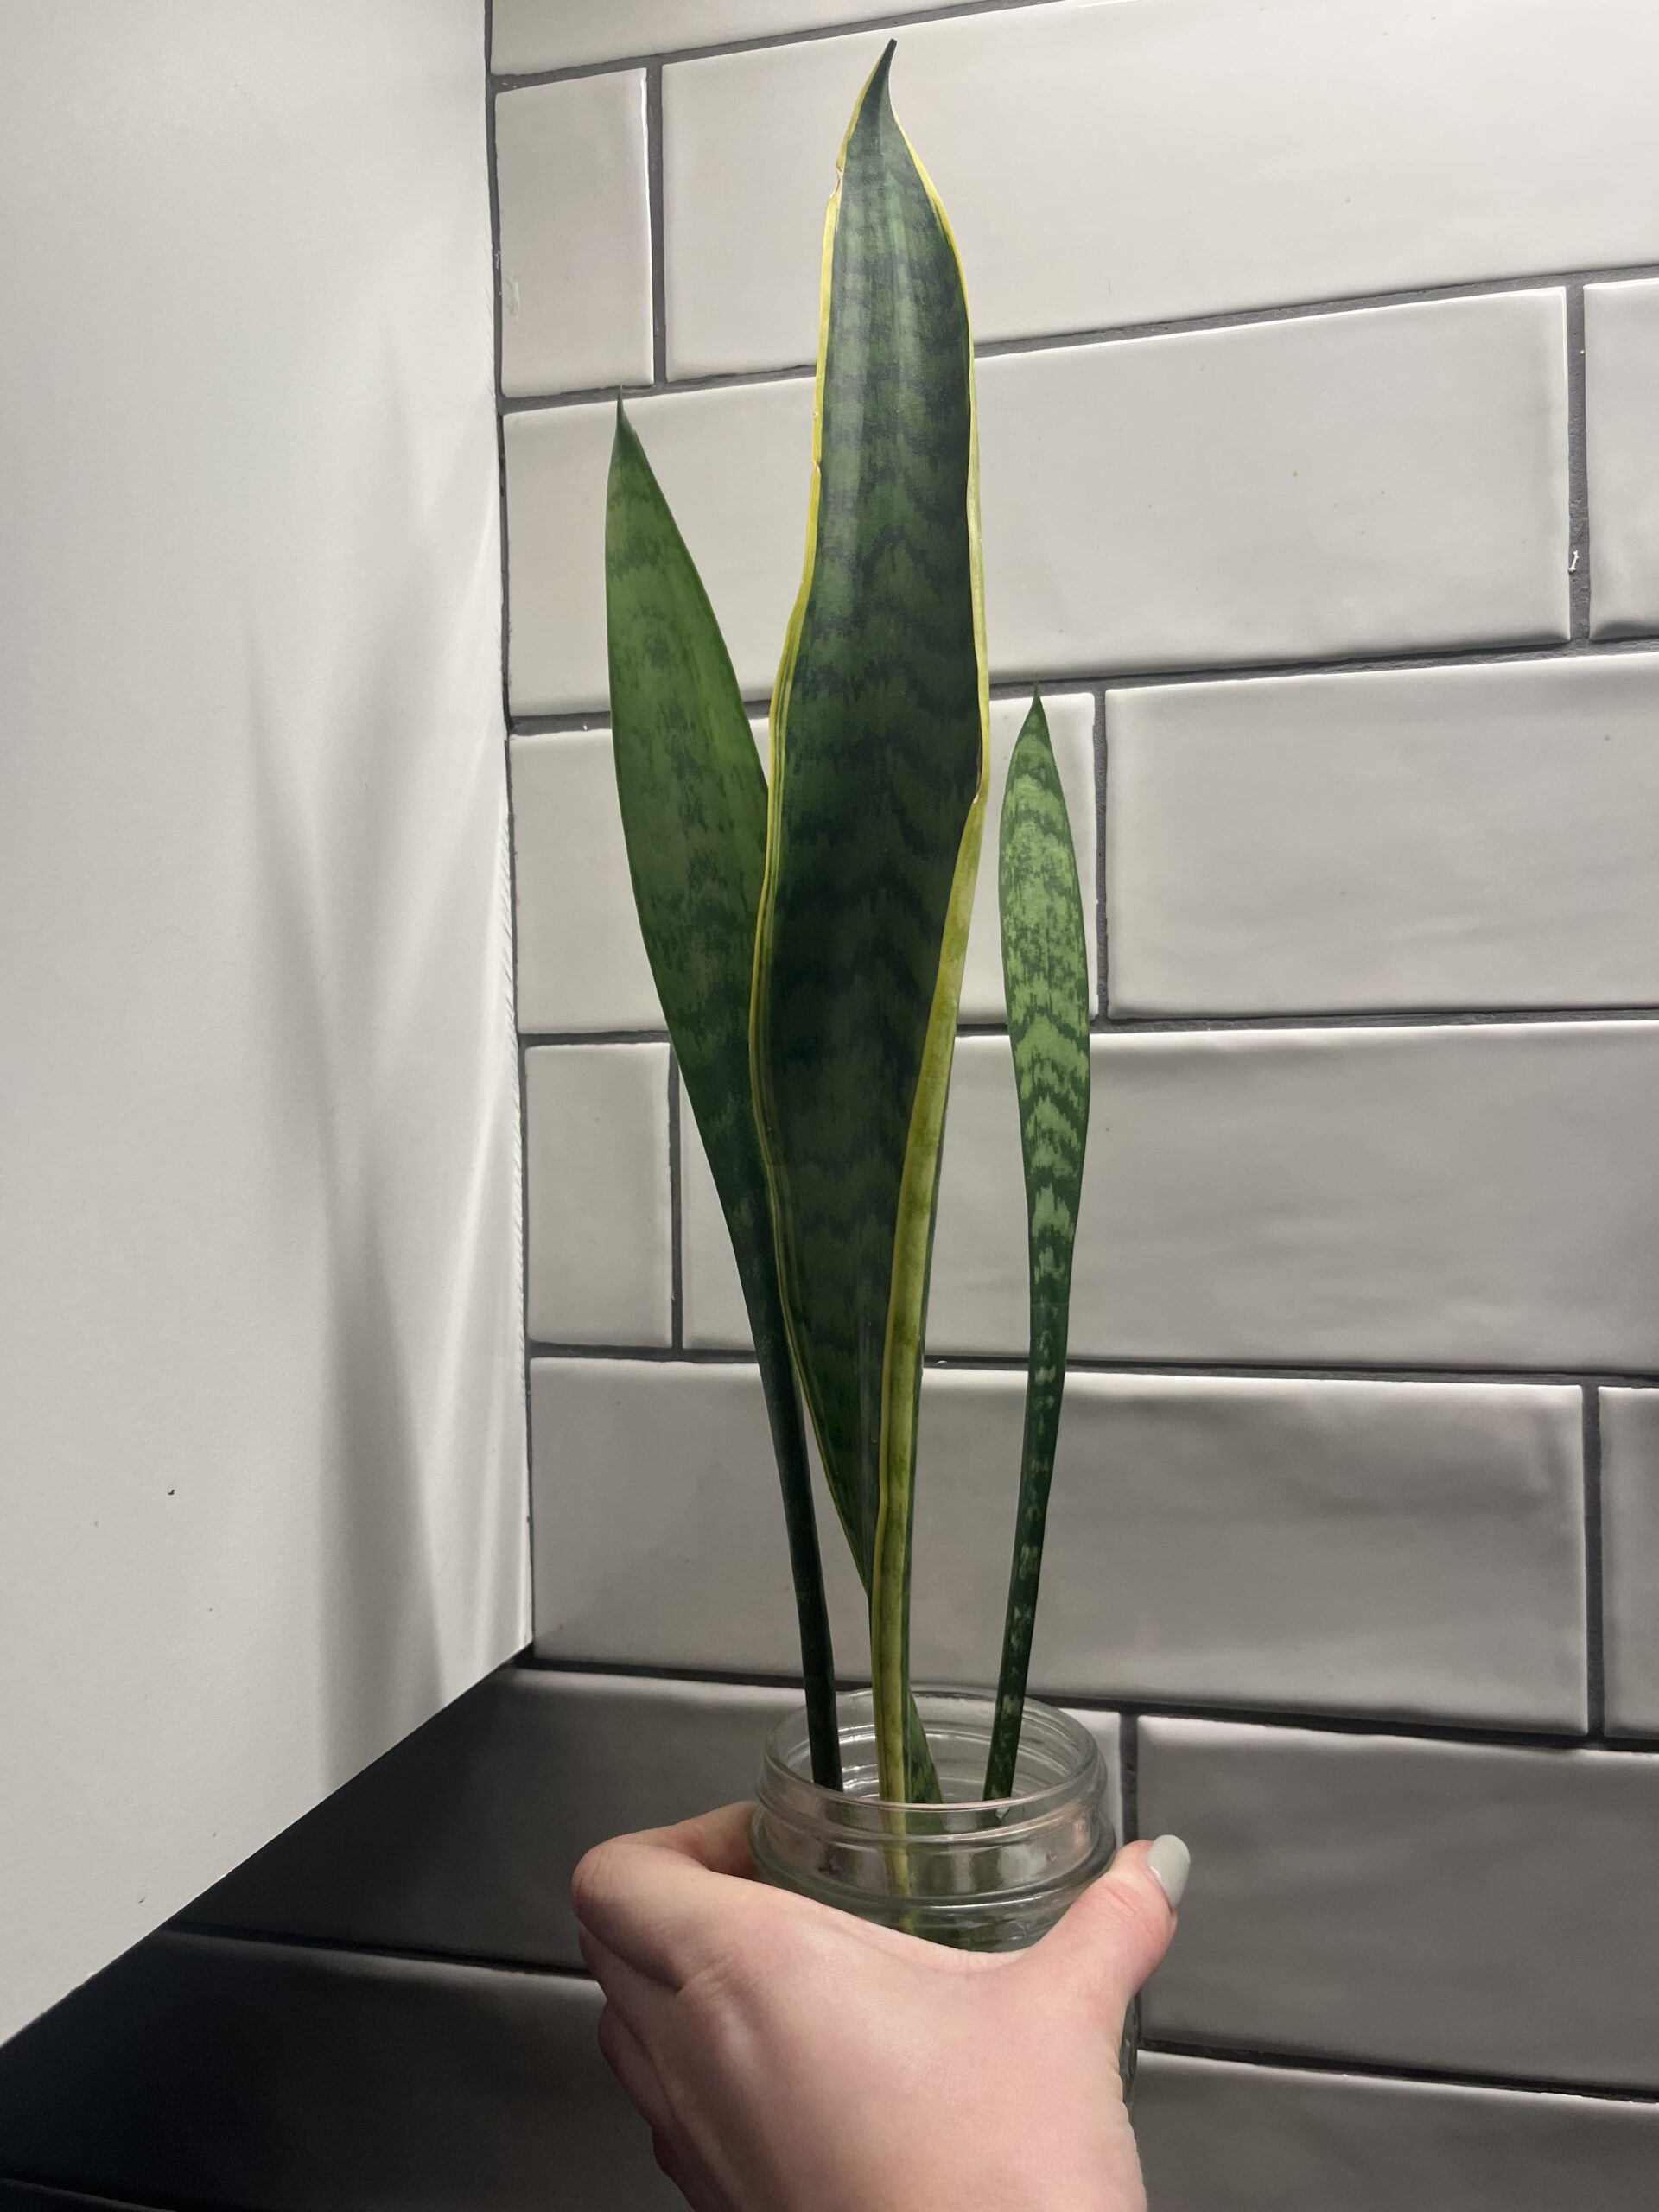
If you’re a plant lover, chances are you’ve got a snake plant (also known as Sansevieria or mother-in-law’s tongue) gracing your home. Loved for its striking leaves, low-maintenance nature, and air-purifying abilities, it’s the perfect indoor companion. But even hardy plants like this need a little refresh now and then — and that’s where repotting comes in.In this guide, you’ll grow smarter with how to repot a snake plant, learning when, why, and how to do it successfully — without damaging those gorgeous sword-like leaves. Whether you’re in the United States, United Kingdom, or Canada, these easy steps will help your plant thrive all year round.🌱 Why Repotting Your Snake Plant MattersRepotting isn’t just about giving your plant a new home — it’s about ensuring its long-term health and growth. Over time, snake plants become root-bound, meaning their roots have filled the pot and have no room to expand.Here’s why repotting your snake plant is essential:🌿 Promotes Healthy Growth: Fresh soil provides new nutrients and better aeration.🪴 Prevents Root Rot: Old, compacted soil retains excess moisture — the number one cause of root problems.🌼 Stops Cracked Pots: Strong roots can push through small containers.🌞 Boosts Air Quality: A healthier snake plant means cleaner indoor air for you!🪴 When to Repot a Snake PlantTiming is key! Generally, you should repot your snake plant every 2–3 years, or sooner if you notice these signs:Roots are growing out of the drainage holes.The soil dries out too quickly after watering.The plant looks top-heavy or crowded.The pot has cracked or bulged.💡 Best Season to Repot: Spring or early summer — when your snake plant is actively growing and can recover quickly.🌼 What You’ll Need Before RepottingBefore you dive in, gather your supplies for a smooth and clean repotting session.🧺 Materials Checklist:A new pot (1–2 inches wider than the current one)Well-draining soil mix (cactus or succulent blend works perfectly)Gardening glovesA trowel or spoonOptional: Activated charcoal or pebbles for improved drainage🌿 Step-by-Step: How to Repot a Snake PlantNow let’s walk through the process — easy, clean, and stress-free.🪴 Step 1: Remove the Plant from Its Old PotGently tilt the pot sideways and loosen the soil around the edges. Hold the plant near its base and pull it out carefully. If it’s stuck, tap the sides of the pot or use a butter knife to free it.🌱 Step 2: Inspect the RootsShake off excess soil and take a good look at the roots.Healthy roots are white or pale yellow and firm.Rotten roots appear brown and mushy — trim these off with clean scissors.🌿 Step 3: Prepare the New PotPlace a small layer of pebbles or activated charcoal at the bottom to enhance drainage. Fill about one-third of the pot with fresh soil mix.🌼 Step 4: Reposition the Snake PlantSet the snake plant in the center, ensuring the roots are spread out evenly. Fill in around them with soil, pressing gently to remove air pockets — but don’t bury the leaves too deeply.🌞 Step 5: Water LightlyAfter repotting, give your plant a light watering. You want the soil to be slightly moist but not soaked. Then, place the pot in indirect sunlight for a few days as it settles in.🌸 Tips for Successful Snake Plant RepottingWant your plant to thrive after repotting? Here are some expert tricks to help:🌿 1. Choose the Right PotSnake plants prefer being a little snug, so don’t go too big. A pot that’s just one size larger is ideal. Always choose one with drainage holes to prevent soggy roots.🌞 2. Use the Perfect SoilThese desert natives love fast-draining soil. Mix:2 parts cactus mix1 part perlite or coarse sandOptional: A handful of compost for nutrients💧 3. Don’t OverwaterSnake plants store water in their leaves. Overwatering after repotting is the most common mistake — always let the top 1–2 inches of soil dry before watering again.🌿 4. Provide Indirect SunlightAvoid harsh, direct light right after repotting. Soft morning sun or filtered light helps the roots settle without stress.🌼 5. Be PatientRepotting can temporarily slow growth. Don’t panic! Within a few weeks, your snake plant will bounce back stronger and healthier.🌻 Common Mistakes to AvoidEven though repotting is simple, a few common errors can hurt your plant:❌ Using the wrong soil (too heavy or moisture-retaining).❌ Choosing an oversized pot that stays too wet.❌ Watering immediately and excessively after repotting.❌ Removing too many roots or leaves.❌ Placing it in direct sunlight too soon.Avoid these mistakes, and your snake plant will thrive for years! 🌿🪴 Bonus: Propagate While You RepotDid you know? Repotting time is perfect for propagating your snake plant!Simply:Divide your plant by gently separating sections with their own roots.Replant each section in its own pot.Follow the same care instructions.You’ll soon have more beautiful snake plants — perfect for gifts or to decorate other corners of your home. 🌱✨🌿 Caring for Your Snake Plant After RepottingFor the first few weeks after repotting:Water sparingly. Let the soil dry completely between waterings.Keep the plant in bright, indirect light.Avoid adding fertilizer for about a month — the fresh soil is nutrient-rich.With the right care, your snake plant will adjust quickly and continue to purify your air, improve your mood, and add a stylish touch to your home.🌼 Conclusion: Repot and Grow Smarter!And there you have it — your ultimate guide on how to repot a snake plant the smart and simple way!By learning when and how to refresh your plant’s home, you’re setting it up for years of growth and vitality. Remember, the secret to success lies in choosing the right pot, using well-draining soil, and giving it just the right amount of love and patience.So roll up your sleeves, grab that trowel, and grow smarter with how to repot a snake plant — your green companion will thank you with lush, upright leaves and endless charm! 🌿💚