
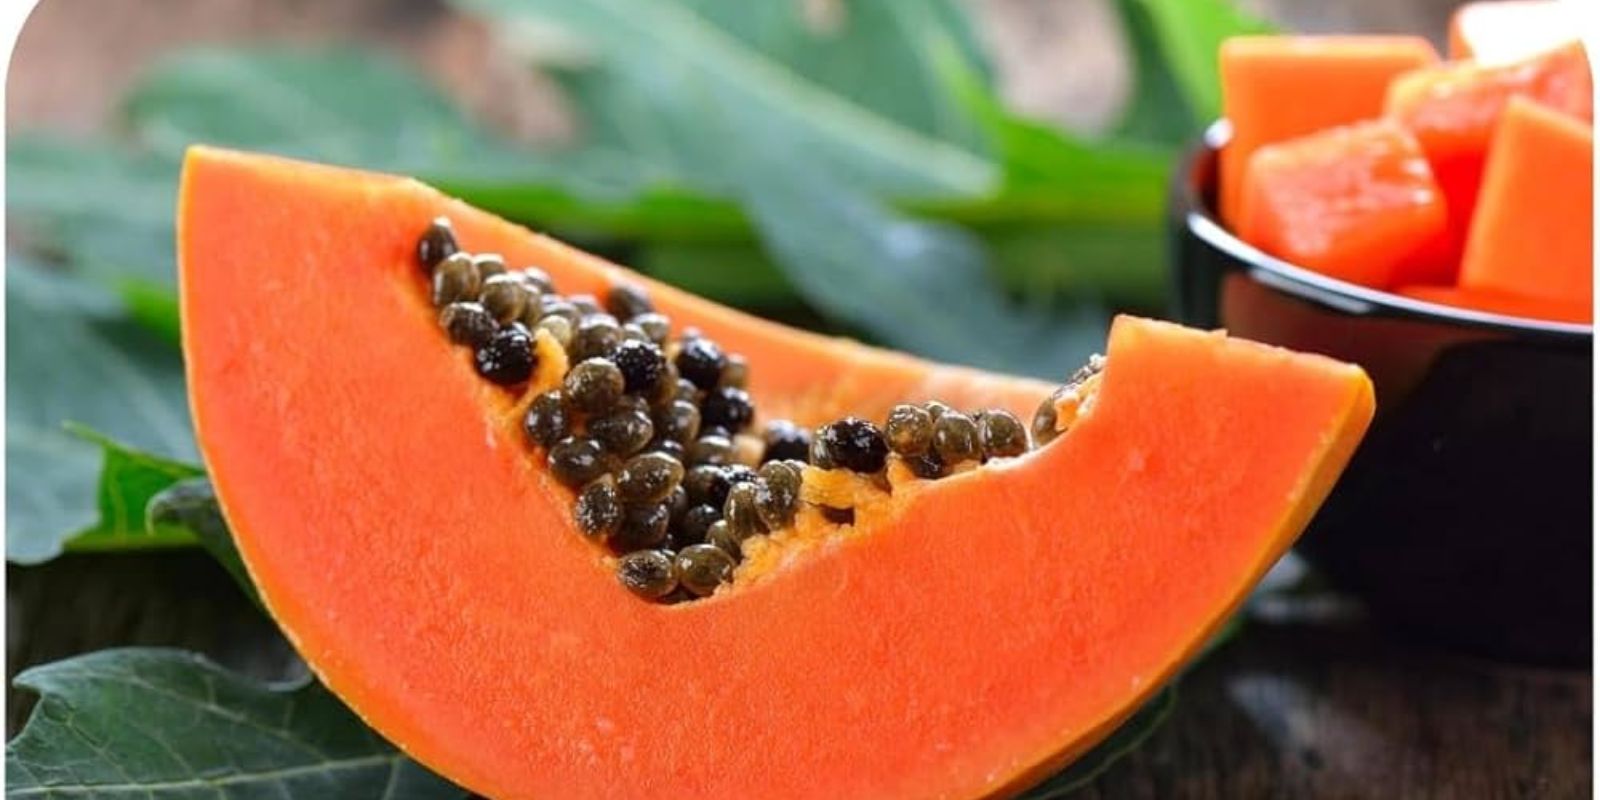
Papayas, with their sweet flavor and health benefits, are an excellent addition to any home garden. Known for being rich in vitamins A, C, and E, this tropical fruit can also be grown successfully in pots. If you lack garden space or live in a colder climate, you can still enjoy an abundant harvest of papayas by growing them in containers. This method also allows you to control the plant’s environment more easily, ensuring healthier growth and sweeter fruit. In this comprehensive guide, we’ll explore how to grow papaya at home in pots, from selecting the right container to nurturing your plant to full harvest.
Why Grow Papayas in Pots?
Growing papayas in pots is a great solution for gardeners with limited space or those living in colder regions where growing tropical plants outdoors year-round isn’t feasible. It also allows you to move your papaya plants indoors during cold weather, providing the warmth they need to thrive. Additionally, pot-grown papayas are often easier to maintain and monitor for pests, diseases, and water needs.
Selecting the Right Papaya Variety
Before you get started, choose the right variety of papaya that’s suited for container gardening. Dwarf papaya varieties, such as ‘Waimanalo,’ ‘Tainung,’ or ‘Dwarf Solo,’ are ideal for growing in pots due to their compact size. These varieties generally reach heights of 4-8 feet, making them much easier to manage compared to standard papaya plants, which can grow as tall as 30 feet.
Step-by-Step Guide to Growing Papaya in Pots
1. Choosing the Right Pot
Papaya plants have long taproots, so selecting the right pot size is crucial. A pot with a minimum depth of 18-24 inches and a width of at least 15-20 inches is ideal. Ensure that the pot has plenty of drainage holes to prevent water from accumulating at the bottom, which can lead to root rot.
Terracotta or plastic pots are good options, but remember that terracotta pots tend to dry out faster, requiring more frequent watering. Alternatively, plastic pots retain moisture better, but you’ll need to check that excess water can escape easily.
2. Soil Preparation
Papayas prefer well-draining, nutrient-rich soil. A mix of garden soil, compost, and perlite or sand works well. The compost provides essential nutrients, while the sand or perlite helps with drainage. Papayas are heavy feeders, so adding a slow-release organic fertilizer or a balanced all-purpose fertilizer during the soil preparation stage will give your plant a good start.
Make sure the pH of the soil is slightly acidic, ranging between 6.0 and 6.5, to encourage optimal nutrient uptake.
3. Planting Papaya Seeds or Seedlings
You can grow papayas from seeds or seedlings. Growing from seed is cost-effective and simple, though it will take longer for the plant to bear fruit. If you’re starting with seeds, choose fresh papaya seeds from a ripe fruit, wash them, and let them dry for a day or two.
- Sowing Seeds: Plant the seeds about ½ inch deep in the soil. Sow several seeds in the pot to ensure germination success. Once they sprout, thin them out to leave only the strongest seedling.
- Planting Seedlings: If starting with seedlings, transplant them carefully into the pot, making sure the root ball is intact. Position the plant so that the base of the stem is level with the soil surface.
4. Optimal Sunlight and Location
Papayas are sun-loving plants that require at least 6-8 hours of direct sunlight per day. Place the pot in the sunniest location you have, whether it’s on a patio, balcony, or windowsill. For colder climates, consider moving the pot indoors during winter and placing it near a south-facing window or under grow lights to provide the necessary warmth and light.
5. Watering and Moisture Management
Papayas have a high water requirement but are sensitive to overwatering. Keep the soil consistently moist, especially during the growing season, but avoid letting the plant sit in water. Overwatering can lead to root rot, so ensure the soil has good drainage and never let water pool at the bottom of the pot.
In warmer months, you may need to water your papaya plant daily or every other day, while in cooler weather, you can reduce watering to once every few days. Mulching the top of the soil with organic material like straw or bark chips helps retain moisture and regulate soil temperature.
6. Fertilizing for Healthy Growth
Papayas are heavy feeders, requiring regular fertilization to produce healthy foliage and fruit. Use a balanced fertilizer with a ratio of 10-10-10 or 14-14-14 during the initial growth stages, applying it every two to four weeks. Once the plant begins to flower, switch to a fertilizer that’s higher in phosphorus and potassium to promote fruiting.
You can also incorporate organic fertilizers like compost tea or fish emulsion for more natural nutrient supplementation. Be careful not to over-fertilize, as too much nitrogen can result in lush leaves but fewer fruits.
7. Pruning and Maintenance
Pruning is essential to manage the size and shape of your papaya plant in a container. Remove any dead or damaged leaves to allow more sunlight and airflow to reach the plant. You can also prune to control height by cutting back the main stem to encourage bushier growth.
Keep an eye out for pests such as aphids, whiteflies, and spider mites, which can affect the health of your papaya. Natural insecticides like neem oil or insecticidal soap are effective in keeping pests under control without harming your plant.
8. Pollination and Fruit Development
Papaya plants produce male, female, or hermaphrodite flowers. If you’re growing a hermaphrodite or self-pollinating variety, you won’t need to worry about pollination. However, if your plant produces only male or female flowers, you may need to hand-pollinate to ensure fruit development.
Hand-pollination can be done by gently brushing pollen from the male flowers to the female flowers using a small paintbrush. Once pollination is successful, the flowers will give way to small, green papayas that gradually grow larger and turn yellow as they ripen.
9. Harvesting Your Papayas
Papayas typically begin to bear fruit within 6-12 months of planting, depending on the variety. You’ll know it’s time to harvest when the fruit begins to turn from green to yellow and gives slightly when pressed. Use a sharp knife or pruning shears to cut the fruit from the stem, and enjoy the sweet reward of your labor!
If growing papayas in a colder climate, you may need to bring your plant indoors during the winter months to protect it from frost. With proper care, your papaya plant will continue to produce fruit for several years.
Final Tips for a Successful Harvest
- Temperature Control: Papayas are highly sensitive to cold, so make sure to protect them from temperatures below 50°F. If possible, move the pot indoors or cover the plant with frost cloth during colder months.
- Pest Control: Regularly inspect your plant for pests and treat any infestations promptly with organic pesticides.
- Soil Maintenance: Over time, the nutrients in the potting soil will become depleted. Refresh the soil by adding compost or repotting the plant as necessary.
Conclusion
Growing papayas in pots is a rewarding and enjoyable process that allows you to experience the joy of harvesting tropical fruit, even in small spaces. With the right pot, proper care, and a little patience, you can enjoy sweet, homegrown papayas in just a few months. Follow these simple steps and you’ll be well on your way to an abundant papaya harvest.
Ready to give it a try? Share your experience and tips with us! 🍃🌞 #PapayaHarvest #UrbanGardening #TropicalFruits #GrowYourOwnFood #ContainerGardening #HomegrownGoodness #GreenThumb