
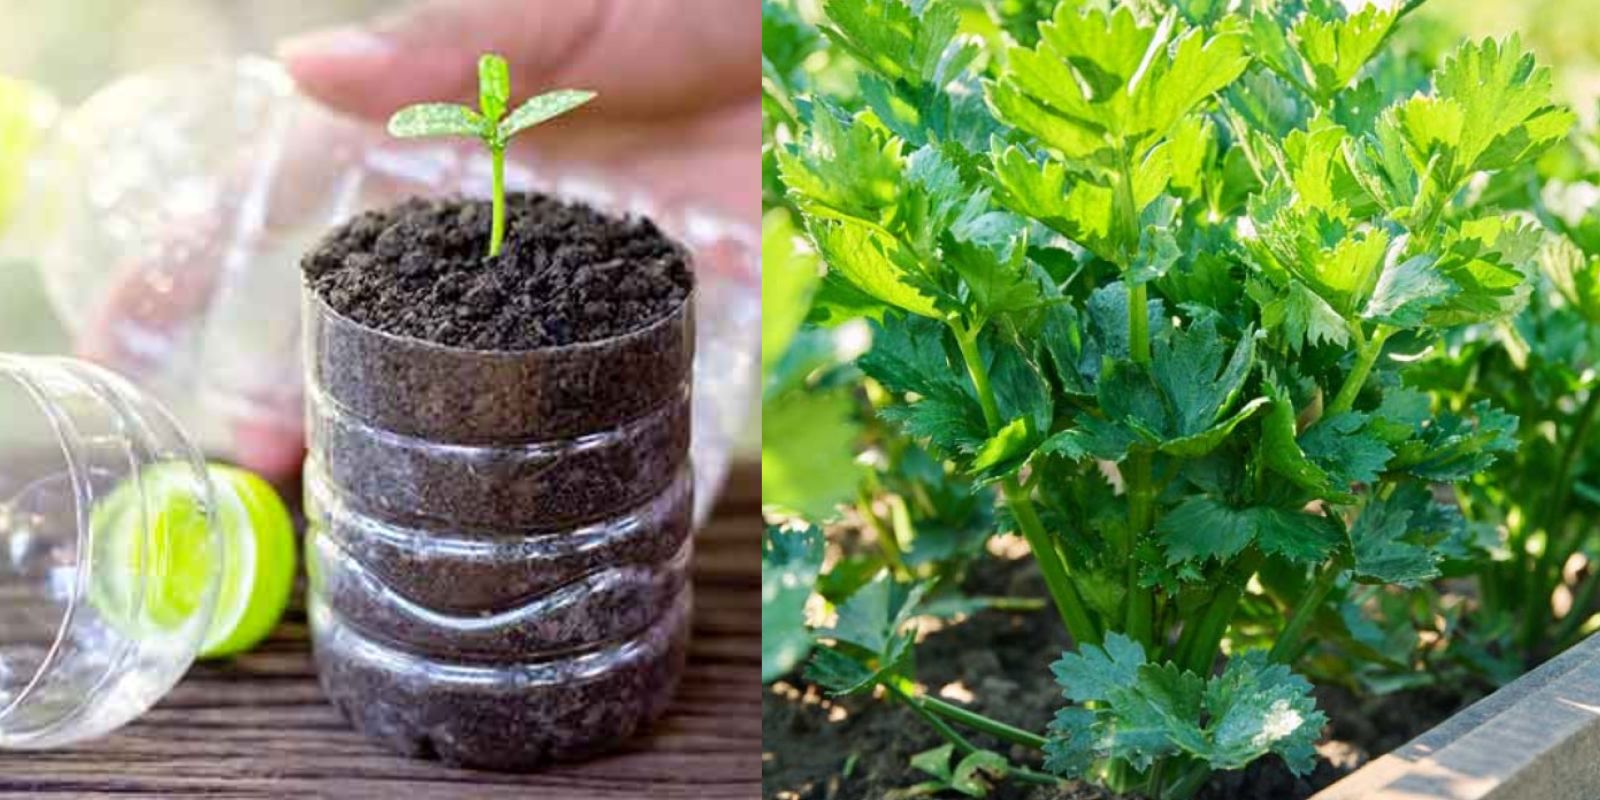
Gardening has gained popularity in recent years, especially as people become more conscious of where their food comes from and the environmental impact of their choices. One fantastic way to cultivate your own fresh produce is by using reusable materials, such as plastic bottles, which are often discarded after a single use. In this article, we will explore how to grow celery in reused plastic bottles, a sustainable and simple approach to home gardening that can provide you with crunchy, nutritious celery while reducing waste.
The Importance of Sustainable Gardening
Sustainable gardening practices focus on growing food in a way that is environmentally friendly, socially responsible, and economically viable. By incorporating sustainable methods, gardeners can contribute to the health of the planet and their communities. Using recycled materials, such as plastic bottles, minimizes waste and decreases the demand for new resources. Furthermore, growing your own food can lead to healthier eating habits, as fresh produce is often more nutritious and flavorful than store-bought options.
Why Celery?
Celery (Apium graveolens) is a versatile and healthy vegetable that can be enjoyed in salads, soups, and as a snack. It’s low in calories and rich in vitamins, minerals, and antioxidants, making it a fantastic addition to a balanced diet. Additionally, celery is relatively easy to grow, making it an excellent choice for beginner gardeners. Growing celery in plastic bottles allows you to maximize limited space while creating an eye-catching and eco-friendly gardening solution.
Step-by-Step Guide to Growing Celery in Plastic Bottles
Step 1: Gather Your Materials
Before getting started, gather all the necessary materials for your project:
- Plastic Bottles: Choose sturdy plastic bottles, such as 2-liter soda bottles or larger containers. Avoid using bottles that have held harmful chemicals.
- Potting Soil: Select high-quality potting soil that retains moisture and provides adequate drainage.
- Celery Seeds or Stalks: You can either use seeds or purchase celery stalks from the grocery store with the base intact.
- Scissors or a Utility Knife: To cut the bottles.
- A Sharp Object: To poke drainage holes (e.g., a screwdriver or a sharp knife).
- Watering Can or Spray Bottle: For watering your celery plants.
- Fertilizer (optional): A balanced liquid fertilizer can help nourish your plants.
Step 2: Prepare the Plastic Bottles
- Clean the Bottles: Thoroughly wash and rinse the bottles to remove any residues from their previous contents. This ensures that your plants won’t be exposed to harmful chemicals.
- Cut the Bottles: Using scissors or a utility knife, carefully cut each bottle in half. You’ll be using the bottom half as the planting container, so make sure to do this on a stable surface.
- Create Drainage Holes: Using a sharp object, poke several holes in the bottom of each bottle half. This will allow excess water to drain out, preventing root rot. Aim for about 4-6 holes, spaced evenly across the bottom.
Step 3: Fill the Bottles with Soil
- Add Potting Soil: Fill the bottom half of each bottle with high-quality potting soil, leaving about an inch of space at the top. Make sure to pack the soil lightly but firmly.
- Moisten the Soil: Before planting, water the soil gently to ensure it is evenly moist but not soggy. This will help create a conducive environment for seed germination.
Step 4: Plant Celery Seeds or Stalks
- Using Celery Seeds: If you choose to start from seeds, sprinkle a few seeds evenly on the soil’s surface. Cover the seeds with a thin layer of soil, about 1/4 inch deep.
- Using Celery Stalks: If you opt for celery stalks, take a stalk with the base intact and place the cut end into the soil. Ensure that the top part of the stalk remains above the soil surface. This allows for healthy growth and the possibility of regrowth.
Step 5: Water and Care for Your Celery
- Watering: After planting, gently water the soil to ensure it is evenly moist. Avoid overwatering, as this can lead to waterlogged soil and root rot. Using a watering can or spray bottle can help you control the amount of water you provide.
- Location: Place the bottles in a sunny location where they will receive at least 6 hours of direct sunlight each day. If you’re growing indoors, consider placing them near a south-facing window or under grow lights.
- Maintain Regular Care: Check the soil moisture regularly, and water as needed to keep the soil consistently moist. If the soil dries out completely, the plants may struggle to grow.
Step 6: Fertilizing Your Celery
- Fertilization: To encourage healthy growth, consider fertilizing your celery plants every 4-6 weeks. Use a balanced liquid fertilizer diluted to half strength and follow the manufacturer’s instructions for application. This will help provide essential nutrients for optimal growth.
Step 7: Monitor Growth and Harvest
- Growth Monitoring: Celery plants typically take about 3-4 months to mature, depending on the variety and growing conditions. Keep an eye on your plants as they grow, and ensure they receive adequate sunlight, water, and nutrients.
- Harvesting: Once your celery plants have reached a height of 8-12 inches and the stalks appear sturdy, you can begin harvesting. Use a sharp knife to cut the stalks at the base, leaving the roots intact. This encourages the plant to produce more stalks.
- Regrowth: If you harvested celery stalks with the base intact, you might notice new growth sprouting from the base. Continue caring for your plant, and you can enjoy multiple harvests from a single stalk!
Tips for Success
- Spacing: If planting multiple bottles, ensure they are spaced adequately to allow for airflow and sunlight.
- Pest Control: Watch for pests such as aphids and slugs. You can use insecticidal soap or organic pest deterrents to keep them at bay.
- Mulching: Consider adding a layer of mulch on top of the soil to help retain moisture and suppress weeds.
Conclusion
Growing celery in reused plastic bottles is a simple and sustainable way to enjoy fresh produce while reducing waste. By following these steps, you can cultivate your own crunchy, delicious celery in a fun and eco-friendly manner. Not only will you reap the benefits of home gardening, but you’ll also contribute positively to the environment by repurposing plastic bottles. So gather your materials, get started on your celery-growing journey, and enjoy the fruits (or rather, stalks) of your labor!
Call to Action
Share your celery-growing experiences and results on social media! Use the hashtags below to connect with other gardening enthusiasts and inspire them to join you in this sustainable gardening adventure.
Hashtags
SustainableGardening #HomeGardening #PlasticBottleGarden #GrowYourOwnFood #CeleryLove #EcoFriendly #UrbanGardening #GardeningForAll #DIYGarden #WasteNotWantNot
By incorporating these elements, you’ll create a detailed and engaging article that covers everything someone needs to know about growing celery in reused plastic bottles while maintaining a sustainable gardening ethos.