
When it comes to maintaining a beautiful and functional garden, few things are more annoying than a stubborn tree stump. Whether it’s leftover from a tree that has been felled or one that was never fully removed, these unsightly obstacles can hinder your planting, lawn care, and landscaping efforts. But worry not – you don’t need to hire expensive equipment or use harmful chemicals to get rid of it.
Grandpa’s ingenious technique, passed down through the generations, is an easy, effective, and eco-friendly solution to remove a stubborn tree stump without breaking the bank. Not only is it simple to do, but it also requires materials that are typically already available in most households. In this article, we will walk you through each step of this creative process and how you can tackle that annoying stump once and for all.
Why Remove a Stubborn Tree Stump?
Before we dive into the solution, let’s talk about why you should consider removing a tree stump in the first place. While tree stumps may not seem like a big deal at first, they can pose several challenges to your garden:
- Space Utilization: A tree stump takes up valuable space in your garden that could be used for planting new flowers, vegetables, or other trees.
- Pest Attraction: Over time, tree stumps can become a home for pests like ants, termites, and even rodents. These pests can invade your garden or home if left unchecked.
- Safety Hazard: A protruding stump can be a tripping hazard, especially if you have children or pets running around the yard.
- Aesthetics: A tree stump can be an eyesore in an otherwise well-maintained garden. It’s often difficult to hide or incorporate into your landscaping design.
Now that we understand why it’s important to remove tree stumps, let’s explore Grandpa’s time-tested method for tackling this task without breaking a sweat.
Step-by-Step Guide to Removing a Stubborn Tree Stump
Grandpa’s method is simple and relies on patience and natural processes to decompose the stump, making it easier to remove. Follow these steps to rejuvenate your garden and reclaim your space:
Step 1: Cut the Stump Low
The first thing you’ll need to do is cut the tree stump as low to the ground as possible. The closer the stump is to the soil, the less effort will be required to break it down later.
- Tools Needed: A handsaw, chainsaw, or a pruning saw will work best for cutting through the wood.
- Tip: If the stump is large, a chainsaw is your best option for a clean, low cut. Smaller stumps can be handled with a handsaw or pruning saw.
Be cautious while cutting and ensure you wear proper safety gear, such as gloves and goggles, to avoid injury.
Step 2: Drill Holes in the Stump
Once the stump is trimmed, it’s time to drill holes in the center and sides of the stump. This step is crucial because the holes will allow moisture and air to penetrate the stump and speed up the decomposition process.
- Tools Needed: A power drill and a wide drill bit (around 1 to 2 inches in diameter).
- Where to Drill: Drill multiple holes deep into the top and around the sides of the stump. These holes should be spaced several inches apart. You can also drill holes at an angle to reach deeper into the core of the stump.
- Tip: The deeper and more holes you drill, the faster the decomposition process will be.
This step is where Grandpa’s secret really kicks in, as it helps break down the fibers of the wood quickly. It also makes the next step more effective.
Step 3: Add Epsom Salt or Rock Salt
Now that you’ve drilled holes, it’s time to introduce the key ingredient – salt! Salt, particularly Epsom salt or rock salt, is a natural desiccant that draws moisture out of the wood and accelerates decomposition. It also prevents regrowth by drying out the remaining roots and wood.
- Tools Needed: Epsom salt or rock salt.
- How to Apply: Fill each hole you drilled with the salt. You want the salt to go as deep as possible into the stump’s interior, so be sure to pack the holes well.
- Tip: Be generous with the salt. If necessary, pour a small amount of water to help the salt soak into the stump, but do not over-saturate it.
This step can take some time to take full effect, but it’s one of the most cost-effective ways to break down a stubborn stump without using harsh chemicals.
Step 4: Water Lightly
After adding the salt, lightly water the stump. This step helps the salt to dissolve into the wood, allowing it to work its magic. Avoid drenching the stump, as too much moisture can slow the decomposition process.
- Tip: If the weather is particularly dry, you may need to water the stump lightly every few days to keep the salt active.
Step 5: Cover It Up
Next, you’ll want to cover the stump with a tarp, large plastic sheet, or a heavy cloth. This will block out sunlight and help retain moisture, creating the perfect environment for decomposition.
- Why Cover It? The tarp helps keep the stump moist and in the dark, which speeds up the rotting process. It also keeps out pests and prevents any unwanted regrowth from the stump.
- Tip: Ensure the tarp is secured tightly around the stump so no moisture escapes.
Step 6: Wait Patiently
This step requires a bit of patience, but it’s well worth it in the end. Allow the stump to decompose over the course of several weeks to several months. The salt will gradually break down the fibers of the wood, making it easier to remove. During this time, the stump will begin to soften.
- Patience is Key: The process can take anywhere from 2 to 6 months depending on the size of the stump and the weather conditions. It’s crucial to be patient and let nature do its work.
- Tip: Check the stump periodically for signs of decomposition. If it feels soft or mushy, it’s likely ready for removal.
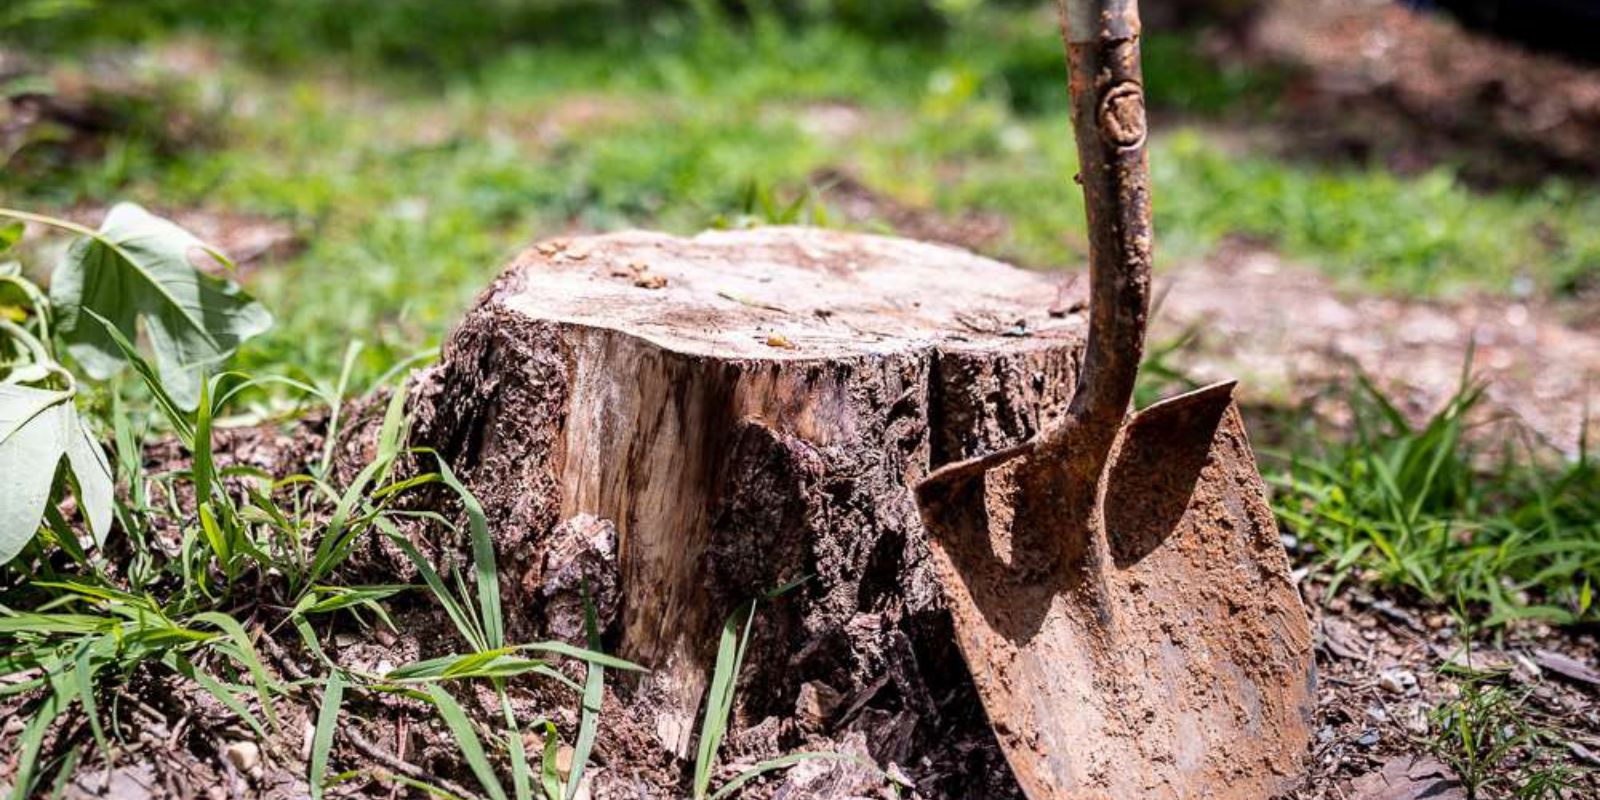
Step 7: Burn or Dig It Out
Once the stump has softened and decomposed sufficiently, it’s time to remove it.
- Burning: If it’s safe and legal to do so in your area, you can set the stump on fire. This will quickly burn away any remaining wood, leaving only ash behind.
- Digging: If burning is not an option, use a shovel or pickaxe to dig around the base of the stump and expose the roots. Once you’ve loosened the roots, you should be able to pull the stump out by hand or with minimal effort.
Be sure to remove any remaining root pieces to prevent regrowth.
The Benefits of Grandpa’s Method
This clever method for stump removal has several advantages:
- Cost-Effective: All you need are basic tools and some salt. It’s a much cheaper alternative than hiring a professional or renting equipment.
- Eco-Friendly: Unlike chemical stump removers, this natural method doesn’t harm the environment.
- Minimal Effort: While it takes time, it requires little physical labor. Once you’ve set up the stump for decomposition, you can leave it to do its thing.
- No Heavy Machinery: Grandpa’s method avoids the need for expensive, noisy, and bulky equipment, making it ideal for smaller gardens and those with limited space.
Conclusion
Removing a stubborn tree stump doesn’t have to be a daunting task. Thanks to Grandpa’s ingenious trick, you can remove the stump naturally and efficiently, giving your garden back its valuable space and beauty. Whether you choose to dig it out or burn it, this eco-friendly method ensures that your garden remains lush, safe, and pest-free.
So, if you’re dealing with an annoying tree stump in your garden, why not give Grandpa’s trick a try? Let patience and natural decomposition work for you, and you’ll have a stump-free garden in no time. Happy gardening!
Have you tried Grandpa’s stump removal method? Let us know how it worked for you in the comments! 🌱
#TreeStumpRemoval #GardeningHacks #EcoFriendlyGardening #DIYGarden #BackyardTips #GreenThumb #GardeningCommunity #GardenProjects #StumpFreeGarden