
Introduction:
Grafting is a time-honored horticultural technique that allows gardeners to propagate trees, combine desirable traits, and improve plant resilience. While traditional grafting methods typically involve hand tools and careful alignment of cambium layers, using a drill can offer a modern, efficient twist to this process. In this article, we’ll explore the innovative approach of grafting trees using a drill, providing a comprehensive guide to this unique method.
Understanding Tree Grafting:
Grafting involves joining two plant parts—the rootstock and the scion—in such a way that they grow together as one. The rootstock provides the root system and overall structure, while the scion contributes to the fruit, flower, or leaf characteristics of the plant. Successful grafting relies on the alignment of the cambium layers (the growing tissue) of both parts, which is essential for nutrient and water transport.
Why Use a Drill for Grafting?
Using a drill for grafting can offer several benefits:
- Precision: Drills provide consistent hole sizes, ensuring a snug fit for the scion.
- Efficiency: This method can speed up the grafting process by reducing manual effort and increasing accuracy.
- Clean Cuts: A drill can make cleaner, more uniform holes compared to hand tools.
Step-by-Step Guide to Drilling for Grafting:
- Select the Right Trees:
- Choose healthy and compatible trees for grafting. The rootstock should be robust and disease-free, while the scion should come from a tree with desirable traits. Common pairings include apple rootstocks with apple scions or peach rootstocks with peach scions.
- Gather Your Tools:
- You’ll need a drill, drill bits (matching the diameter of your scion), a grafting knife or saw, grafting wax or sealant, and a cleaning solution for sterilizing your tools.
- Prepare the Rootstock:
- Select the Rootstock: Choose a healthy rootstock that matches the diameter of your scion.
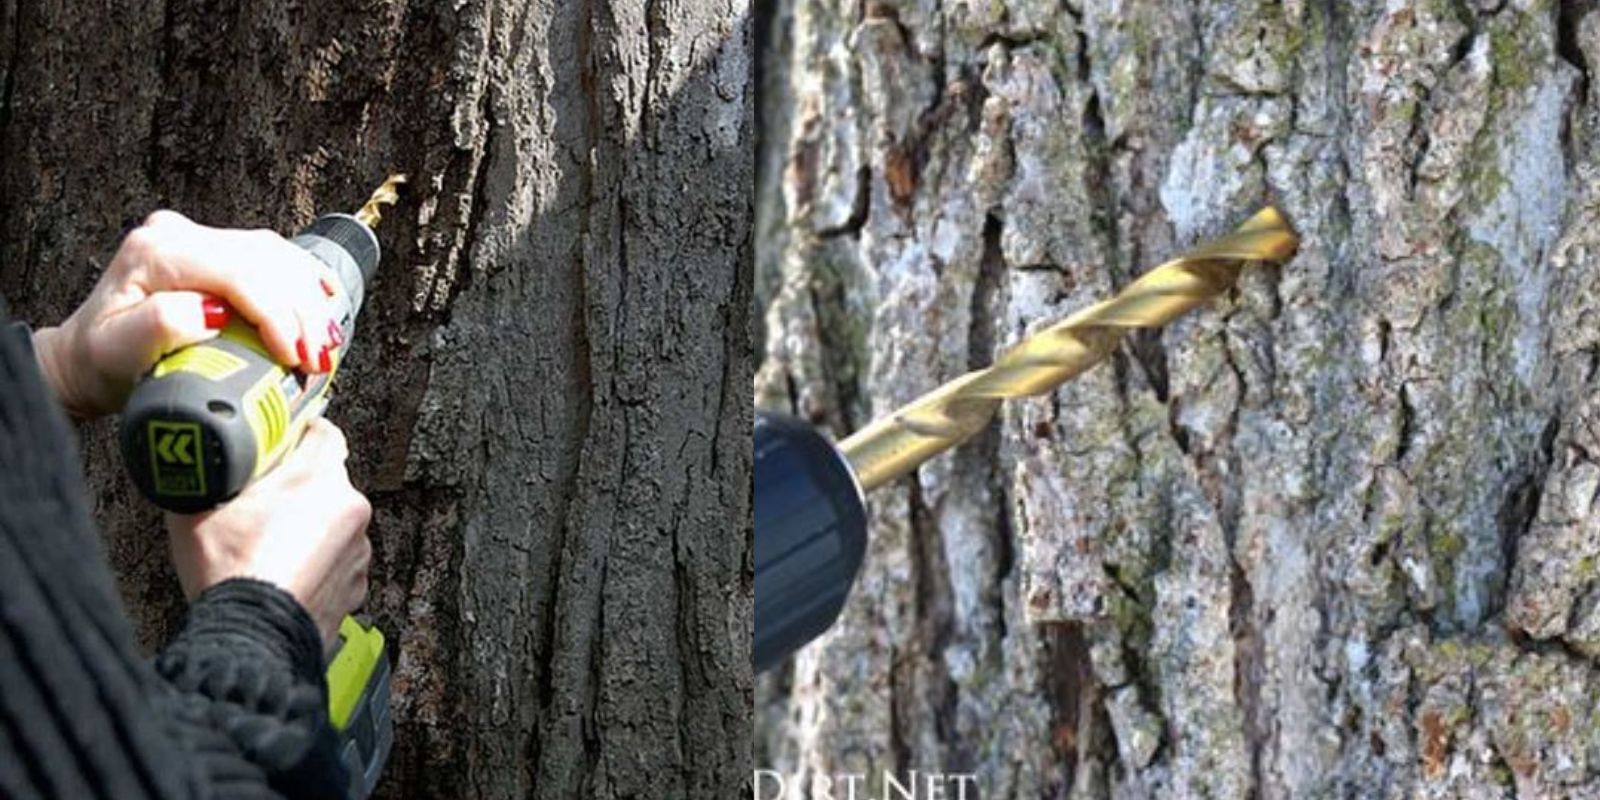
- Drill the Hole: Using a drill bit that matches the diameter of your scion, drill a hole into the rootstock. The depth should be sufficient to accommodate the entire length of the scion but should not penetrate all the way through the rootstock.
- Prepare the Scion:
- Trim the Scion: Cut the scion to the appropriate length and shape so that it fits snugly into the hole. The cut should be clean and match the diameter of the hole in the rootstock.
- Check the Cambium Layers: Ensure the cambium layers of the scion are aligned with those of the rootstock. Proper alignment is crucial for a successful graft.
- Insert the Scion:
- Gently insert the scion into the drilled hole. Make sure it is firmly seated and that the cambium layers are in contact. If necessary, use a grafting knife to adjust the fit.
- Seal the Graft:
- Apply Grafting Wax or Sealant: After inserting the scion, apply grafting wax or sealant around the graft area. This helps protect the graft from disease, pests, and moisture loss.
- Secure the Graft: If needed, use grafting tape or bands to hold the scion in place until the graft has taken.
- Care for the Grafted Tree:
- Watering: Keep the grafted tree well-watered but not waterlogged. Regular watering helps support the grafting process and promotes healthy growth.
- Light and Temperature: Place the tree in a location with appropriate light and temperature conditions for its species. Avoid extreme temperatures and direct sunlight that could stress the graft.
- Monitor Growth: Check the graft site regularly for signs of growth and ensure that the graft is taking. Look for new shoots or leaves emerging from the scion.
Troubleshooting Common Issues:
- Graft Failure: If the graft does not take, it may be due to poor alignment, incorrect hole size, or inadequate sealing. Ensure that the scion and rootstock are compatible and that all steps are followed carefully.
- Disease or Pests: Monitor the graft site for signs of disease or pests. If detected, take appropriate measures to address the issue, such as applying organic treatments or removing infected parts.
Motivation:
Experimenting with innovative techniques like using a drill for grafting can enhance your gardening skills and lead to more successful tree propagation. The precision and efficiency offered by this method make it an exciting option for gardeners looking to improve their grafting techniques. Try it out and see the results for yourself—share your experiences and inspire others to explore new methods in horticulture!
Conclusion:
Grafting trees with a drill is a modern twist on a classic technique that offers precision and efficiency. By following the steps outlined in this guide, you can successfully propagate trees and enjoy the benefits of enhanced fruit production, improved plant resilience, and a more streamlined grafting process. Embrace this innovative method and watch your trees flourish as a result of your efforts. Happy grafting!