
Growing your own herbs can be one of the most rewarding experiences for any home gardener. Among the multitude of herbs, anise (Pimpinella anisum) stands out not only for its distinctive flavor but also for its numerous culinary and medicinal uses. This aromatic herb is native to the eastern Mediterranean and Southwest Asia and is often recognized for its sweet, licorice-like flavor. Growing anise at home can provide you with a fresh supply of this spice while also adding beauty and fragrance to your garden. In this comprehensive guide, we’ll explore everything you need to know about cultivating anise from seed to spice right in your own pots.
Understanding Anise
Before we dive into the growing process, it’s essential to understand what anise is and its significance. Anise is a flowering plant belonging to the Apiaceae family, which includes other herbs such as parsley and fennel. The seeds of anise are commonly used as a spice in cooking and baking and are known for their ability to enhance flavors in various dishes, from baked goods to savory meals.
In addition to culinary uses, anise has been traditionally valued in herbal medicine for its digestive properties, and its essential oil is often used in aromatherapy. With such a versatile plant at your fingertips, it’s no wonder that more gardeners are eager to grow anise in their own backyards or on their balconies.
Step 1: Choosing the Right Seeds
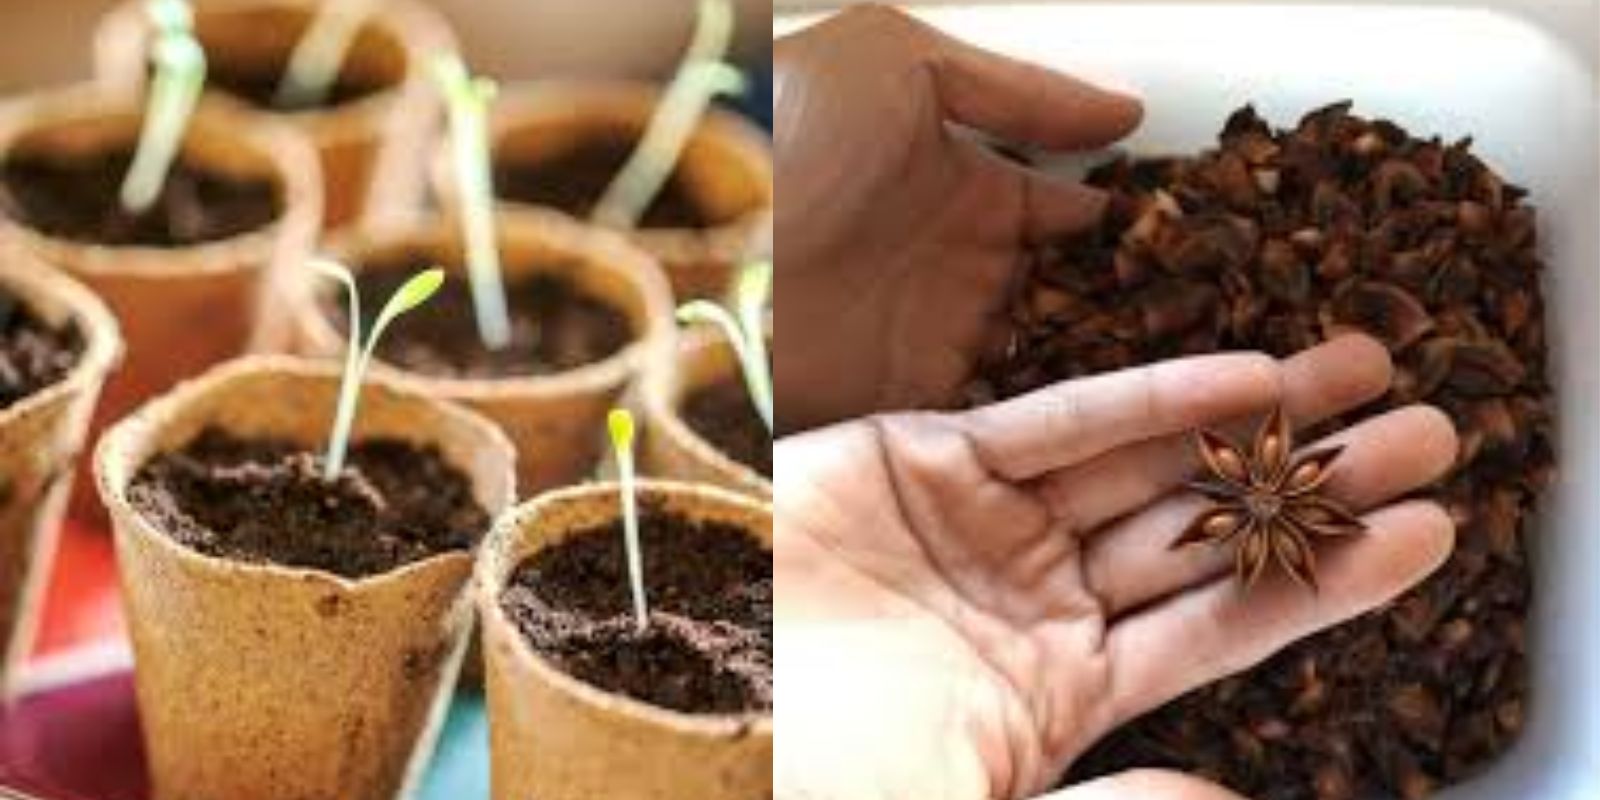
The first step to growing anise is selecting the right seeds. Anise seeds are widely available at garden centers, nurseries, and online retailers. When purchasing seeds, ensure they are labeled as “Pimpinella anisum.” Opt for organic seeds if possible, as they are less likely to be treated with chemicals and pesticides. Check the seed packet for information on germination rates and planting dates to ensure a successful crop.
Step 2: Selecting the Right Pot
Anise can be grown in various containers, making it a fantastic option for gardeners with limited space. When choosing a pot, consider the following:
- Size: A pot that is at least 12 inches in diameter will give your anise plants enough room to grow. If you plan to grow multiple plants, opt for a larger container.
- Material: Terracotta, ceramic, or plastic pots work well. Ensure the pot has drainage holes at the bottom to prevent water from accumulating, as anise prefers well-draining soil.
- Mobility: If you live in an area with fluctuating temperatures, consider using pots with wheels or lightweight materials, allowing you to move your plants as needed.
Step 3: Preparing the Soil
The next step is to prepare the soil for your anise plants. Anise prefers rich, well-draining soil with a slightly alkaline pH (around 6.0 to 7.0). Here’s how to prepare the perfect potting mix:
- Base Mix: Use a quality potting mix as your base. You can purchase pre-made potting soil from a garden center or create your own by mixing equal parts of peat moss, compost, and perlite or vermiculite.
- pH Adjustment: Test the pH of your soil using a pH testing kit. If the soil is too acidic, you can add lime to raise the pH. Follow the package instructions for the correct amount based on your soil volume.
- Nutrients: Incorporate organic fertilizers, such as well-rotted compost or a balanced fertilizer, into your soil mix. This will provide the necessary nutrients for healthy plant growth.
Step 4: Sowing the Seeds
Once your soil is prepared, it’s time to sow the seeds. Here’s how to do it effectively:
- Timing: Anise is best sown in the spring after the last frost, as it thrives in warm temperatures. If you live in a cooler climate, you can start seeds indoors about 6-8 weeks before the last expected frost.
- Planting Depth: Sow the seeds about 1/4 inch deep in the soil. If you’re planting multiple seeds in the same pot, space them at least 12 inches apart to allow for proper growth.
- Watering: After sowing, water the seeds gently to keep the soil moist but not soggy. It’s essential to avoid overwatering, which can lead to root rot.
Step 5: Providing Optimal Growing Conditions
Anise requires specific growing conditions to thrive. Here are some key factors to consider:
- Sunlight: Anise plants love the sun! Place your pot in a location that receives at least 6 hours of direct sunlight daily. If you’re growing indoors, a south-facing window is ideal.
- Temperature: Anise prefers warm temperatures ranging from 60°F to 75°F (15°C to 24°C). If you’re starting seeds indoors, use a heat mat to maintain consistent warmth.
- Humidity: While anise can tolerate a range of humidity levels, it thrives in moderate humidity. If your indoor environment is too dry, consider misting the plants or using a humidity tray.
Step 6: Thinning the Seedlings
As your anise seeds germinate, you’ll notice small seedlings emerging. Once they reach a few inches in height, it’s essential to thin them out:
- Identifying Strong Seedlings: Choose the healthiest, strongest seedlings to keep. Ideally, you should have one plant per 12 inches of space.
- Removing Weaker Seedlings: Use scissors to snip off the weaker seedlings at the soil line, being careful not to disturb the roots of the remaining plants.
Step 7: Caring for Your Anise Plants
With your anise seedlings established, it’s time to provide ongoing care to ensure healthy growth:
- Watering: Water the plants regularly, allowing the top inch of soil to dry out between waterings. Anise prefers evenly moist soil but can’t tolerate standing water.
- Fertilization: Fertilize your anise plants every 4-6 weeks with a balanced liquid fertilizer, following the package instructions. This will provide the necessary nutrients for robust growth.
- Weed Control: Keep the area around your anise plants weed-free. Weeds compete for nutrients and water, so remove them as soon as they appear.
- Pest Management: Monitor your plants for common pests such as aphids and spider mites. If you notice any infestations, treat them promptly with insecticidal soap or neem oil.
Step 8: Harvesting Leaves
Once your anise plants are well-established, you can start harvesting the leaves:
- Timing: Begin harvesting when the plants are around 6 inches tall. The leaves can be cut as needed, but avoid removing more than one-third of the plant at a time.
- Methods: Use clean, sharp scissors to snip off the leaves, taking care not to damage the plant. Fresh leaves can be used in cooking or can be dried for later use.
Step 9: Waiting for Seeds
If you want to harvest anise seeds, you’ll need to allow your plants to flower:
- Flowering: Anise typically flowers in mid-summer, producing small white or yellow flowers that form clusters.
- Seed Production: Once the flowers are pollinated, they will develop seed heads. Allow the seed heads to mature and dry on the plant.
- Harvesting Seeds: When the seed heads turn brown and dry, cut them off and place them in a paper bag to finish drying. Once fully dried, shake the bag to release the seeds.
Step 10: Storing Seeds
To preserve the flavor and potency of your harvested anise seeds:
- Container: Store the seeds in an airtight container, such as a glass jar or a sealed plastic bag.
- Cool, Dry Place: Keep the container in a cool, dark place to protect the seeds from moisture and light, which can degrade their quality.
- Labeling: Don’t forget to label your container with the date and type of seed for easy reference in the future.
Conclusion
Growing anise at home is not only a delightful gardening project but also an opportunity to enrich your culinary experiences with fresh, homegrown spices. With its sweet, aromatic flavor and versatile uses, anise is a fantastic addition to any herb garden, whether you have a spacious backyard or just a small balcony. By following these steps from seed to spice, you’ll be able to enjoy the satisfaction of cultivating your own anise and experimenting with it in your favorite recipes. So grab your pots, sow those seeds, and embark on your anise-growing journey today!
Happy gardening! 🌱✨
#GrowYourOwn #Anise #HerbGarden #HomeGardening #SpiceItUp #GardeningTips