
When it comes to gardening, keeping tools, pots, and supplies organized can be a challenge. But what if you could create a budget-friendly storage solution with just a little effort? Enter the humble pallet—a versatile, easy-to-find material that can be transformed into a stunning and functional piece of garden storage. In this article, we’ll guide you through every step of turning a wooden pallet into a customized storage unit that’s perfect for your gardening needs.
Why Choose a Pallet for Garden Storage?
Pallets are not only affordable (or often free!) but also eco-friendly. By upcycling a pallet, you’re giving new life to a material that might otherwise go to waste. Plus, the slats and sturdy design of pallets make them ideal for adding shelves, hooks, or compartments to store your gardening essentials.
Materials You’ll Need
To get started, gather the following materials and tools:
- One wooden pallet (in good condition)
- Sandpaper or an electric sander
- Paint, stain, or wood sealer (optional)
- Wood screws and a drill
- Additional wood planks for shelves (if needed)
- Hooks or nails for hanging tools
- A level and measuring tape
- Safety gloves and goggles
Step 1: Choose the Right Pallet
The foundation of your project starts with the pallet. Look for one that is sturdy, with no signs of rot or major damage. Avoid pallets that have been treated with harmful chemicals—look for the “HT” (heat-treated) stamp, which indicates it’s safe for reuse.
Step 2: Clean and Prep the Pallet
Once you’ve found the perfect pallet, clean it thoroughly to remove dirt, grease, or any contaminants. Use a mixture of warm water and mild detergent, and allow it to dry completely.
After cleaning, sand down rough edges and splinters. This not only improves the look but also makes it safer to handle, especially if you’re adding shelves or hooks.
Step 3: Customize the Pallet
Decide how you’d like to use your pallet storage. Here are a few ideas:
- Shelves: Add horizontal planks across the slats to create small shelves for pots, gloves, or seeds.
- Hooks: Attach hooks or nails to hang tools like trowels, pruners, and watering cans.
- Compartments: Use the existing pallet slots to create compartments for small items or add dividers for better organization.
Mark your measurements and drill in screws to secure your additions.
Step 4: Add a Personal Touch
Customize your pallet with a coat of paint or stain to match your garden’s aesthetic. This step is optional but adds a polished look while protecting the wood from weather exposure. Use an outdoor-grade wood sealer if you prefer a natural finish.
Step 5: Mount It Securely
Decide where you want to place your pallet storage. You can:
- Mount it to a Wall or Fence: Use brackets or screws to fix it securely to a sturdy surface.
- Stand it Upright: Lean it against a wall or anchor it with additional support to ensure stability.
- Lay it Flat: If you prefer, lay the pallet flat and use it as a low-profile storage or display unit.
Check the alignment with a level and tighten screws to avoid wobbling.
Step 6: Organize Your Garden Tools
Now comes the fun part—organizing your tools and supplies! Hang larger tools on hooks, stack pots on shelves, and tuck smaller items into compartments. With everything neatly arranged, you’ll save time and effort searching for what you need during gardening tasks.
Step 7: Maintain and Enjoy
To keep your pallet storage looking great, inspect it periodically for signs of wear or weather damage. Reapply sealer or paint as needed to maintain its durability.
Creative Variations
Looking for more inspiration? Here are some creative twists to make your pallet storage even more versatile:
- Add a Chalkboard or Pegboard: Attach a chalkboard to jot down gardening notes or a pegboard for additional tool organization.
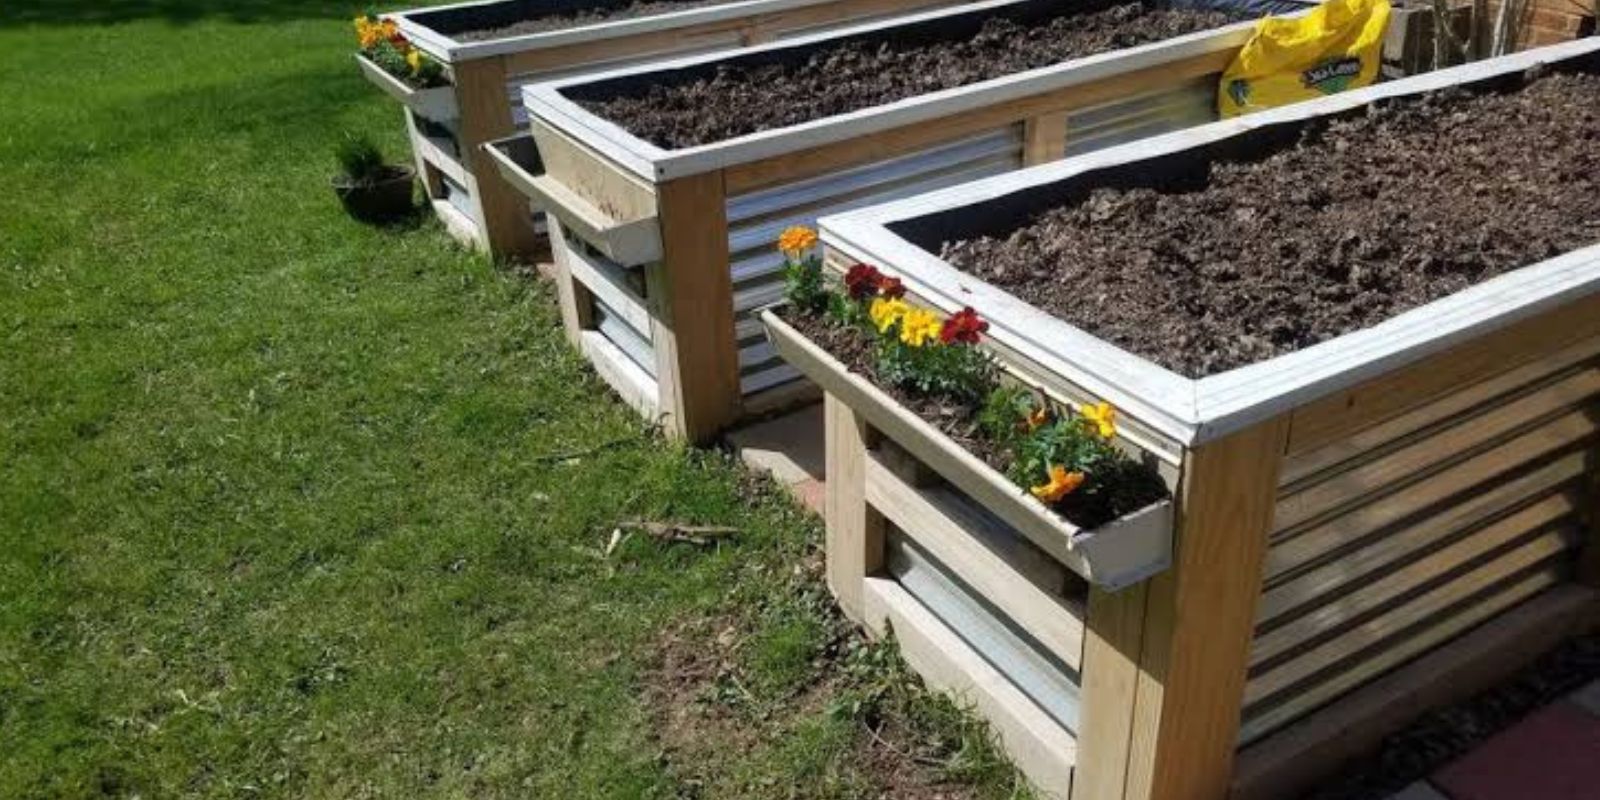
- Incorporate Planters: Use the pallet as a vertical garden by adding pots or planting directly into the compartments.
- Create a Mobile Unit: Add wheels to the base of the pallet for a movable storage solution.
Why This Project Is a Game-Changer
This DIY pallet project isn’t just about organization—it’s a way to upcycle materials, add charm to your garden, and simplify your gardening routine. With minimal tools and effort, you can create a custom storage solution that’s as practical as it is stylish.
Final Thoughts
Transforming a pallet into garden storage is a budget-friendly and eco-conscious project that anyone can tackle. Whether you’re a seasoned gardener or just starting out, this easy DIY solution will help you keep your tools in order while adding personality to your garden space.
💬 How would you customize your pallet storage? Share your ideas and tips below!
🌱 #DIYGarden #SustainableLiving #UpcycledProjects #GardenOrganization