
Roses have long been cherished for their beauty and fragrance, making them a beloved choice for gardens and floral arrangements. Propagating roses from cuttings is a practical and cost-effective way to expand your rose collection or share your favorite varieties with friends and family. If you’ve ever wondered how to turn leftover rose cuttings into thriving new plants, this guide will walk you through a straightforward and effective method. By following these steps, you’ll be able to transform those seemingly insignificant scraps into lush, blooming roses.
Why Propagate Roses from Cuttings?
Rose propagation via cuttings is popular because it is relatively easy and inexpensive compared to other methods like grafting or growing from seeds. Here are a few reasons why propagating roses from cuttings is a great choice:
- Preserves Varieties: It ensures that the new plants are identical to the parent plant, preserving specific traits like color and fragrance.
- Cost-Effective: It’s a budget-friendly way to grow more roses without purchasing new plants.
- Simplicity: The process is straightforward and doesn’t require specialized tools or extensive experience.
Materials Needed
Before you begin, gather the following materials:
- Rose Cuttings: Select cuttings from healthy, disease-free rose plants.
- Sharp Scissors or Pruning Shears: For making clean cuts.
- Rooting Hormone (Optional): To encourage root growth.
- Potting Soil: Well-draining mix suitable for roses.
- Small Pots or Containers: For planting the cuttings.
- Plastic Bag or Clear Container: To create a humid environment.
- Water: Room temperature.
Step-by-Step Guide to Propagating Roses from Cuttings
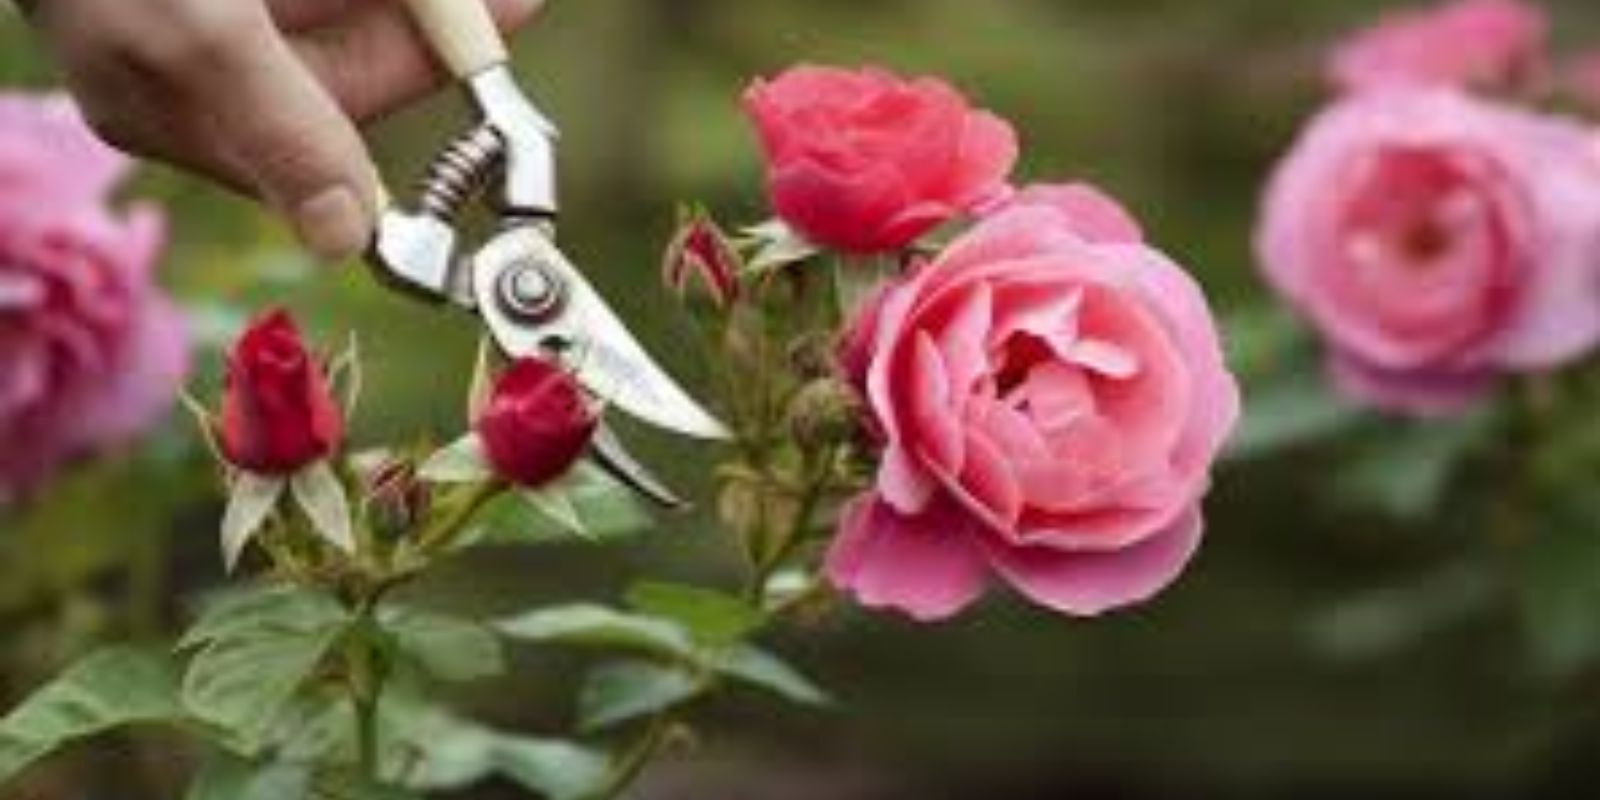
- Choose Healthy Cuttings Start by selecting a healthy rose plant from which to take cuttings. The best cuttings come from vigorous, disease-free plants. Ideally, choose stems that are firm and have recently bloomed. Avoid using cuttings from plants that are stressed or have signs of pests or disease. Use sharp scissors or pruning shears to cut a 6-8 inch length of stem. Make the cut just below a leaf node (the point where a leaf attaches to the stem). This node is crucial because it is where the roots will emerge.
- Prepare the Cuttings After cutting the stem, remove any leaves from the lower half of the cutting. This helps to reduce water loss and allows the cutting to focus its energy on root development. Leave a few leaves at the top of the cutting to provide the plant with necessary nutrients during the rooting process. To improve the chances of successful rooting, you can dip the cut end of the stem in rooting hormone powder. Rooting hormone contains growth-promoting compounds that stimulate root development. While this step is optional, it can significantly increase the likelihood of successful propagation.
- Plant in Soil Prepare small pots or containers with well-draining potting soil. You can use a mix specifically designed for roses or a general-purpose potting mix amended with sand or perlite to enhance drainage. Make a small hole in the soil using a pencil or stick, and gently place the cutting into the hole. Firm the soil around the base of the cutting to ensure it is secure. Water the soil lightly to settle it around the cutting.
- Water and Cover Water the soil thoroughly, but avoid making it soggy. The soil should be moist but not waterlogged. To create a humid environment that encourages root development, cover the pot with a plastic bag or a clear container. This helps to retain moisture and creates a mini-greenhouse effect that promotes rooting. If you’re using a plastic bag, make sure it doesn’t touch the cutting by using small stakes or sticks to create space. This prevents mold and mildew from developing.
- Provide Light Place the pot in a location that receives bright, indirect light. Direct sunlight can be too harsh and may cause the cutting to overheat or dry out. A spot with filtered light or near a window with morning sun is ideal. The light helps the cutting photosynthesize and provides the energy needed for root development.
- Monitor and Maintain Check the cutting regularly to ensure the soil remains moist and the environment stays humid. If you notice condensation forming inside the cover, this is a good sign that the humidity is high. However, if you see mold or mildew, remove the cover briefly to allow for ventilation and adjust the humidity level. After a few weeks, gently tug on the cutting to check for resistance. If you feel resistance, this indicates that roots have begun to form. Once the roots are well-developed, usually within 6-8 weeks, you can transplant the cutting into a larger pot or directly into the garden.
- Transplant and Care When the cutting has established a strong root system, it’s time to transplant it into a larger pot or your garden. Prepare the planting site or pot with well-draining soil and plant the rooted cutting, making sure to plant it at the same depth it was growing in the propagation container. Water the newly transplanted rose thoroughly and provide it with a location that receives plenty of sunlight. Continue to care for it as you would a mature rose, including regular watering, feeding with a balanced fertilizer, and pruning as needed.
- Enjoy Your Roses With proper care, your propagated rose plant will flourish and produce beautiful blooms. Enjoy the satisfaction of growing new roses from cuttings and share your success with friends and fellow gardeners.
Conclusion
Propagating roses from cuttings is a rewarding and straightforward method that allows you to expand your garden with minimal cost and effort. By following these simple steps, you can successfully grow new rose plants from the cuttings you might otherwise discard. Whether you’re a seasoned gardener or just starting out, this method is an excellent way to propagate your favorite rose varieties and add vibrant blooms to your garden or home. So, grab those rose cuttings, get started, and watch as your garden blossoms with new life! 🌹🌱