
Gardening is not just about planting; it’s also about creating functional and aesthetically pleasing structures that support plant growth. Trellises play a vital role in any garden, providing vertical support for climbing plants such as cucumbers, beans, peas, and flowering vines. While commercial trellises are readily available, crafting your own from recycled materials adds a personal touch and contributes to sustainability efforts. In this article, we’ll explore a variety of DIY recycled trellis ideas that will transform your garden into a green oasis while reducing your environmental footprint.
Why Choose Recycled Materials?
Using recycled materials for your garden projects is not only environmentally responsible but also allows you to repurpose items that might otherwise end up in landfills. It’s a creative way to give new life to old objects while adding unique character to your garden. By opting for recycled trellis ideas, you can showcase your ingenuity and commitment to sustainability, all while enhancing the functionality and beauty of your outdoor space.
DIY Recycled Trellis Ideas
Let’s delve into a selection of DIY trellis projects that utilize recycled materials, each offering a blend of practicality and creativity for your garden:
1. Pallet Trellis
Materials Needed: Old pallet, screws or nails, pots or planting pockets, soil.
Instructions:
- Prepare the Pallet: Stand the pallet upright with the slats running vertically. Secure any loose boards and ensure stability.
- Attach Planting Pockets: Fix pots or create planting pockets using landscape fabric or burlap along the slats. Fill with soil and plant climbing plants such as herbs or small vegetables.
- Place and Secure: Position the pallet trellis against a wall or fence in your garden. Ensure it receives adequate sunlight and water plants as needed.
Benefits: Pallets are readily available and can be easily transformed into vertical gardens, maximizing space while adding a rustic charm to your garden.
2. Bicycle Wheel Trellis
Materials Needed: Old bicycle wheels, wooden frame or wall mount, screws or bolts.
Instructions:
- Prepare the Wheels: Clean and inspect old bicycle wheels for stability and condition.
- Frame or Mount: Attach the bicycle wheels to a wooden frame or directly onto a wall using screws or bolts. Ensure they are securely fastened to support the weight of climbing plants.
- Plant and Train: Plant climbing vines such as morning glories or sweet peas at the base of each wheel. Guide the vines to weave through the spokes as they grow.
Benefits: Bicycle wheel trellises are whimsical and eye-catching, turning old wheels into functional garden art that supports vertical growth.
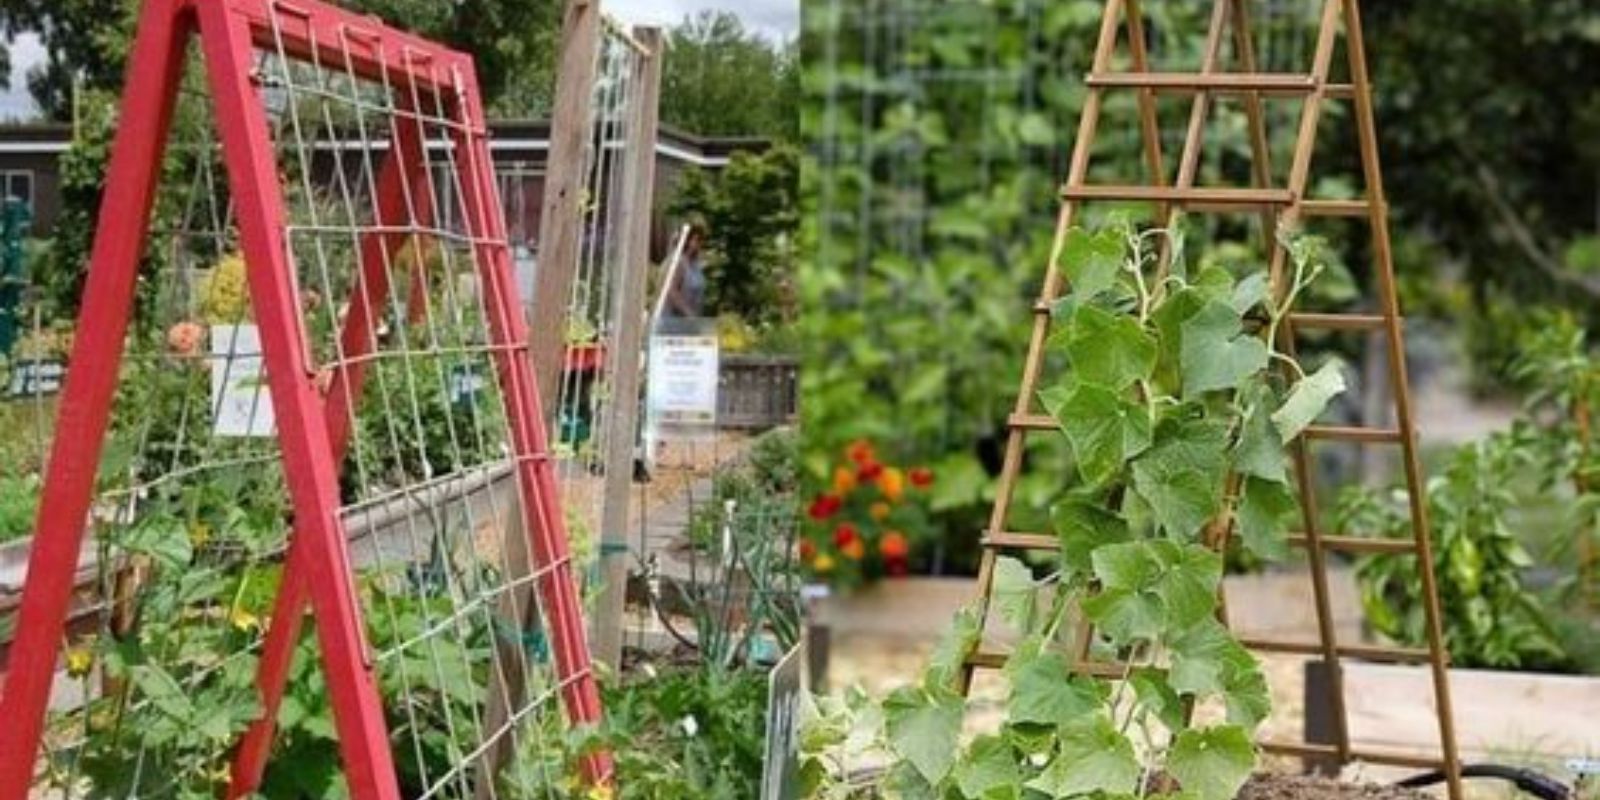
3. Ladder Trellis
Materials Needed: Old wooden ladder or step ladder, nails or screws, optional paint or sealant.
Instructions:
- Select the Ladder: Choose a sturdy ladder that is at least as tall as the plants you intend to grow. Ensure it is in good condition and can support the weight of climbing plants.
- Secure in Place: Position the ladder in your garden where it will receive sufficient sunlight. Secure it by burying the legs in the soil or attaching it to a stable structure.
- Plant and Train: Plant climbing vegetables like beans or cucumbers at the base of the ladder. As the plants grow, gently guide them to climb the rungs or sides of the ladder for support.
Benefits: Ladder trellises are versatile and add vertical interest to gardens. They can be painted or stained to match your garden decor, enhancing visual appeal.
4. Chicken Wire Fence Trellis
Materials Needed: Chicken wire or hardware cloth, wooden or metal posts, zip ties or wire for securing.
Instructions:
- Install Posts: Space wooden or metal posts evenly along the desired length of your garden bed or against a fence.
- Attach Chicken Wire: Unroll the chicken wire and stretch it between the posts. Secure it with zip ties or wire, ensuring it is taut and stable.
- Planting: Plant climbing vegetables or flowering vines at the base of the chicken wire. Train the plants to weave through the openings as they grow.
Benefits: Chicken wire trellises are cost-effective and easy to install. They provide sturdy support for plants while allowing for good air circulation and sunlight penetration.
5. Window Frame Trellis
Materials Needed: Old window frames, wire mesh or string, screws or nails.
Instructions:
- Prepare the Frames: Clean and inspect old window frames, removing any glass or debris.
- Attach Mesh or String: Stretch wire mesh or strong string horizontally between the frames, securing it with screws or nails.
- Mount: Install the window frame trellis against a wall or fence in your garden. Ensure it is stable and can support the weight of climbing plants.
- Plant and Train: Plant climbing roses or other flowering vines at the base of each frame. Guide the plants to climb the mesh or string as they grow, creating a charming vertical display.
Benefits: Window frame trellises add a vintage charm to gardens, repurposing old frames into functional supports for climbing plants.
Motivation to Interact
Transform your garden into a sanctuary of sustainability and creativity with these DIY recycled trellis ideas. Whether you’re a seasoned gardener or new to the world of growing, these projects offer a chance to personalize your outdoor space while reducing waste and environmental impact. Embrace the challenge of repurposing everyday items into beautiful and functional garden structures that support the growth of climbing plants. By engaging in these DIY trellis projects, you not only enhance the beauty of your garden but also contribute to a greener, more eco-conscious lifestyle.