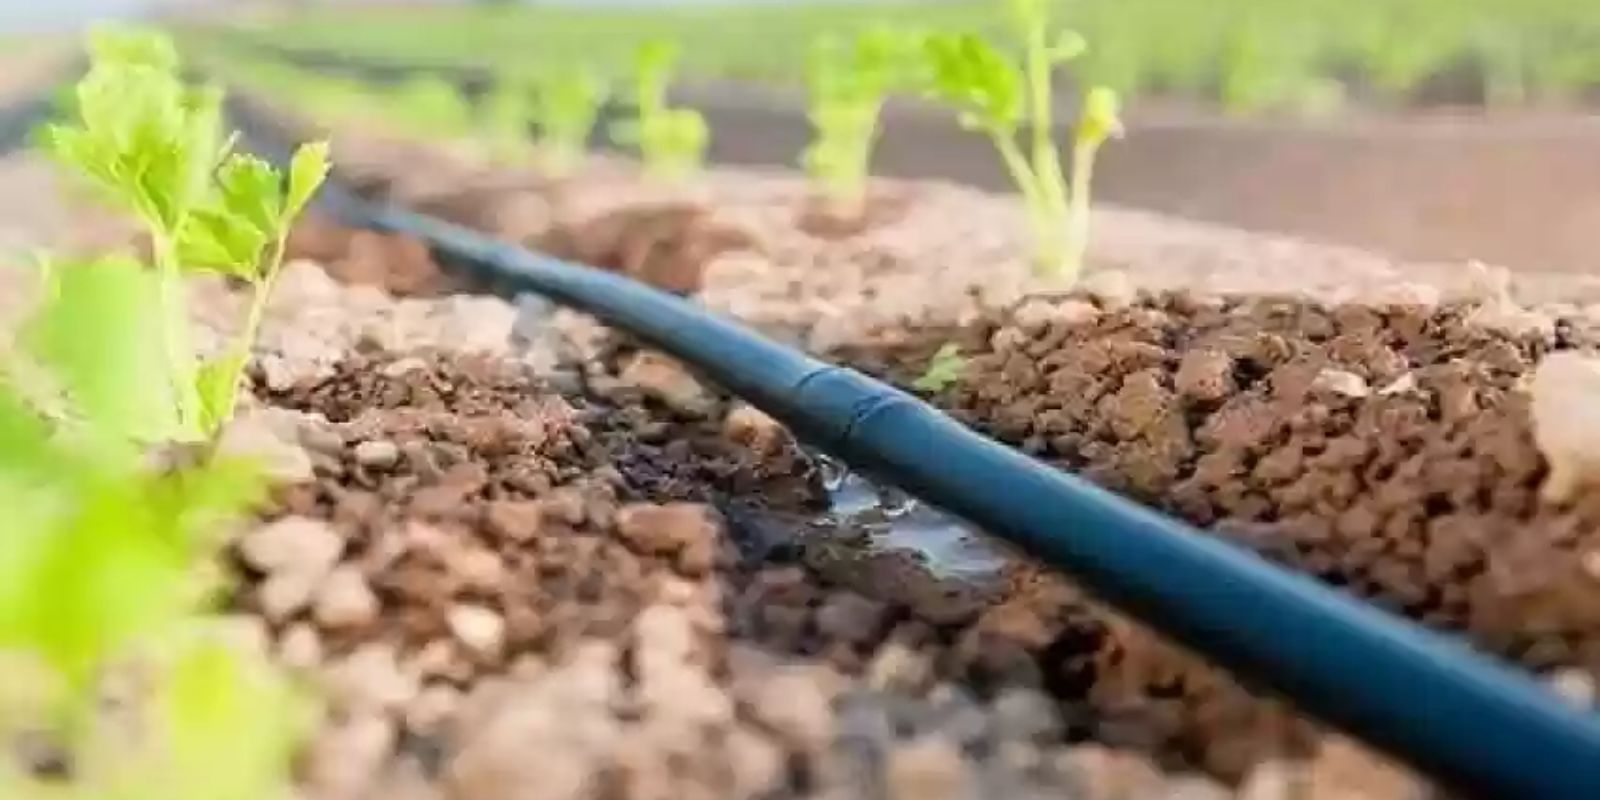
Efficient watering is a cornerstone of successful gardening. Traditional watering methods can be time-consuming and often lead to uneven moisture distribution. A drip irrigation system, however, delivers water directly to the plant roots, ensuring optimal growth while conserving water. The best part? You can create an effective DIY drip irrigation system for under $20. This guide will walk you through the process, offering step-by-step instructions to build your own system on a budget.
Why Choose Drip Irrigation?
Drip irrigation offers numerous benefits:
- Water Efficiency: Delivers water directly to the plant roots, reducing evaporation and runoff.
- Reduced Labor: Automates watering, saving time and effort.
- Improved Plant Health: Provides consistent moisture, leading to healthier plants and higher yields.
- Cost Savings: Lower water bills due to efficient water use.
Materials Needed
To build a drip irrigation system for under $20, you’ll need the following materials:
- Plastic Tubing: For delivering water to the plants.
- Emitters/Drippers: To control the flow of water to each plant.
- Connectors: To join sections of tubing.
- Stakes or Anchors: To secure the tubing in place.
- Scissors or Tubing Cutter: To cut the tubing to the desired length.
- A Water Source: Such as a hose or faucet.
These materials are affordable and readily available at garden centers or online.
Step 1: Gather and Prepare Materials
1.1. Purchase Your Supplies
Visit a local garden store or online retailer to purchase the necessary materials. Look for a drip irrigation kit or individual components like tubing, emitters, and connectors. Kits often come with everything you need, but you can also buy components separately if you prefer.
1.2. Measure and Cut Tubing
Measure the lengths of tubing you’ll need based on the layout of your garden. Use scissors or a tubing cutter to cut the tubing to size. Make sure to cut straight to ensure a snug fit with the connectors.
Step 2: Plan Your Layout
2.1. Design Your System
Decide where you want to place the tubing and emitters. Consider the layout of your garden and the location of your plants. Your goal is to ensure that each plant receives adequate water.
2.2. Determine Water Source Location
Identify where your water source (hose or faucet) will connect to the system. Plan the main line of tubing to run from the water source to the various parts of your garden.
Step 3: Assemble the System
3.1. Connect Tubing Sections
Use connectors to join sections of tubing. Push the tubing onto the connectors, ensuring a tight fit to prevent leaks. If your system requires multiple lines, use T-connectors or similar fittings to branch off from the main line.
3.2. Attach Emitters
Install the emitters into the tubing. Emitters come in different flow rates, so choose ones that match your plants’ water needs. Puncture the tubing where you want to place each emitter and insert it firmly. Make sure each emitter is positioned correctly to water the base of each plant.
3.3. Secure the Tubing
Use stakes or anchors to secure the tubing in place. This will prevent the tubing from shifting or becoming dislodged. Position the stakes along the tubing length and press them into the soil.
Step 4: Set Up and Test the System
4.1. Connect to Water Source
Attach the main line of tubing to your water source. If you’re using a hose, you may need a hose adapter to connect it to the tubing. Ensure that the connection is secure to avoid leaks.
4.2. Turn On the Water
Turn on the water supply and let it flow through the system. Check each emitter to ensure it is dispensing water correctly. Adjust the flow rate of the emitters if necessary to ensure even coverage.
4.3. Check for Leaks and Adjustments
Inspect the entire system for leaks or any issues with water distribution. Tighten any loose connections and make adjustments to the emitter placement if needed. Ensure that all plants are receiving adequate water.
Step 5: Maintain and Monitor Your System
5.1. Regular Inspections
Regularly check your drip irrigation system to ensure it’s functioning properly. Look for any clogged emitters, leaks, or damage to the tubing. Clean or replace any components as needed.
5.2. Adjust for Plant Growth
As your plants grow, you may need to adjust the position of the emitters or add additional tubing. Monitor the water needs of your plants and make changes to the system to accommodate their needs.
5.3. Seasonal Considerations
During the winter months or when the system is not in use, consider removing or winterizing the tubing to prevent damage from freezing temperatures. Store the components in a dry, safe place.
Troubleshooting Common Issues
1. Clogged Emitters:
Emitters can become clogged with debris over time. Clean them with a small brush or replace them if necessary. Regular maintenance will help prevent clogging.
2. Uneven Watering:
If some plants are not receiving enough water, check the emitter placement and adjust the flow rates. Ensure that the tubing is not kinked or blocked.
3. Leaks:
Leaks can occur at connectors or joints. Tighten any loose connections and check for damaged tubing. Replace any defective components to prevent water waste.
Conclusion
Creating a DIY drip irrigation system for under $20 is a cost-effective way to ensure your garden receives consistent and efficient watering. By following these steps, you can build a functional system that saves you time and money while keeping your plants healthy and hydrated. With a little effort and creativity, you can enjoy the benefits of a well-watered garden without breaking the bank.
Motivational Sentence: Revolutionize your garden’s watering routine with a budget-friendly drip irrigation system—get started today and see your plants thrive like never before! 💧🌱 #DIYGardening #DripIrrigation #GardenHacks #WaterEfficiency #PlantCare #GreenThumb #HomeGardening

