
Gardening can often feel like an expansive hobby meant for those with sprawling backyards or spacious plots of land. But what if you could enjoy the benefits of home-grown vegetables even in the most confined spaces? Cultivating onions in plastic cups is a clever and efficient way to grow this essential kitchen staple indoors, and it’s much easier than you might think.
Whether you’re a seasoned gardener looking to try a new method or a beginner interested in home-growing your food, growing onions in plastic cups is a fantastic way to start. It’s a space-saving solution that provides an abundance of fresh onions year-round, even if you don’t have a backyard. In this article, we will walk you through every step of the process, from selecting the right materials to harvesting your home-grown onions.
Why Grow Onions in Plastic Cups?
Before diving into the how-to, let’s first explore why using plastic cups for growing onions is an effective option. First, onions are relatively simple to grow, and they don’t need a lot of space to thrive. They’re one of the most versatile plants that adapt well to container gardening, especially when using small spaces like windowsills, countertops, or even balconies.
By using plastic cups, you are also reusing materials that might otherwise be discarded, which is a fantastic way to reduce waste and practice eco-friendly gardening. Additionally, growing onions in containers allows you to have greater control over soil quality, moisture levels, and even pest management, ensuring healthy and flavorful onions in your home.
Materials You Will Need
1. Plastic Cups: Choose clear, medium-sized plastic cups or containers. These cups should have drainage holes in the bottom to allow excess water to escape. This is crucial to prevent waterlogging, which could lead to root rot. You can repurpose used cups, or you can purchase new ones from any garden center or online store.
2. Potting Soil: Select high-quality, well-draining potting soil. Onions thrive in loose, nutrient-rich soil. You can opt for an all-purpose potting mix or a specialized one made for vegetables. If you choose to make your own soil mix, add some organic compost or a slow-release fertilizer to promote healthy growth.
3. Onion Sets or Seeds: You can choose to start your onions from seeds or onion sets (small, immature onions). Onion sets are often the preferred choice for beginners since they are easier to handle and produce quicker results. However, if you want to try from scratch, onion seeds work just as well with proper care.
4. Watering Can or Spray Bottle: Watering your onions evenly is essential. A gentle watering can or spray bottle works well to avoid disturbing the delicate onion roots. Be sure to use water at room temperature, as extreme temperatures can shock the plants.
5. Fertilizer (Optional): Onions are heavy feeders, which means they require plenty of nutrients to grow to their full potential. A liquid fertilizer or organic compost is ideal for boosting growth. Apply according to package instructions to avoid over-fertilizing.
6. A Sunny Spot: Choose a location that receives at least 6-8 hours of sunlight each day. Onions require full sun to grow well, so windowsills that face the south or west are ideal.
Steps to Grow Onions in Plastic Cups
Step 1: Select the Right Plastic Cups
The first step in growing onions indoors is selecting your containers. Clear plastic cups are ideal because they allow you to see the roots as they grow, which can help you identify issues like overwatering or root rot early on. Ensure that each cup has at least one drainage hole at the bottom. If the cups don’t have holes, use a hot nail or a drill to create a few to ensure proper drainage.
Step 2: Fill Cups with Potting Soil
Fill your plastic cups with well-draining potting soil, leaving about one inch from the top of the cup. It’s important to avoid compacting the soil, as this can hinder root growth. If you plan on growing multiple onions, consider using larger containers with a deeper base.
Step 3: Plant Onion Sets or Seeds
Plant onion sets or seeds into the cups. For onion sets, plant each one about 1 to 1.5 inches deep into the soil. If you’re starting from seeds, scatter them lightly on the surface and cover them with a thin layer of soil, about 1/8 inch deep. Water gently after planting to help settle the soil around the bulbs or seeds.
Step 4: Place the Cups in a Sunny Spot
Onions require full sunlight to grow well, so place your cups in a location that receives at least 6-8 hours of direct sunlight per day. Windowsills that face south or west are perfect, as they provide the warmth and sunlight that onions need to thrive.
Step 5: Water Regularly and Keep the Soil Moist
Onions need a steady amount of moisture to grow, but you don’t want to overwater. Keep the soil moist, but not soggy. Water the plants when the top inch of soil feels dry to the touch. Be mindful not to allow the cups to sit in water, as this can cause the bulbs to rot. You can use a watering can with a fine spout or a spray bottle to avoid over-wetting the plants.
Step 6: Fertilize as Needed
Onions are heavy feeders, and adding fertilizer can help them grow quickly. You can use a liquid fertilizer once every few weeks or supplement with organic compost. Be careful not to over-fertilize, as too much nitrogen can cause excessive leaf growth at the expense of bulb development. Follow the manufacturer’s instructions for the right amount.
Step 7: Thin Out the Seedlings (Optional)
If you started with seeds and notice that the seedlings are overcrowded, you can thin them out to allow room for stronger plants to grow. You can trim the excess seedlings at the base with a pair of scissors or simply pull them out gently. Avoid pulling them out by the roots, as this can disturb the roots of the surrounding plants.
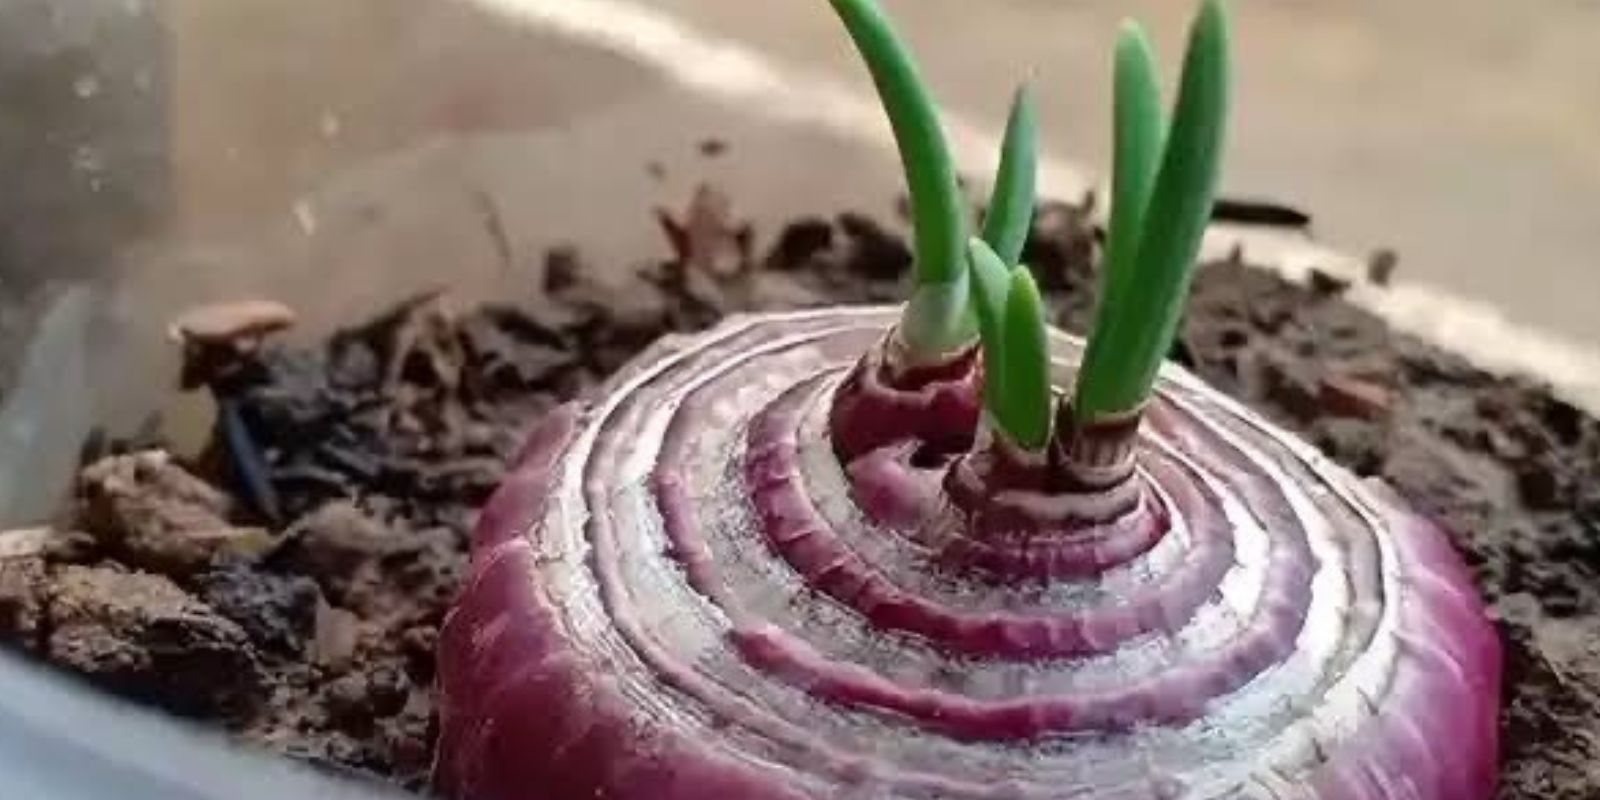
Step 8: Watch for Growth
As your onions begin to grow, you’ll notice their green tops reaching up toward the sunlight. This is a sign that your onions are happy and healthy. Continue to water them regularly and ensure they’re receiving enough light. You may also want to rotate the cups occasionally to ensure that all sides receive equal sunlight.
Step 9: Harvesting Your Onions
The time it takes to harvest your onions depends on whether you’re growing from sets or seeds. If you’re using onion sets, your onions will be ready for harvest in 3 to 4 months, depending on the variety. Onions grown from seed may take longer, typically 4-5 months. Once the onion tops turn yellow and start to fall over, it’s time to harvest. Gently pull the onions from the soil, and let them dry out in a cool, shaded area before storing.
Troubleshooting Tips for Growing Onions in Plastic Cups
Even though onions are relatively easy to grow, here are a few common issues that may arise and how to address them:
- Yellowing Leaves: Yellowing can indicate that your onions are not getting enough nutrients. Try adding a balanced fertilizer to the soil, or use organic compost to boost growth.
- Overwatering: If your onions start to rot or develop yellow leaves, it might be a sign of overwatering. Check the drainage holes in the cups and reduce watering frequency.
- Pests: Onions can attract pests like aphids and thrips. Keep an eye out for any insects and remove them by gently spraying the plants with water or using an insecticidal soap.
Final Thoughts
Growing onions in plastic cups is a space-efficient and eco-friendly way to enjoy fresh produce, even in limited spaces. This method allows you to grow onions indoors throughout the year, ensuring you always have access to these flavorful vegetables for your recipes. With just a few simple materials and some patience, you can enjoy a home-grown harvest without ever leaving the comfort of your home.
Now that you know how to cultivate onions in plastic cups, why not give it a try? Start small, and soon enough, you’ll have a thriving indoor garden of onions to enjoy in your meals. Happy gardening!