
Gardening is not just about planting flowers or growing vegetables. It’s also about creating a space that is visually appealing and personal to you. Cement crafts are a great way to add an artistic touch to your garden without breaking the bank. With just a few materials and a bit of creativity, you can create stunning pieces that elevate your outdoor space. Whether you’re looking for planters, stepping stones, or decorative sculptures, cement can be molded into almost anything you can imagine.
In this article, we will explore amazing cement craft tips for garden design and decoration. These easy and beautiful ideas will inspire you to get hands-on with your garden décor, even if you’ve never worked with cement before. With step-by-step instructions, you’ll learn how to make stunning cement projects that are both functional and artistic.
Why Cement Crafts?
Cement is an incredibly versatile material that can be molded, shaped, and decorated in various ways. Here are some reasons why using cement for garden crafts is a great idea:
- Durability: Cement crafts are long-lasting and can withstand weather conditions like rain, sun, and snow.
- Cost-Effective: Cement is relatively inexpensive, making it an affordable option for large and small garden projects.
- Customizable: You can mold cement into any shape and decorate it however you like, ensuring a unique piece of art for your garden.
- Low Maintenance: Once your cement pieces are placed in the garden, they require little to no upkeep.
Materials You Will Need
Before you start crafting, gather the necessary materials. Here’s a list of what you’ll typically need for most cement projects:
- Cement Mix: Choose a quick-setting cement or any general-purpose mix available at your local hardware store.
- Water: To activate the cement mix.
- Molds: These can be anything from plastic containers, silicone molds, or even household items like bowls and boxes. You can also create your own custom molds using cardboard or wood.
- Mixing Tools: A sturdy bucket and a stirring stick or trowel.
- Protective Gear: Gloves and a dust mask to protect your hands and lungs while mixing cement.
- Decorative Elements: Stones, shells, marbles, glass beads, or small plants.
- Paint or Sealer: Optional for those who want to color or add extra protection to their cement crafts.
Step-by-Step Guide to Amazing Cement Crafts
1. Cement Planters
Cement planters are some of the easiest and most useful crafts you can make for your garden. Not only do they look chic and modern, but they are also sturdy enough to last for years.
Instructions:
- Prepare the Mold: Use two different-sized containers to create a planter mold. The larger container forms the outer mold, while the smaller one forms the inner cavity for the plant.
- Mix Cement: Combine cement mix with water in a bucket according to the package instructions. Stir until you get a thick, smooth consistency.
- Pour Cement: Pour the cement into the larger container and press the smaller container into the center, making sure it stays balanced.
- Add Decorations: While the cement is wet, you can press in stones, glass beads, or other decorations to give your planter a unique look.
- Let It Set: Allow the cement to dry for 24-48 hours before removing it from the mold.
- Paint or Seal: Once dry, you can paint your planter or leave it natural for a rustic look. If you’re using it outdoors, consider applying a sealer to protect the cement.
2. Stepping Stones
Stepping stones are a great way to create a path through your garden while adding a decorative element. These can be personalized with mosaic designs or handprints for an extra special touch.
Instructions:
- Prepare a Mold: You can use a large plastic dish, a cardboard box lined with plastic, or a store-bought stepping stone mold.
- Mix Cement: Mix the cement as directed and pour it into the mold.
- Add Decorations: Use mosaic tiles, glass pieces, shells, or even leaves to press patterns into the surface of the cement while it’s still wet. You could also engrave names, dates, or quotes using a stick or knife.
- Let It Set: Allow the cement to set for at least 48 hours before removing the stone from the mold. Place the stones in your garden path or anywhere you want to create a decorative feature.
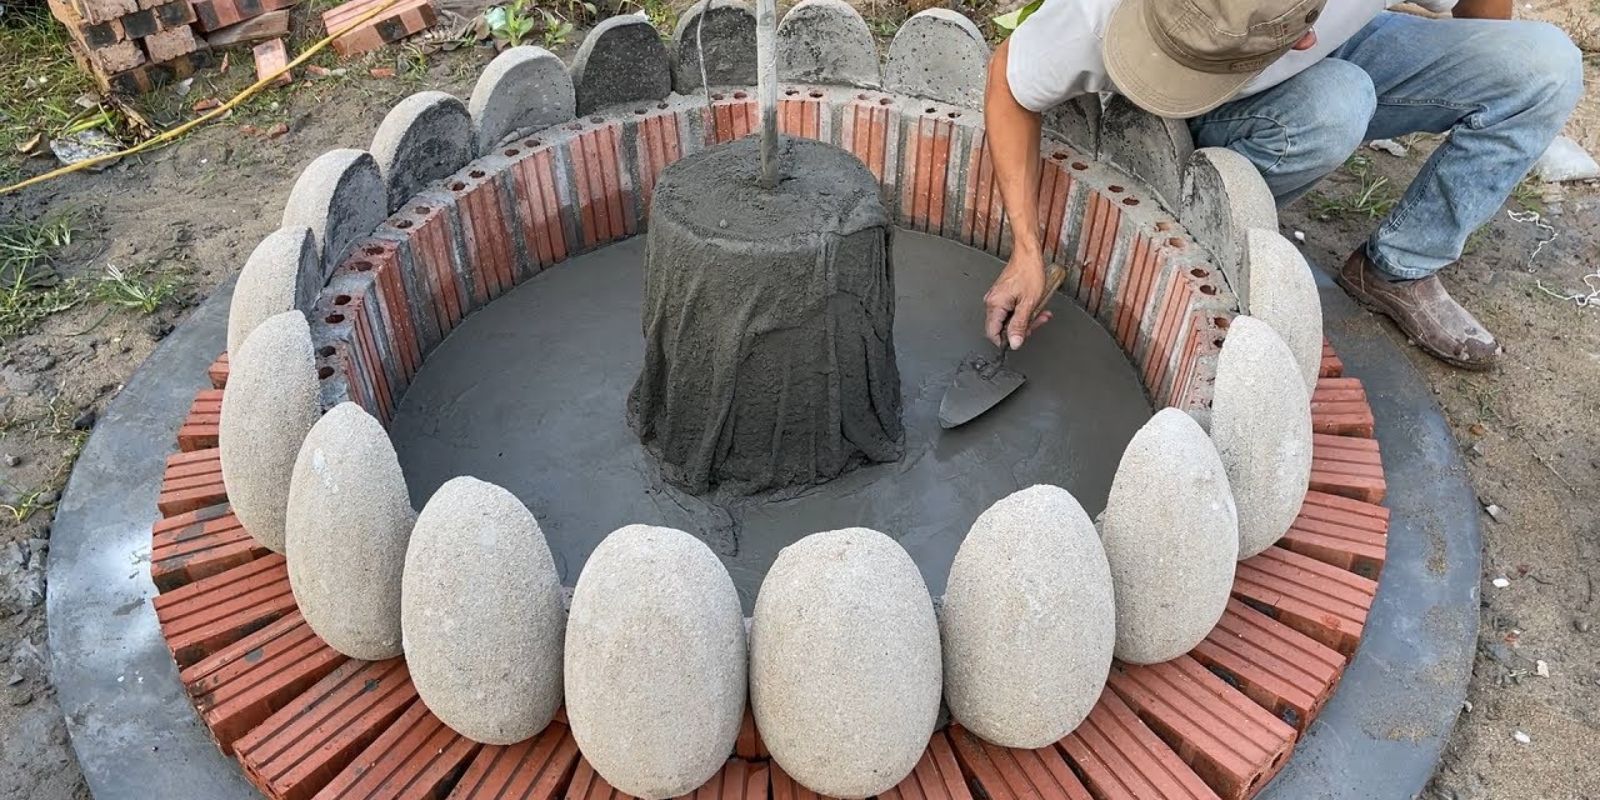
3. Cement Sculptures and Garden Ornaments
Create beautiful and durable garden sculptures using cement and some creative thinking. From simple shapes to intricate designs, you can add a personal touch to your garden décor.
Instructions:
- Choose a Design: Decide what kind of sculpture you want to create. It could be a sphere, an animal, or even an abstract shape.
- Create a Mold: You can use balloons, cardboard, or any other flexible material to create a mold for your sculpture. For more complex shapes, try using silicone molds.
- Mix Cement: Once again, mix the cement as per the instructions. For sculptures, you want the mix to be slightly thicker so that it holds its shape.
- Pour and Shape: Pour the cement into your mold or shape it by hand. You can add textures using tools like combs or leaves.
- Drying Time: Let the sculpture dry for at least 48 hours before moving or painting it.
4. Cement Bird Baths
A cement bird bath not only adds charm to your garden but also attracts birds, adding life to your outdoor space.
Instructions:
- Choose a Mold: Use a large plastic bowl or bucket for the base and a smaller one for the bird bath itself.
- Mix Cement: Combine your cement mix with water to create a thick, consistent mixture.
- Pour Cement: Fill the mold halfway and insert a smaller container to create the water basin.
- Decorate: You can press decorative stones, mosaic tiles, or even create impressions with leaves while the cement is still wet.
- Dry and Paint: Let the bird bath dry completely before removing it from the mold. Paint or seal the bath to protect it from the elements.
5. Cement Garden Edging
Garden edging helps to define spaces within your garden while keeping grass and other plants from encroaching on your flower beds.
Instructions:
- Prepare a Mold: Create a long, rectangular mold using cardboard or wooden planks.
- Mix Cement: Mix your cement as usual and pour it into the mold.
- Decorate: Add decorative stones, engrave patterns, or leave it plain for a minimalist look.
- Let It Set: Allow the cement to dry for a couple of days before placing the edging in your garden.
Caring for Your Cement Crafts
Once you’ve created your cement crafts, it’s important to care for them properly. Here are some tips to ensure they last for years:
- Sealing: While cement is durable, sealing your crafts can help protect them from moisture and cracking, especially in extreme weather conditions.
- Painting: If you want to add color, use outdoor-grade paints that are designed to withstand weathering.
- Cleaning: Use a soft brush or damp cloth to remove dirt and debris from your cement creations periodically.
Why You’ll Love Making Cement Crafts for Your Garden
Cement crafts are a fantastic way to personalize your garden. They are durable, easy to make, and offer endless possibilities for creativity. Whether you’re a seasoned DIY enthusiast or just getting started, cement crafts allow you to design unique, long-lasting pieces that enhance your garden’s beauty. Plus, it’s a fun and budget-friendly activity that anyone can enjoy.
Conclusion
Cement crafts are not only easy to make but are also versatile and customizable to suit your garden’s style. From planters to stepping stones and sculptures, the possibilities are endless. With just a few materials and some creativity, you can create beautiful, lasting décor that will transform your outdoor space. So why not try these simple projects and bring some DIY charm into your garden today?
🌿💡 #CementCrafts #DIYGardenIdeas #GardeningDecor #OutdoorCrafts #CreativeGardening #GardenDesign #CraftyGardener #DIYProjects