
When it comes to gardening, creating vertical structures can greatly enhance the aesthetics and functionality of your outdoor space. One such structure that has been gaining popularity is the arch trellis. Not only does it serve as a stunning focal point in your garden, but it also provides essential support for climbing plants, making it a practical addition to any gardening enthusiast’s landscape. This article will guide you through the process of designing, building, and planting an arch trellis in your garden.
Why Choose an Arch Trellis?
An arch trellis offers a variety of benefits, both practical and aesthetic:
1. Space Optimization
In smaller gardens, vertical gardening is a great way to maximize space. An arch trellis allows you to grow climbing plants upwards rather than outwards, making the most of your available area.
2. Aesthetic Appeal
The graceful curves of an arch trellis add visual interest to your garden. It can serve as a stunning focal point, create enchanting pathways, or frame garden views.
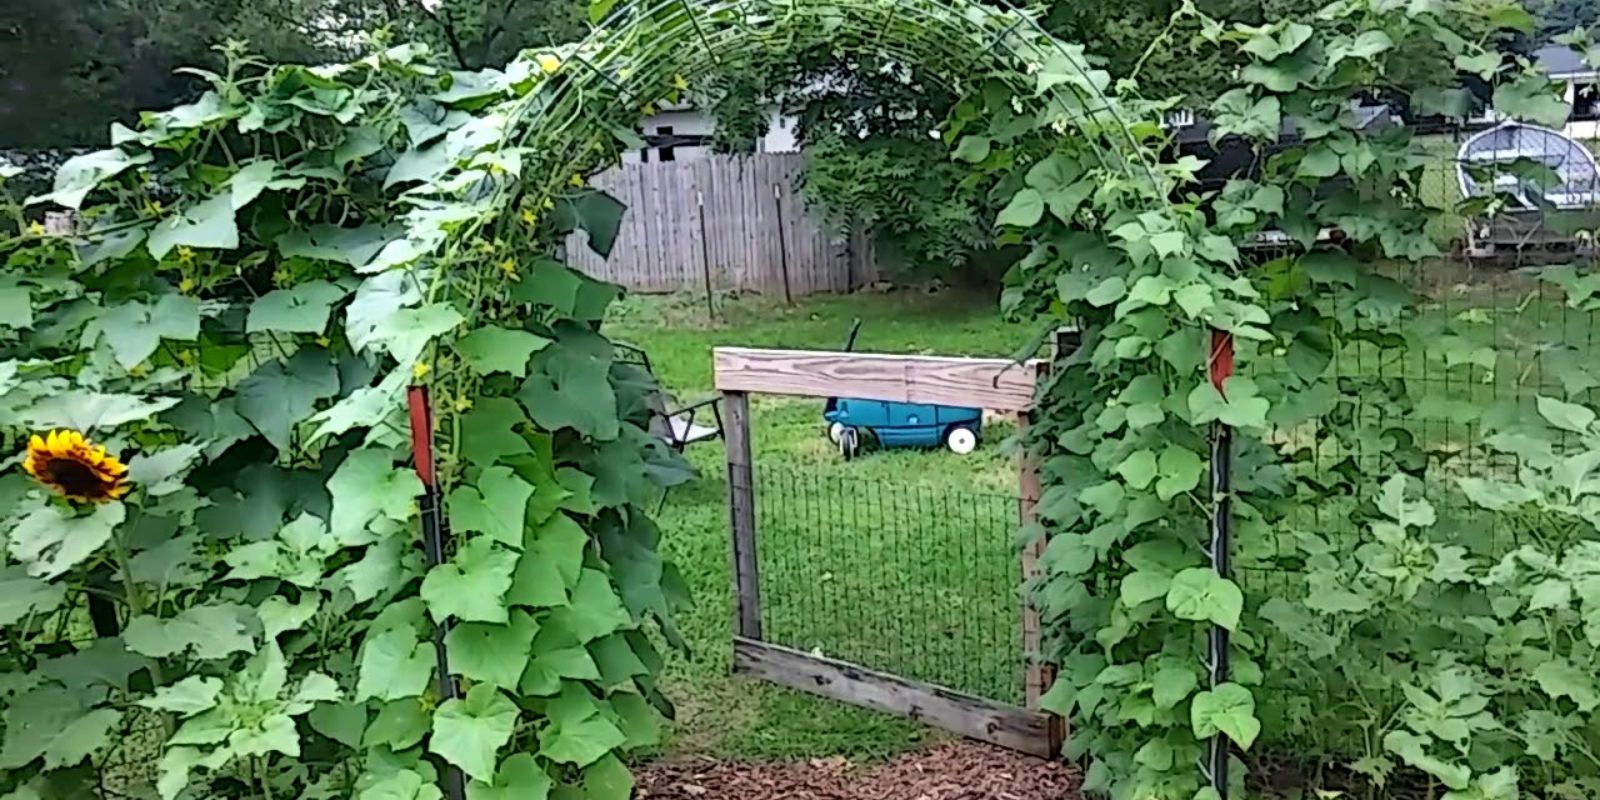
3. Support for Climbing Plants
Climbing plants require support to grow effectively. An arch trellis provides the necessary structure for plants like roses, cucumbers, or beans, allowing them to flourish while enhancing the garden’s beauty.
4. Microclimate Creation
By providing a vertical space, an arch trellis can create a microclimate that benefits your plants. Climbing plants can offer shade, protecting more delicate plants beneath from harsh sun or wind.
Designing Your Arch Trellis
Before diving into construction, it’s crucial to design your arch trellis. Here are the steps to help you get started:
1. Determine Your Style
Arch trellises come in various designs, from simple and rustic to ornate and elegant. Consider the style of your garden and choose a trellis design that complements it. Popular styles include:
- Traditional Wooden Arches: Made from untreated cedar or redwood, offering a classic, natural look.
- Metal Arches: Sleek and modern, often made of wrought iron or aluminum, these are durable and can add a contemporary touch.
- Vinyl Arches: Low maintenance and weather-resistant, vinyl is an excellent option for those looking for longevity.
2. Measure the Space
Decide where you want to place your arch trellis. Measure the area to determine the size of the trellis. A typical height is between 6 to 8 feet, but this can vary depending on your garden’s layout and the types of plants you wish to grow.
3. Choose the Right Materials
The materials you select will influence the durability and look of your trellis. Common materials include:
- Wood: Aesthetic and easy to work with, but requires treatment to prevent rot.
- Metal: Very sturdy and can withstand various weather conditions, though it may require occasional maintenance.
- PVC/Vinyl: Low maintenance and resistant to decay, these materials are a good choice for long-lasting structures.
4. Plan for Climbing Plants
Think about which climbing plants you want to grow. Popular options include:
- Flowering Plants: Such as clematis, honeysuckle, or climbing roses for vibrant blooms.
- Vegetables: Beans, peas, or cucumbers, which not only look great but also provide a harvest.
- Foliage Plants: Consider ivy or jasmine for lush greenery and fragrance.
Building Your Arch Trellis
Once you have your design and materials, it’s time to build your arch trellis. Follow these steps:
1. Gather Your Tools
You will need a few basic tools, including:
- Measuring Tape
- Level
- Drill
- Screws or Nails
- Saw (if using wood)
- Post Hole Digger
- Hammer
2. Cut the Materials
Using your measurements, cut the materials to the desired lengths. For a simple arch trellis, you will need:
- Two Vertical Posts: These should be tall enough to support the arch, typically between 6 to 8 feet.
- One or Two Curved Top Pieces: These create the arch shape. You can create curves by cutting the wood or metal into the desired shape.
3. Assemble the Arch
- Join the Pieces: Attach the top piece(s) to the vertical posts. Ensure the arch is balanced and secure. If you’re using wood, consider using wood glue alongside screws for extra stability.
- Check for Level: Use a level to ensure that the structure is even before securing everything in place.
4. Install the Trellis
- Dig Post Holes: Use a post hole digger to create holes for the vertical posts. The holes should be deep enough to support the height of the posts and provide stability—about one-third of the post length is ideal.
- Place the Posts: Insert the posts into the holes and fill them with soil or concrete. Ensure they are straight and level as the material sets.
Planting for Success
Once your arch trellis is securely installed, it’s time to plant your climbing plants. Here are some tips for successful planting:
1. Choose the Right Location
Select a location that receives adequate sunlight, as most climbing plants thrive in full sun (at least 6 hours a day). Ensure there is enough space for plants to grow and climb.
2. Prepare the Soil
Before planting, amend the soil with organic matter, such as compost, to enhance its fertility. Good soil is crucial for healthy plant growth.
3. Planting Techniques
- Dig Holes: Create holes at the base of the trellis, spaced according to the mature width of the climbing plants.
- Transplant Carefully: Remove the plants from their pots and gently loosen the roots before placing them in the holes. Cover the roots with soil and firm it down gently.
- Water Generously: After planting, water thoroughly to help establish the roots.
4. Train Your Plants
As your climbing plants grow, gently guide them towards the trellis. Use garden twine or plant clips to secure them as needed, ensuring they have a clear path to climb.
Maintenance Tips for Your Arch Trellis
To keep your arch trellis looking beautiful and your plants healthy, follow these maintenance tips:
1. Water Regularly
Ensure your plants receive enough water, especially during dry spells. Climbing plants often need more moisture as they grow larger.
2. Prune as Needed
Regularly check your climbing plants for dead or damaged growth. Prune to encourage bushier growth and to maintain a tidy appearance. This also prevents overcrowding and allows better air circulation.
3. Fertilize
Depending on the plants you choose, consider fertilizing periodically with a balanced organic fertilizer to promote healthy growth and flowering.
4. Check for Pests
Keep an eye out for pests such as aphids or spider mites. If you notice any signs of infestation, take action promptly, either through organic methods or insecticidal soap.
Enhancing Your Arch Trellis Experience
An arch trellis can serve as more than just a support structure for plants. Consider these ideas to enhance your experience:
1. Decorate with Lights
String lights can add charm and warmth to your arch trellis, creating a beautiful ambiance for evening gatherings.
2. Incorporate Seating
Place a bench or seating area near your trellis to create a cozy nook for relaxation and enjoyment of your garden.
3. Use as a Pathway Entrance
Positioning an arch trellis at the entrance to a garden path can invite visitors and create a sense of arrival in your garden.
4. Incorporate Seasonal Plants
Change up the plants seasonally for varied color and texture. Consider using annuals for quick blooms or perennials for longer-lasting greenery.
Conclusion
Creating an arch trellis is a rewarding project that can significantly enhance the beauty and functionality of your garden. With careful planning, the right materials, and the right plants, you can create a stunning focal point that not only supports climbing plants but also elevates your outdoor space. Whether you choose to plant vibrant flowers, delicious vegetables, or fragrant foliage, your arch trellis will surely be a beautiful addition to your gardening journey.
Now it’s your turn to bring your garden dreams to life! Grab your materials, plan your design, and start building your own arch trellis today. Don’t forget to share your creations and gardening journey with friends and fellow garden enthusiasts! Happy gardening!