
In the realm of gardening, efficient water management is crucial for maintaining healthy plants and conserving resources. Whether you have a sprawling backyard garden or a cozy urban oasis, ensuring your plants receive adequate hydration without wastage can be achieved through innovative and sustainable solutions. One such solution is a rotating irrigation system made from recycled plastic bottles. Not only does this project minimize costs but also promotes environmental stewardship by repurposing materials that would otherwise end up in landfills. In this comprehensive guide, we will delve into the process of creating and implementing a rotating irrigation system using readily available materials, demonstrating how simple and effective it can be to enhance your gardening experience while reducing water consumption.
Introduction: Embracing Sustainability in Gardening
Gardening enthusiasts understand the importance of water conservation and sustainable practices in nurturing thriving landscapes. Traditional irrigation methods can be inefficient, leading to water runoff and uneven distribution, which not only wastes resources but also contributes to environmental degradation. By harnessing the power of recycling and DIY creativity, gardeners can craft practical solutions like a rotating irrigation system using plastic bottles. This approach not only addresses water efficiency but also encourages a deeper connection with the environment through hands-on, eco-friendly projects.
Understanding the Concept: How Does It Work?
1. The Basics of Rotating Irrigation Systems:
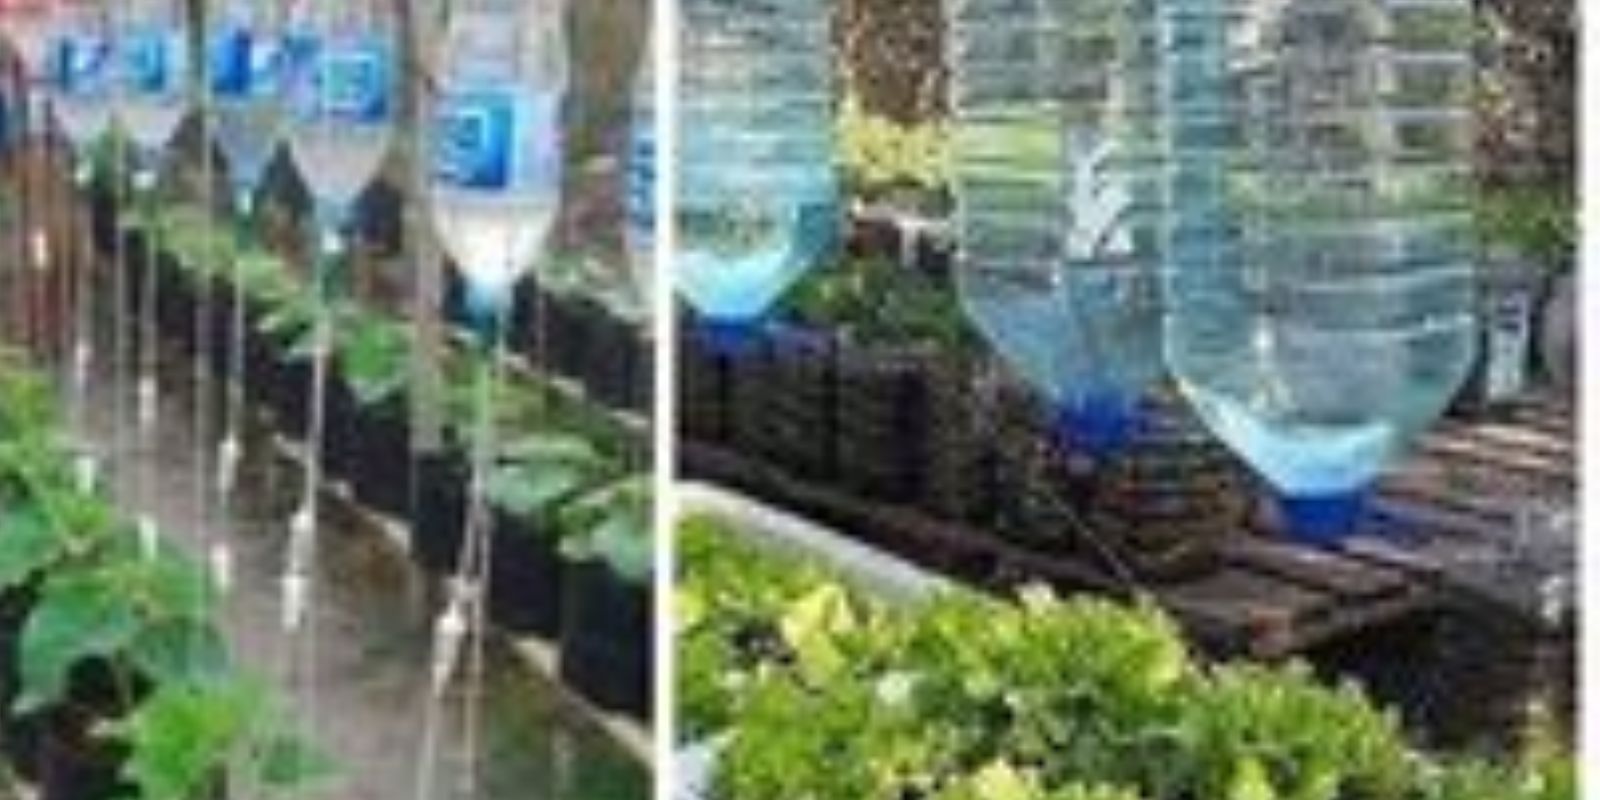
A rotating irrigation system utilizes perforated plastic bottles as makeshift sprinklers to distribute water evenly across a designated area. The rotation is achieved by the force of water pressure inside the bottles, causing them to spin and sprinkle water in a circular pattern. This method mimics the action of commercial rotary sprinklers but at a fraction of the cost and with materials that are easily accessible.
2. Benefits of Using Recycled Plastic Bottles:
Recycling plastic bottles for gardening projects not only reduces waste but also provides a durable and lightweight alternative to traditional sprinkler systems. Plastic bottles are resistant to outdoor elements and can be easily modified to suit different garden sizes and layouts, making them a versatile choice for DIY irrigation solutions.
Step-by-Step Guide: Creating Your Rotating Irrigation System
1. Materials Needed:
Gather the following materials:
- Empty plastic bottles (2-liter or larger)
- Scissors or a utility knife
- Hole puncher or a drill with a small bit
- Garden hose
- Optional: Zip ties or strong adhesive tape
2. Preparation and Assembly:
Step 1: Prepare the Bottles
- Clean and remove labels from the plastic bottles. Ensure they are completely dry before proceeding.
- Using scissors or a utility knife, carefully cut off the bottom of each bottle. This will serve as the base where the water exits.
Step 2: Create Sprinkler Openings
- With a hole puncher or drill, make several small holes around the sides of each bottle. These holes will allow water to spray out when the system is in use. Ensure the holes are evenly spaced and cover a significant portion of the bottle’s surface for maximum water distribution.
Step 3: Attach to the Hose
- Attach one end of the garden hose securely to a water source, such as an outdoor faucet or a rain barrel equipped with a pump.
- Insert the cut end of each prepared plastic bottle onto the hose. You can secure them in place using zip ties or strong adhesive tape for stability.
Step 4: Positioning in the Garden
- Place the hose with attached bottles in the center of the area you wish to irrigate. Ensure the bottles are evenly spaced and facing outward to cover the desired radius.
- Adjust the water pressure to achieve the desired rotation speed of the bottles. Higher pressure will result in faster rotation and a wider spray pattern, while lower pressure will reduce rotation speed and coverage area.
Step 5: Test and Adjust
- Turn on the water supply and observe the rotation of the bottles. Adjust the water pressure as needed to optimize coverage and ensure uniform watering across your garden beds or lawn.
- Periodically check the system for any leaks or blockages in the bottle openings, making adjustments as necessary to maintain efficiency.
Enhancing Efficiency and Effectiveness
1. Maintenance and Upkeep:
Regularly inspect the rotating irrigation system for wear and tear, especially at connection points and bottle openings. Replace any damaged bottles or components to prevent water loss and maintain consistent performance.
2. Customization and Adaptation:
Modify the design to suit specific garden layouts or plant types. For smaller areas, use smaller bottles or adjust the spacing between bottles to concentrate water distribution where needed most.
3. Sustainability Benefits:
By repurposing plastic bottles into functional garden tools, you contribute to reducing plastic waste and promoting a more sustainable lifestyle. Educate others about the benefits of recycling and DIY solutions in gardening practices to inspire broader environmental consciousness.
Conclusion: Embrace Innovation in Gardening
In conclusion, creating a rotating irrigation system using recycled plastic bottles is a testament to the ingenuity and resourcefulness of gardeners seeking sustainable solutions. This DIY project not only enhances water efficiency and plant health but also empowers individuals to take proactive steps towards environmental conservation. By embracing innovation and creativity in gardening practices, you can transform your outdoor spaces into thriving, eco-friendly havens that benefit both you and the planet. Join the movement towards sustainable gardening today and experience the rewards of nurturing a greener future, one recycled bottle at a time. Happy gardening!