
Wattle raised garden beds are not just a practical solution for gardening; they’re an artistic way to repurpose natural materials while blending sustainability and beauty. With their roots in ancient farming techniques, wattle beds are an environmentally friendly method for containing soil, improving drainage, and adding a rustic touch to your garden. This guide will take you step-by-step through creating your own wattle raised bed, empowering you to grow your dream garden while connecting with nature.
What is a Wattle Raised Garden Bed?
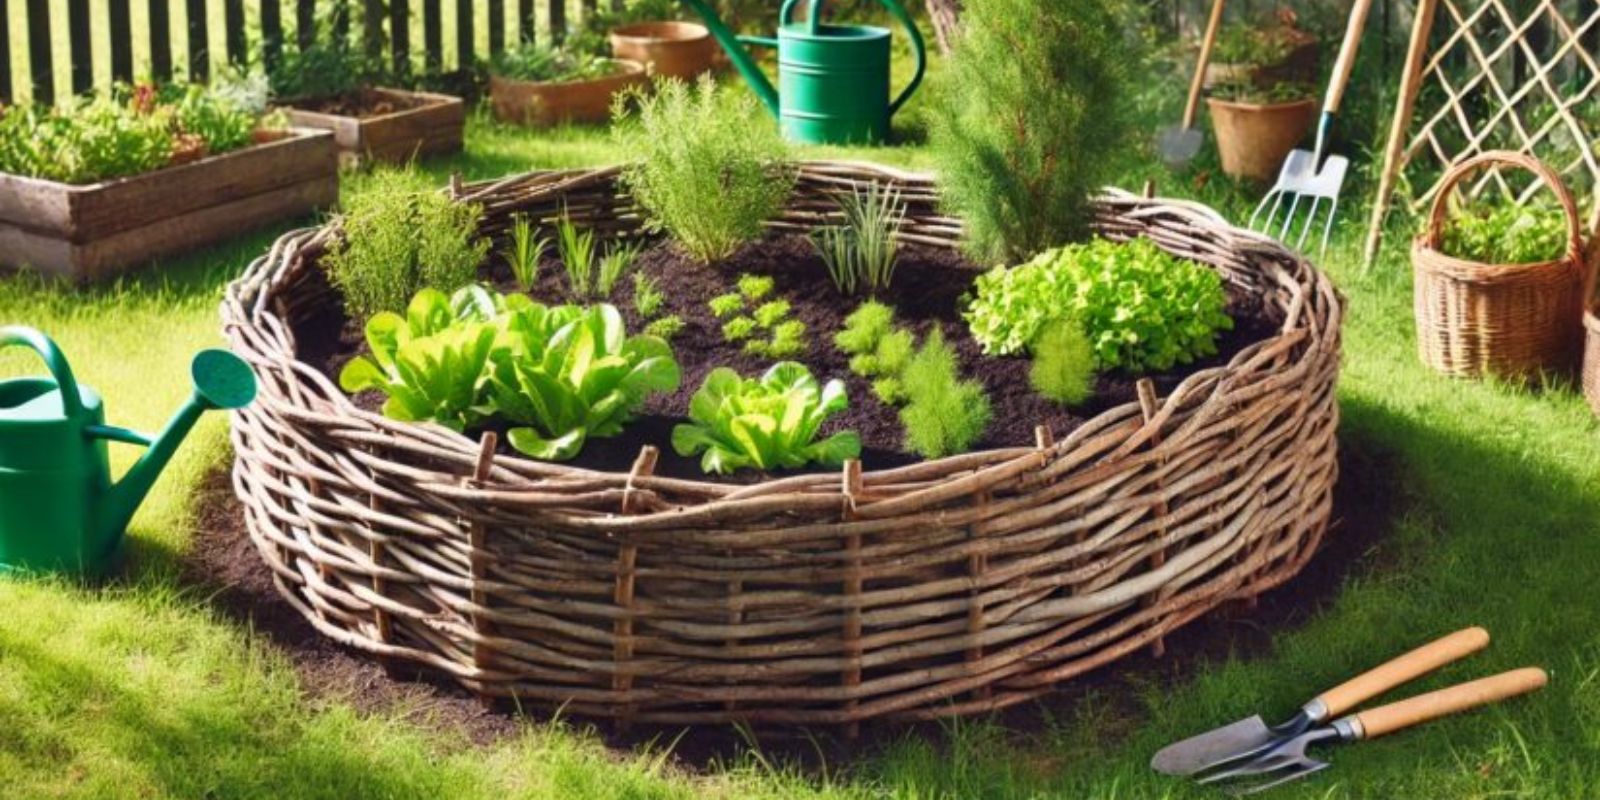
A wattle garden bed consists of woven walls made from pliable branches, secured between sturdy stakes. This method, used for centuries across the globe, is as functional as it is aesthetic. It’s an excellent choice for those looking to avoid synthetic materials and is perfect for gardeners aiming to reduce waste by upcycling natural resources.
Benefits of a Wattle Raised Garden Bed
- Eco-Friendly: Made from natural and biodegradable materials.
- Cost-Effective: Uses branches and stakes you may already have.
- Improved Drainage: Elevated design helps prevent waterlogging.
- Customizable: Can be built in various sizes and shapes to suit your space.
- Aesthetic Appeal: Adds a rustic charm that enhances any garden.
Materials You’ll Need
- Flexible branches: Willow, hazel, bamboo, or any pliable branches for weaving.
- Stakes: Strong, sturdy sticks like hardwood, about 1-2 inches thick.
- Tools: Pruning shears, a mallet or hammer, gloves, and a spade.
- Soil and compost: For filling the bed after construction.
- Optional lining: Cardboard or burlap to prevent weeds.
Step-by-Step Guide to Building a Wattle Raised Garden Bed
1. Select Your Location
Choose a sunny spot with good soil drainage. Decide on the size and shape of your bed based on the available space and the plants you intend to grow.
2. Gather Materials
Collect branches and stakes from fallen trees or trimmings. Ensure the stakes are sturdy and long enough to anchor firmly into the ground, while the branches should be flexible enough to weave without breaking.
3. Outline the Bed
Mark the perimeter of your garden bed using string, chalk, or a garden hose. This outline will guide the placement of your stakes.
4. Install Stakes
Using a mallet, drive stakes into the ground along the outlined perimeter. Space them 8-12 inches apart for a stable structure. Ensure the stakes are straight and evenly spaced for a uniform appearance.
5. Begin Weaving
Start weaving the flexible branches between the stakes, alternating over and under patterns. Push the branches down tightly with each layer to create a sturdy wall. Trim the ends as needed for a clean look.
6. Secure the Edges
Once the wall reaches your desired height (typically 12-18 inches), secure the topmost layer by tying the branches or tucking them firmly into the structure.
7. Prepare the Interior
Line the inside of the bed with cardboard or burlap to suppress weeds. Then, fill the bed with a mixture of compost, garden soil, and organic matter to create a nutrient-rich environment for your plants.
8. Plant Your Garden
Now comes the fun part—planting! Choose vegetables, herbs, or flowers suited to the season and your region. Water thoroughly to settle the soil and give your plants a strong start.
Maintenance Tips for Your Wattle Bed
- Reinforce Woven Walls: Check for signs of wear and reweave branches as needed.
- Replace Damaged Stakes: If stakes weaken over time, replace them promptly to maintain stability.
- Monitor Soil Levels: Add more soil or compost if the level settles over time.
- Seasonal Refresh: Redefine the edges and clean up stray branches to keep the bed looking fresh.
Creative Variations for Your Wattle Garden Bed
- Multitier Beds: Build multiple layers for an eye-catching, tiered garden.
- Shapes and Designs: Experiment with circular, oval, or freeform shapes for added visual interest.
- Add a Gate or Trellis: Enhance functionality by incorporating a small gate or trellis for climbing plants.
- Decorative Touches: Paint or seal the stakes for added protection and aesthetics.
Why Choose a Wattle Bed Over Conventional Beds?
- Sustainability: Avoids the use of plastics or treated lumber, reducing environmental impact.
- Cultural Tradition: Embraces time-tested techniques rooted in agricultural history.
- DIY Appeal: Allows you to personalize your garden bed with local materials and creative touches.
Common Challenges and How to Overcome Them
- Fragile Materials: Use younger, more flexible branches to avoid breakage while weaving.
- Uneven Stakes: Pre-measure and cut stakes to ensure uniformity before installation.
- Pest Prevention: Incorporate natural deterrents like neem oil or companion planting to protect your crops.
Conclusion: A Rewarding DIY Project
Building a wattle raised garden bed is more than just constructing a gardening tool—it’s an opportunity to connect with nature, practice sustainability, and create something beautiful for your home. The rustic charm of wattle beds blends seamlessly into any garden, providing an eco-friendly, customizable, and budget-conscious option for both novice and experienced gardeners.
💡 Ready to create your own wattle raised garden bed? Start collecting branches and let your creativity run wild! Share your progress or finished project with us in the comments below. Let’s inspire a greener, more sustainable world together.
#WattleGardenBed #EcoFriendlyGardening #RusticCharm #SustainableGardening #DIYGardenIdeas #RaisedBedGarden #OrganicGardening #GardeningWithNature