
Bees, with their vibrant colors and intricate patterns, are among nature’s most fascinating creatures. Yet, their minute details often go unnoticed in everyday encounters. High-resolution photography offers a unique opportunity to explore and showcase the remarkable beauty and complexity of these essential pollinators. This article will guide you through the process of photographing a bee with a high-resolution camera, from preparation to post-processing, ensuring you capture stunning, detailed images.
The Importance of High-Resolution Photography
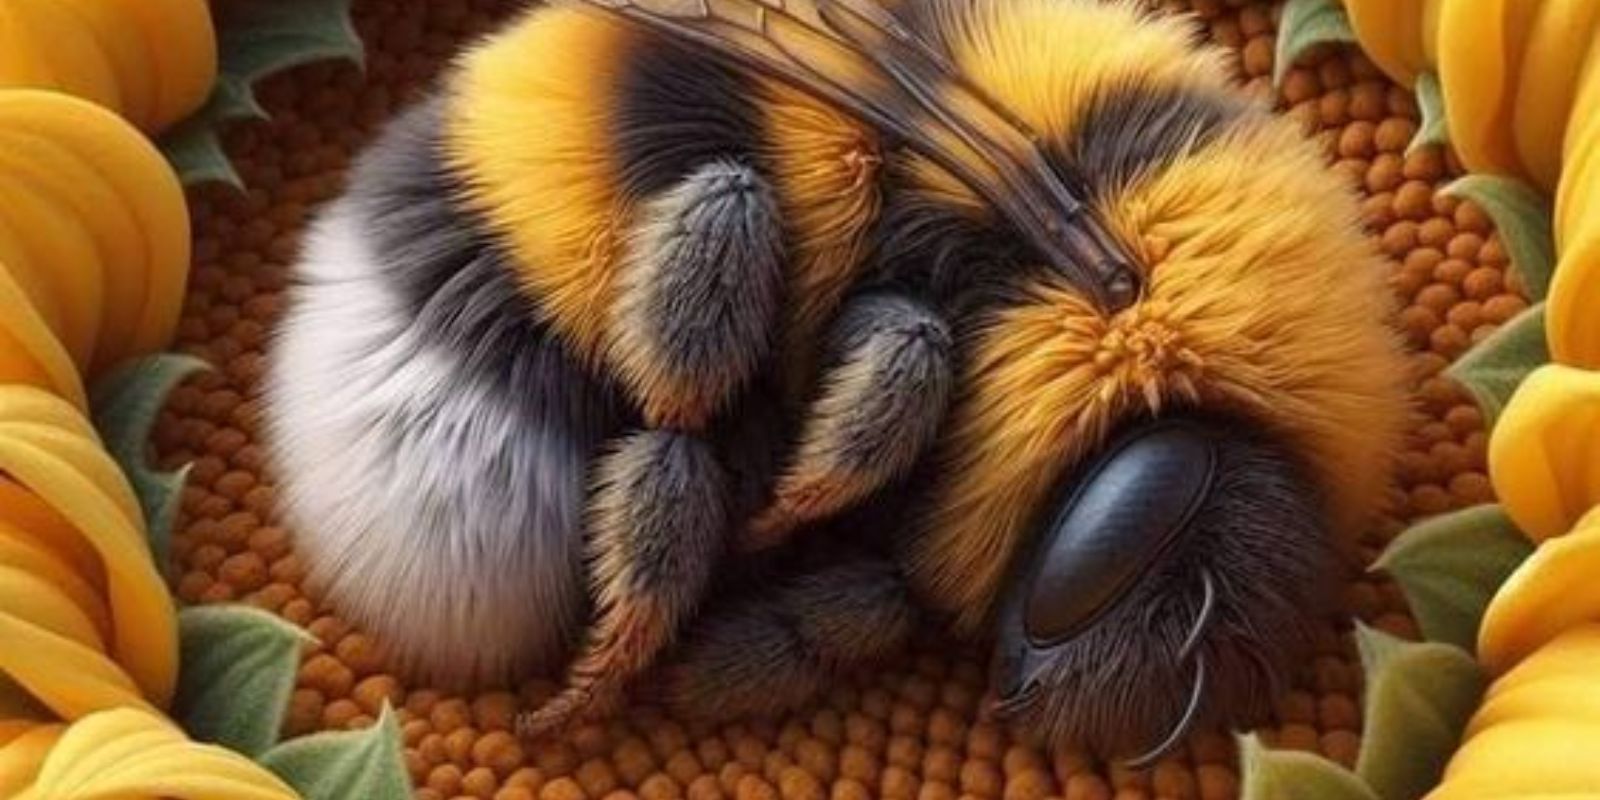
High-resolution photography allows you to capture and display the fine details that are usually invisible to the naked eye. For bees, this means revealing their delicate wing structures, fine hairs, and vibrant colors in exceptional clarity. Such detailed images not only highlight the beauty of these creatures but also contribute to our understanding and appreciation of their role in ecosystems.
Choosing the Right Equipment
1. High-Resolution Camera
For capturing fine details, a high-resolution camera is essential. DSLRs or mirrorless cameras with high megapixel counts provide the clarity needed for macro photography. Look for a camera with at least 20 megapixels to ensure you capture sharp and detailed images.
2. Macro Lens
A macro lens is crucial for photographing bees up close. These lenses are designed to focus at very short distances, allowing you to capture fine details like the texture of the bee’s body and the patterns on its wings. A lens with a focal length between 60mm and 100mm is ideal for this type of photography.
3. Tripod
Using a tripod helps stabilize your camera, reducing the risk of blurry images. This is especially important for macro photography where even the slightest movement can affect image sharpness.
Preparing Your Environment
1. Choose the Right Location
Bees are most active in environments with plenty of flowers, as they forage for nectar and pollen. Gardens, parks, and wildflower meadows are excellent locations. Aim for a sunny day when bees are more active, but avoid photographing during the peak heat of midday to reduce the risk of disturbing the bees.
2. Timing
Bees are often more active in the late morning and early afternoon. Early morning or late afternoon can also be good times, especially if you want to avoid the busiest periods.
Adjusting Your Camera Settings
1. Depth of Field
A shallow depth of field helps isolate the bee from the background, making it stand out more clearly. Set your aperture to a lower f-stop number (e.g., f/2.8 to f/5.6) to achieve this effect. However, be mindful that too shallow a depth of field might blur important details, so find a balance that works for your composition.
2. Shutter Speed
Bees are fast movers, so a fast shutter speed is crucial to freeze their motion and capture sharp images. A shutter speed of at least 1/500 second is recommended, but you may need to adjust based on the bee’s activity and lighting conditions.
3. ISO Settings
Keep your ISO as low as possible to avoid noise in your images. An ISO setting of 100 to 400 is usually sufficient. If you need to increase the ISO due to low light, be cautious of introducing noise.
Capturing the Shot
1. Approaching the Bee
Approach the bee slowly and calmly to avoid startling it. Bees can be sensitive to sudden movements, which may cause them to fly away. Move in a way that does not interfere with their natural behavior.
2. Composition
Frame your shot to highlight the bee’s features. Focus on the head or wings to capture intricate details. Experiment with different angles and compositions to find the most compelling image.
3. Multiple Shots
Take multiple shots to ensure you capture the best possible image. Small variations in focus or composition can make a significant difference in macro photography.
Post-Processing
1. Enhancing Details
Use photo editing software like Adobe Lightroom or Photoshop to enhance your images. Adjust sharpness and contrast to bring out the fine details of the bee’s structure. Be careful not to over-edit, as this can lead to unnatural-looking results.
2. Color Correction
Adjust the colors to ensure they accurately represent the bee’s appearance. High-resolution images can sometimes exaggerate color variations, so fine-tuning the color balance can improve the overall quality of the image.
3. Cropping
If necessary, crop the image to focus on the most interesting parts. Be mindful of maintaining image quality and resolution after cropping.
Conclusion
Photographing a bee with a high-resolution camera provides a unique and rewarding opportunity to explore the intricate details of these vital pollinators. By selecting the right equipment, preparing your environment, adjusting your camera settings, and employing effective post-processing techniques, you can capture stunning images that showcase the beauty and complexity of bees.
Whether you’re a seasoned photographer or a nature enthusiast, this process not only enhances your photography skills but also deepens your appreciation for the role bees play in our ecosystems. Embrace the challenge and excitement of capturing these remarkable creatures, and let your high-resolution images inspire others to appreciate and protect the incredible world of bees. 📸🐝