
Blue lilies, known for their enchanting hues and elegant form, are a garden enthusiast’s dream. While true blue lilies don’t exist in nature, many varieties offer stunning blue or purple shades that can create a similar effect. This article will guide you through the steps to cultivate these captivating flowers, providing tips and techniques to help you achieve a garden full of vibrant blue blooms.
The Allure of Blue Lilies
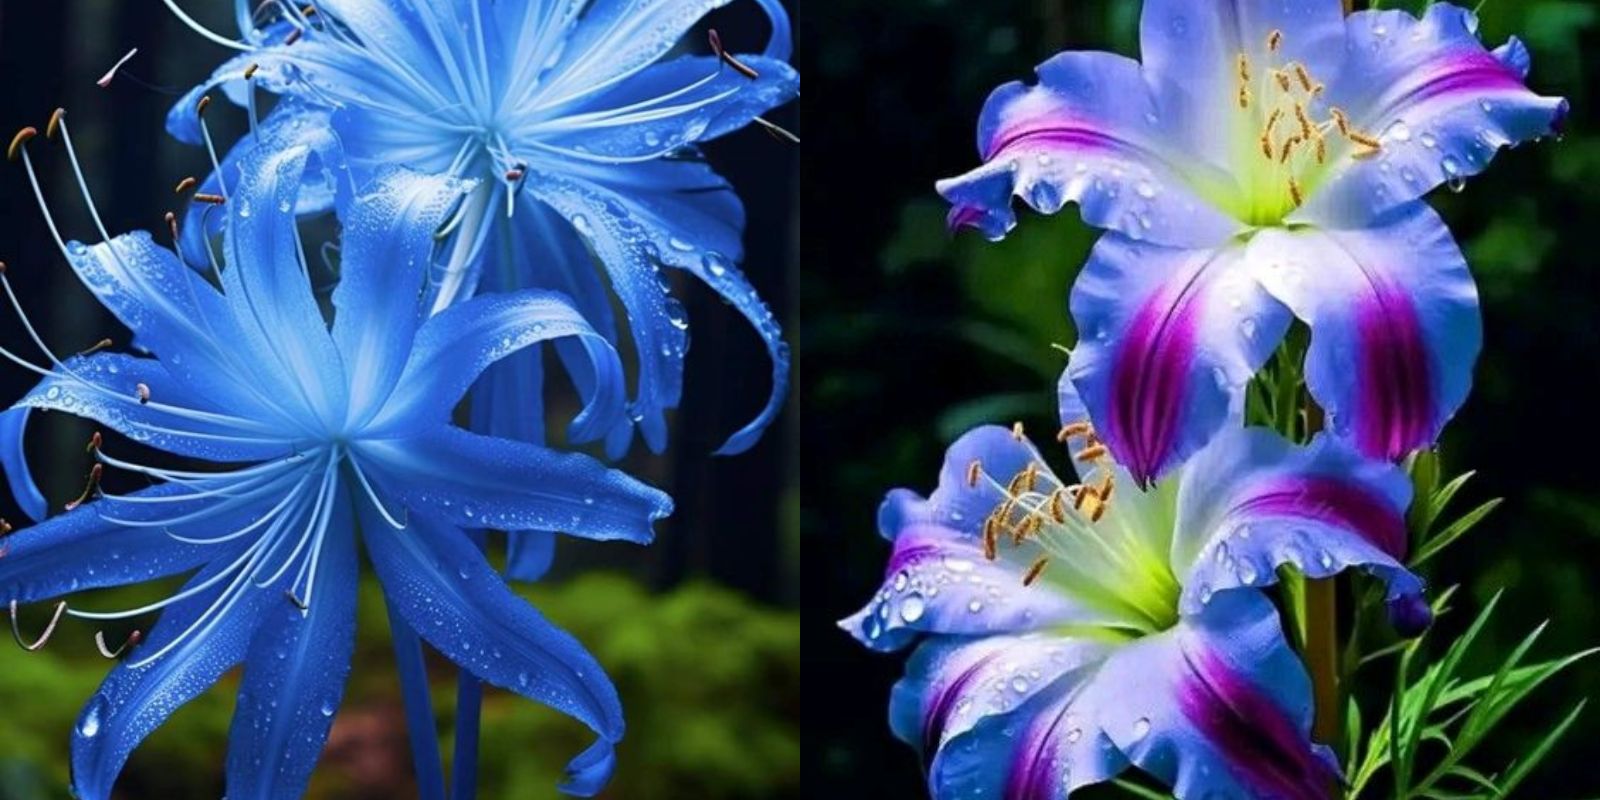
Blue lilies captivate gardeners with their rare and striking colors. While lilies in shades of blue are not naturally occurring, hybrid varieties and certain lily species can produce flowers in blue to blue-purple hues. These lilies can add a unique touch to your garden, blending beautifully with other flowers and creating a visually stunning landscape.
Selecting the Right Lily Varieties
When aiming to grow blue or blue-toned lilies, it’s important to choose varieties that have the potential to exhibit these hues. While no lilies are truly blue, some hybrids and varieties have blueish or purplish tones that can achieve the effect you’re looking for. Here are a few varieties to consider:
- ‘African Queen’: This lily produces large, vibrant blooms in shades of blue and purple.
- ‘Blue Star’: Known for its blue-purple flowers, it adds a cool and calming touch to any garden.
- ‘Turk’s Cap Lily’: Some varieties of this species have a bluish tint, especially when grown in certain conditions.
Steps to Grow Blue Lilies
Growing blue lilies requires attention to detail and care throughout the planting and growing process. Follow these steps to cultivate a stunning display of blue-hued lilies:
1. Choose the Right Location
Select a sunny location for your lilies, as they thrive in full sun or partial shade. Ideally, they should receive at least 6-8 hours of sunlight each day. Ensure the site has well-drained soil to prevent waterlogging, which can lead to bulb rot.
2. Prepare the Soil
Lilies prefer slightly acidic to neutral soil with a pH between 6.0 and 7.0. Amend the soil with organic matter like compost or well-rotted manure to improve soil fertility and drainage. Ensure the soil is loose and well-aerated to allow the roots to grow freely.
3. Planting Bulbs
Plant lily bulbs in the fall or early spring for the best results. In the fall, planting should be done about 6-8 weeks before the first frost. In spring, wait until the soil has warmed to around 50°F (10°C).
- Depth and Spacing: Dig a hole about 6-8 inches deep. Space the bulbs 12-18 inches apart to allow for their growth and prevent overcrowding.
- Planting: Place the bulbs in the hole with the pointed end facing up. Cover with soil and gently tamp it down to remove air pockets.
4. Watering
After planting, water the bulbs thoroughly to help them settle into the soil. Maintain consistent soil moisture throughout the growing season, but avoid waterlogging. Water lilies when the top inch of soil feels dry, ensuring the water drains well to prevent bulb rot.
5. Mulching
Apply a layer of mulch around the base of the lilies to retain soil moisture and suppress weeds. Mulch also helps regulate soil temperature and provides nutrients as it breaks down. Organic mulches like bark or straw work well.
6. Fertilizing
Feed your lilies with a balanced, slow-release fertilizer in early spring as new growth begins. A second application can be made in mid-summer to support blooming. Follow the manufacturer’s instructions for application rates and frequency.
7. Pest and Disease Control
Monitor your lilies for common pests like aphids, spider mites, and lily beetles. Treat infestations promptly with organic or chemical solutions as needed. Diseases such as botrytis and lily blight can also affect lilies, so ensure proper air circulation and avoid overhead watering to reduce the risk of fungal infections.
8. Staking
Tall lily varieties may require staking to support their stems and prevent them from toppling over. Use bamboo stakes or other supports to gently tie the stems, ensuring the stakes are securely placed without damaging the roots.
9. Post-Bloom Care
After the blooming period, allow the foliage to die back naturally as it helps the bulbs store energy for the next growing season. Once the leaves have yellowed and withered, cut them back to the base and remove any spent flowers.
Creating a Stunning Display
To maximize the visual impact of your blue lilies, consider the following tips:
- Companion Planting: Pair blue lilies with complementary flowers in contrasting colors, such as white, yellow, or pink, to create a vibrant and dynamic garden bed.
- Flower Arrangements: Cut lilies for fresh flower arrangements, ensuring you leave some foliage on the plant to support future growth.
- Seasonal Interest: Plant lilies alongside other seasonal perennials and annuals to ensure continuous blooms and color throughout the growing season.
Troubleshooting Common Issues
Even with careful planning, you might encounter some challenges while growing blue lilies. Here are solutions to common problems:
- Poor Blooming: Ensure your lilies receive adequate sunlight and check for nutrient deficiencies. Overcrowding can also impact blooming, so thin out excess plants if needed.
- Leaf Spotting: This can be caused by fungal infections. Remove affected leaves and improve air circulation around the plants.
- Bulb Rot: Ensure proper drainage and avoid overwatering to prevent bulb rot.
Conclusion
Growing blue lilies can be a rewarding experience, offering a touch of elegance and charm to your garden. By selecting the right varieties, preparing the soil, and providing consistent care, you can achieve a stunning display of blue-toned blooms. Embrace the challenge and beauty of cultivating these enchanting flowers, and enjoy the unique addition they bring to your garden.
Start planning and planting today to bring a touch of blue to your garden, and witness the breathtaking results of your efforts. Happy gardening!