
Introduction:
In the quest to create a unique and eco-friendly garden, the concept of a vertical garden made from plastic bottles and balls stands out. This innovative approach not only helps you make use of recycled materials but also adds an eye-catching, green element to your outdoor space. The orb vertical garden is a visually appealing and space-saving solution that can turn any wall or corner into a lush, vibrant display. This article will guide you through the process of making your own beautiful orb vertical garden, offering a creative and sustainable way to enhance your garden.
Materials Needed:
Before you get started, gather the following materials:
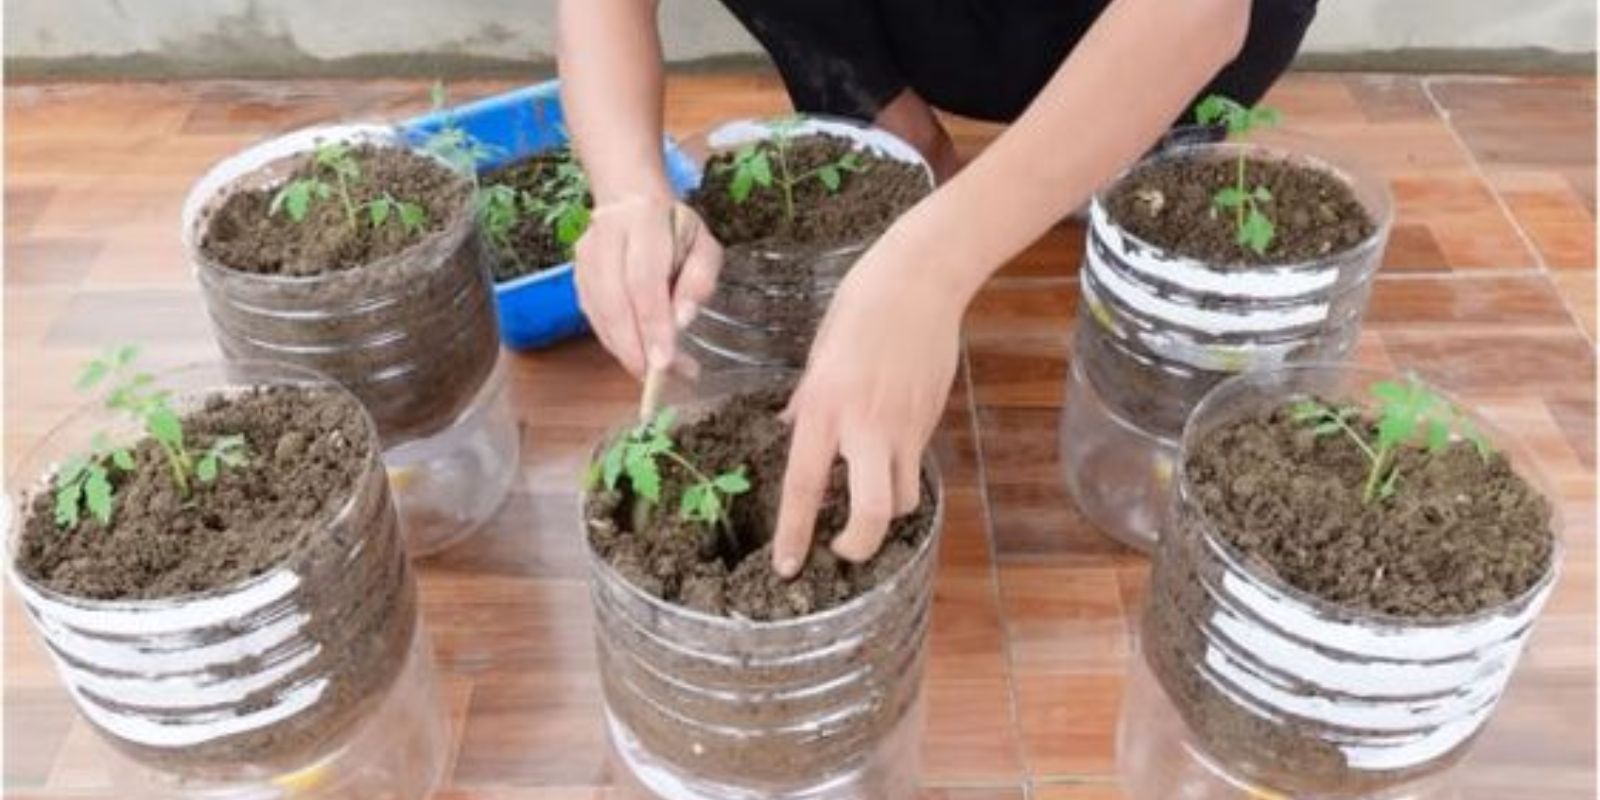
- Plastic Bottles: Collect a variety of plastic bottles (e.g., soda bottles) that you’ll use for planting.
- Plastic Ball: A large, hollow plastic ball to serve as the core structure for the orb.
- Soil: Use a high-quality potting mix suitable for the plants you choose.
- Plants: Select small plants or herbs that are suitable for container gardening.
- Wire or String: To attach the bottles to the plastic ball.
- Scissors or a Craft Knife: For cutting the bottles.
- Drill or Nail: For creating drainage holes in the bottles.
- Hooks or Mounting Equipment: For hanging or mounting the finished orb.
Step-by-Step Instructions:
1. Prepare the Bottles:
Start by preparing your plastic bottles. Clean them thoroughly and remove any labels. The next step is to create planting holes. Use a craft knife or scissors to cut holes in the sides of the bottles. The size and number of holes will depend on the size of the plants you plan to use. Ensure each bottle has adequate drainage holes at the bottom to prevent waterlogging, which can lead to root rot.
2. Assemble the Orb Structure:
The core of your vertical garden is the large plastic ball. This will serve as the central support structure for the bottles. Begin by deciding on the arrangement of the bottles around the ball. You can create a pattern or a random design depending on your preference.
Attach the bottles to the plastic ball using wire or string. Thread the wire or string through the necks of the bottles and wrap it around the ball to secure them in place. Make sure the bottles are evenly spaced and firmly attached to create a balanced and sturdy orb. This step requires some patience, as you’ll need to ensure that the bottles are securely fastened and won’t shift out of position.
3. Add Soil:
Once the bottles are attached to the ball, it’s time to add soil. Fill each bottle with potting mix, leaving a little space at the top to accommodate the plants. Gently tap the bottles to settle the soil and ensure it fills all gaps. The soil should be rich and well-draining to support healthy plant growth.
4. Plant Your Selection:
Choose small plants or herbs that are suitable for container gardening. Some good options include succulents, trailing plants like ivy, or small flowering plants. Carefully insert the plants into the soil-filled bottles, making sure the roots are well-covered and the plants are stable. If you’re planting multiple species, consider arranging them in a pattern for visual interest.
5. Secure and Mount the Orb:
After planting, secure the orb for display. If you plan to hang the orb, use sturdy hooks or mounting equipment to ensure it is securely fastened. Choose a location with adequate sunlight for your plants, as most require full to partial sun to thrive. Alternatively, you can mount the orb against a wall or fence using brackets or similar supports.
6. Maintenance and Care:
Maintaining your orb vertical garden involves regular care to keep the plants healthy and vibrant. Water the plants as needed, ensuring that the soil remains moist but not soggy. Check for pests and diseases, and address any issues promptly. Regularly prune and trim the plants to encourage healthy growth and prevent overcrowding.
Fertilize the plants as needed, following the recommendations for the specific types of plants you’ve used. The orb vertical garden may require occasional adjustments to the bottles or plants, especially as they grow and develop.
Benefits and Considerations:
Creating a vertical garden from plastic bottles and balls offers several benefits. It’s an environmentally friendly way to repurpose materials that might otherwise be discarded. Additionally, the vertical design saves space and adds a unique, artistic element to your garden.
However, there are a few considerations to keep in mind. Ensure that the plastic ball and bottles are securely attached and can withstand weather conditions if the orb is placed outdoors. Be mindful of the weight of the soil and plants, as this can affect the stability of the orb.
Conclusion:
A beautiful orb vertical garden made from plastic bottles and balls is a fantastic way to enhance your garden with creativity and sustainability. By following these steps, you can create a stunning display that not only adds visual interest but also promotes environmental responsibility. Whether you hang it, mount it, or place it in a sunny corner, your orb garden will be a testament to your innovative gardening skills and a delightful addition to your outdoor space.
Motivation:
Ready to transform your garden with a touch of creativity and sustainability? Follow these steps to craft your stunning orb vertical garden and watch your space come alive with vibrant greenery! 🌿✨