
Maintaining a garden can be both rewarding and relaxing, but it also requires time, attention, and effort—especially when it comes to watering. For many gardeners, consistent watering is the key to a thriving garden bed. Unfortunately, traditional watering methods can be time-consuming, inefficient, and wasteful. If you’re looking for a way to save time and water, an automatic watering system might be the perfect solution.
An automatic watering system can take the hassle out of daily watering routines, ensuring that your plants get just the right amount of water when they need it. Setting up such a system for your garden bed is easier than you might think, and it can save you both time and money in the long run. In this article, we’ll walk you through the steps to set up an efficient automatic watering system, using simple materials that are easy to find and install.
Why Choose an Automatic Watering System?
Before diving into the setup process, it’s important to understand why an automatic watering system can be so beneficial for your garden.
- Saves Time and Effort: An automatic watering system eliminates the need to water your plants manually. Whether you’re busy with work or travel, your garden will continue to receive the hydration it needs.
- Conserves Water: Automatic systems can be programmed to water plants during the cooler hours of the day, reducing evaporation and ensuring that water is delivered directly to the root zone.
- Ensures Consistency: One of the biggest challenges of gardening is maintaining a consistent watering schedule. With an automatic system, your garden gets the same amount of water every time, reducing the risk of overwatering or underwatering.
- Promotes Healthier Plants: Consistent and targeted watering encourages healthy plant growth. Your plants will have the right balance of water, which is essential for optimal growth.
- Cost-Effective: While there is an upfront cost to setting up an automatic watering system, it can save you money in the long term by reducing water wastage and minimizing the labor involved in watering.
Types of Automatic Watering Systems
Before setting up your system, it’s important to choose the right type of automatic watering system for your garden bed. The most common types are:
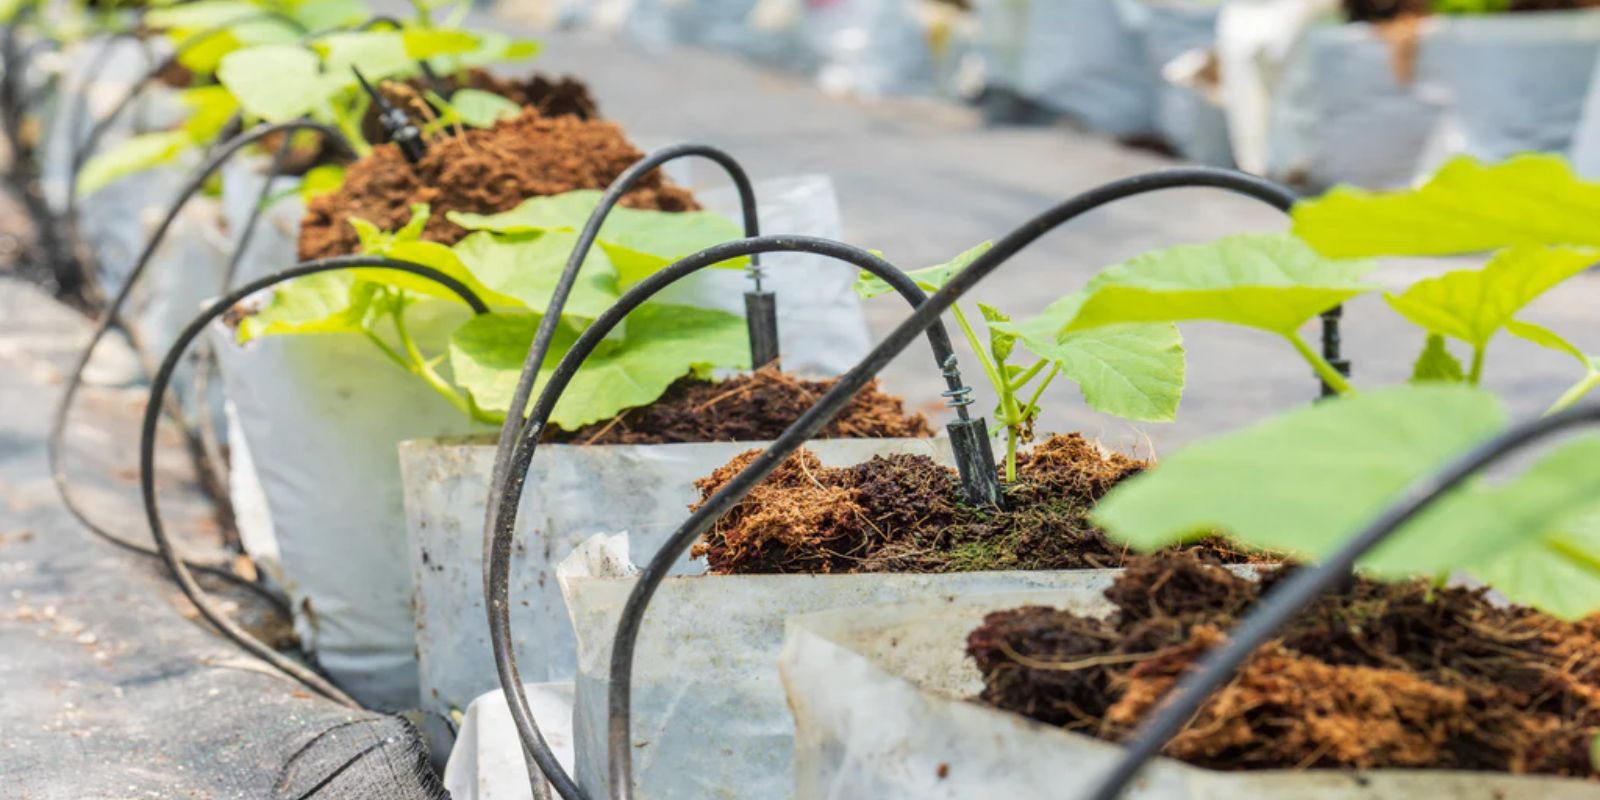
- Drip Irrigation: This system delivers water directly to the base of each plant via a network of tubes and emitters. It’s highly efficient, as it minimizes water waste and focuses on the root zone.
- Soaker Hoses: A soaker hose is a porous hose that allows water to seep out evenly along its length. It’s laid on the soil surface or buried under mulch, providing a gentle and consistent watering solution for garden beds.
- Sprinklers: While more traditional, sprinklers can be automated with a timer. They are best for large garden beds or areas where you need to cover a wider space.
For a garden bed, drip irrigation or soaker hoses are usually the best options, as they provide targeted watering with minimal water loss.
Materials You’ll Need
To set up your automatic watering system, you’ll need the following materials:
- Drip Irrigation Kit or Soaker Hose: Choose the system that best fits your garden’s needs. Drip irrigation kits come with tubing, emitters, and connectors, while soaker hoses are usually sold in rolls.
- Timer: A timer is essential for automating the system. It allows you to set the watering schedule according to your garden’s requirements.
- Hose or Main Water Line: You’ll need a hose or an underground water line to connect the watering system to your water source.
- Emitters (if using drip irrigation): Emitters control the flow rate of water to each plant. You can adjust the emitters to suit the water requirements of different plants.
- Barbed Connectors: These help connect the tubing, hoses, and other parts of the system together.
- Filtration System: If your water source has sediment or debris, a filter can help prevent clogs in the system.
- Stake or Holders: These keep your hoses or tubing in place along your garden bed.
Steps to Set Up an Automatic Watering System
Now that you have all the materials ready, follow these simple steps to set up your automatic watering system.
Step 1: Plan Your Watering System
Before installing the system, take a moment to assess your garden bed. Consider the layout of your plants and the water needs of each type. Some plants, like succulents, need less water, while others, like tomatoes or lettuce, require more frequent watering.
- Map out your garden: Draw a simple map or sketch of your garden bed. Identify the location of each plant and how you plan to run your water lines. This will help you determine the length of tubing or hose you’ll need.
- Group plants by water needs: If you have different types of plants with varying water needs, consider installing separate watering zones. For example, you could group drought-tolerant plants together and set a different watering schedule for them compared to more thirsty plants.
Step 2: Lay Out the Watering System
- Install the main hose or tubing: Begin by laying the main hose or tubing from your water source to your garden bed. If you’re using a drip irrigation system, connect the tubing to the water supply, and make sure it’s securely fastened.
- Place emitters or soaker hoses: For drip irrigation, place emitters near the base of each plant. These will release water directly to the root zone. If you’re using a soaker hose, simply lay it along the rows of plants, ensuring it’s evenly distributed.
- Secure the system: Use stakes or holders to secure the tubing or hoses in place. Make sure the emitters are positioned correctly to deliver water where it’s needed most.
Step 3: Connect the Timer
- Install the timer: Connect the timer to your water source. Most timers are attached to the faucet or hose bib. Set the timer according to your desired watering schedule. Most systems allow you to set multiple start times and durations.
- Test the system: Turn on the system and check for leaks or blockages. Ensure that the emitters are delivering water evenly and that the soaker hose is releasing water across the entire bed.
Step 4: Adjust the Flow Rate
- Customize the watering needs: Depending on the type of plants in your garden, you may need to adjust the flow rate of your watering system. If you have delicate plants that require less water, reduce the flow rate. If you have thirsty plants, increase the flow rate.
- Monitor your system: It’s important to check your system regularly to ensure it’s functioning correctly. Look for any clogs or obstructions that may prevent the system from delivering water evenly. Periodically clean the emitters and hoses to keep the system running smoothly.
Step 5: Set Your Watering Schedule
Now that everything is installed and tested, it’s time to set up the watering schedule. Most timers allow you to set watering times for specific days and times. Here are some general guidelines:
- Water early in the morning or late in the evening: This helps reduce water loss due to evaporation and ensures that plants can absorb the water before the sun gets too hot.
- Set the duration based on weather conditions: If it’s hot and dry, your plants may need longer watering times. During cooler weather or rainy periods, reduce the watering time.
- Water regularly: Depending on the plants in your garden, you may need to water every day or every other day. Be mindful of the seasonal changes and adjust the schedule accordingly.
Maintaining Your Automatic Watering System
To keep your system running smoothly, regular maintenance is key. Here are a few tips:
- Check for clogs: Over time, emitters and hoses can get clogged with dirt or mineral deposits. Clean the emitters periodically and check for blockages.
- Monitor the water pressure: Low water pressure can reduce the effectiveness of your system. If you notice uneven watering, check the pressure and adjust it as needed.
- Inspect the timer: Make sure the timer is working correctly and hasn’t been accidentally reset. Test the system periodically to ensure everything is functioning as it should.
Conclusion
An automatic watering system is a simple and effective way to take care of your garden bed, saving you time, water, and effort. By following the steps outlined above, you can easily set up a system that will provide your plants with consistent, targeted hydration. Not only will this improve the health and growth of your garden, but it will also make your gardening experience more efficient and enjoyable.