
Growing peppers at home is a rewarding and fulfilling experience that brings fresh, vibrant vegetables to your kitchen, enhances your gardening skills, and connects you more closely with nature. Peppers, whether sweet or spicy, are versatile, nutritious, and ideal for home gardens of all sizes. With the right care and methods, anyone can cultivate peppers that yield a bountiful harvest. In this comprehensive guide, we will walk you through every step, from seed selection to ongoing care, and share valuable insights for creating an abundant pepper garden right at home.
Why Grow Peppers at Home?
Growing peppers at home offers several advantages. First, you have complete control over what goes into the soil and the environment, making your peppers truly organic and free from harmful chemicals. Second, peppers are low-maintenance plants that can thrive in small spaces, making them perfect for urban or apartment gardeners. Finally, peppers come in a wide variety of flavors, colors, and heat levels, allowing you to experiment and enjoy different culinary experiences.
Step 1: Collecting and Preparing Seeds
To begin your pepper-growing journey, start with high-quality seeds. You can use seeds from store-bought peppers, but choosing organic peppers is recommended. Here’s how:
- Choose a Healthy Pepper: Select a ripe, healthy pepper that shows no signs of disease or damage.
- Harvest Seeds: Cut the pepper in half, remove the seeds, and spread them on a paper towel to dry overnight. This ensures they don’t rot when planted.
- Label and Store: If you plan to use them later, label the seeds and store them in an airtight container in a cool, dry place.
This initial step is crucial for healthy germination and optimal plant growth. Properly dried and stored seeds will remain viable for a longer period.
Step 2: Preparing the Soil
Peppers thrive in rich, well-drained soil with a slightly acidic to neutral pH (6.0-7.0). Use a large pot or container if growing peppers indoors or in limited space. Here’s how to prepare the ideal soil mix:
- Add Organic Compost: Mix garden soil with organic compost such as crushed eggshells, composted manure, or coffee grounds. Compost provides essential nutrients like calcium, which prevents blossom end rot.
- Ensure Good Drainage: Add a layer of stones or broken clay pot pieces at the bottom of your pot to improve drainage. Well-draining soil prevents root rot and ensures healthy growth.
- Check Soil pH: If possible, use a soil pH meter to ensure the soil is within the ideal range. Amend with lime if too acidic, or add sulfur if it’s too alkaline.
Healthy soil provides the foundation for strong plants and a good harvest.
Step 3: Planting the Seeds
Now that you have your soil ready, it’s time to plant the seeds. Follow these steps for optimal germination and growth:
- Sow Seeds: Plant the seeds about 1/4 inch deep in the soil, spacing them about an inch apart if in a large container. Keep the soil moist but not soggy.
- Cover and Place: Cover the container with a plastic wrap or a clear lid to create a mini greenhouse effect. This helps in maintaining humidity and warmth for germination.
- Maintain Humidity: Keep the soil consistently moist but avoid overwatering. Check the soil daily to ensure it doesn’t dry out.
- Light and Warmth: Place the container in a spot that gets indirect light, such as a windowsill, but avoid direct sunlight during germination.
Seeds typically germinate within 7-14 days, depending on the temperature and variety.
Step 4: Transplanting and Spacing
After about 3-4 weeks, your seedlings should be ready for transplanting:
- Thin the Seedlings: If multiple seedlings are growing too close, thin them to ensure each plant has enough space.
- Transplant to Bigger Pots: Transfer the strongest seedlings to larger pots or your garden bed when they have at least two sets of true leaves. Ensure they are spaced 12-18 inches apart to allow ample room for growth.
- Harden Off: Before transplanting outdoors, harden off the plants by gradually exposing them to outdoor conditions for a few hours daily over a week.
Proper spacing and gradual exposure are key to minimizing transplant shock.
Step 5: Providing Sunlight and Watering Properly
Peppers need at least six to eight hours of sunlight daily to thrive. Here’s how to ensure your plants receive enough light and water:
- Sunlight: Place your pots or garden in a location that receives full sunlight. For indoor gardening, position plants near a sunny window or use grow lights.
- Watering Schedule: Water the plants deeply but infrequently. It’s better to water less frequently but deeply so that the roots grow strong. Water in the morning to reduce the risk of fungal diseases.
Monitor the soil moisture regularly and never let it become bone dry or too soggy.
Step 6: Fertilizing for Growth
Feeding your plants ensures healthy growth and high yields. Here’s how to fertilize peppers:
- Use Organic Fertilizer: Apply an organic fertilizer like fish emulsion or compost tea every two weeks during the growing season.
- Supplement Calcium: For better fruiting and prevention of blossom end rot, sprinkle crushed eggshells around the base of the plants once a month.
- Avoid Overfertilizing: Too much nitrogen will result in lush foliage but few fruits, so balance your fertilization schedule carefully.
Following a balanced fertilization plan keeps your peppers productive and disease-resistant.
Step 7: Pests and Disease Management
Peppers can be susceptible to pests and diseases. Here’s how to protect them:
- Use Companion Planting: Plant basil, marigolds, or nasturtiums nearby to deter pests naturally.
- Check Regularly: Inspect plants weekly for signs of aphids, caterpillars, or fungal infections. Remove affected leaves and consider using neem oil or insecticidal soap for severe infestations.
- Mulching: Mulch around the base to retain moisture and reduce weed growth, which can attract pests.
Being proactive helps maintain a healthy, pest-free garden.
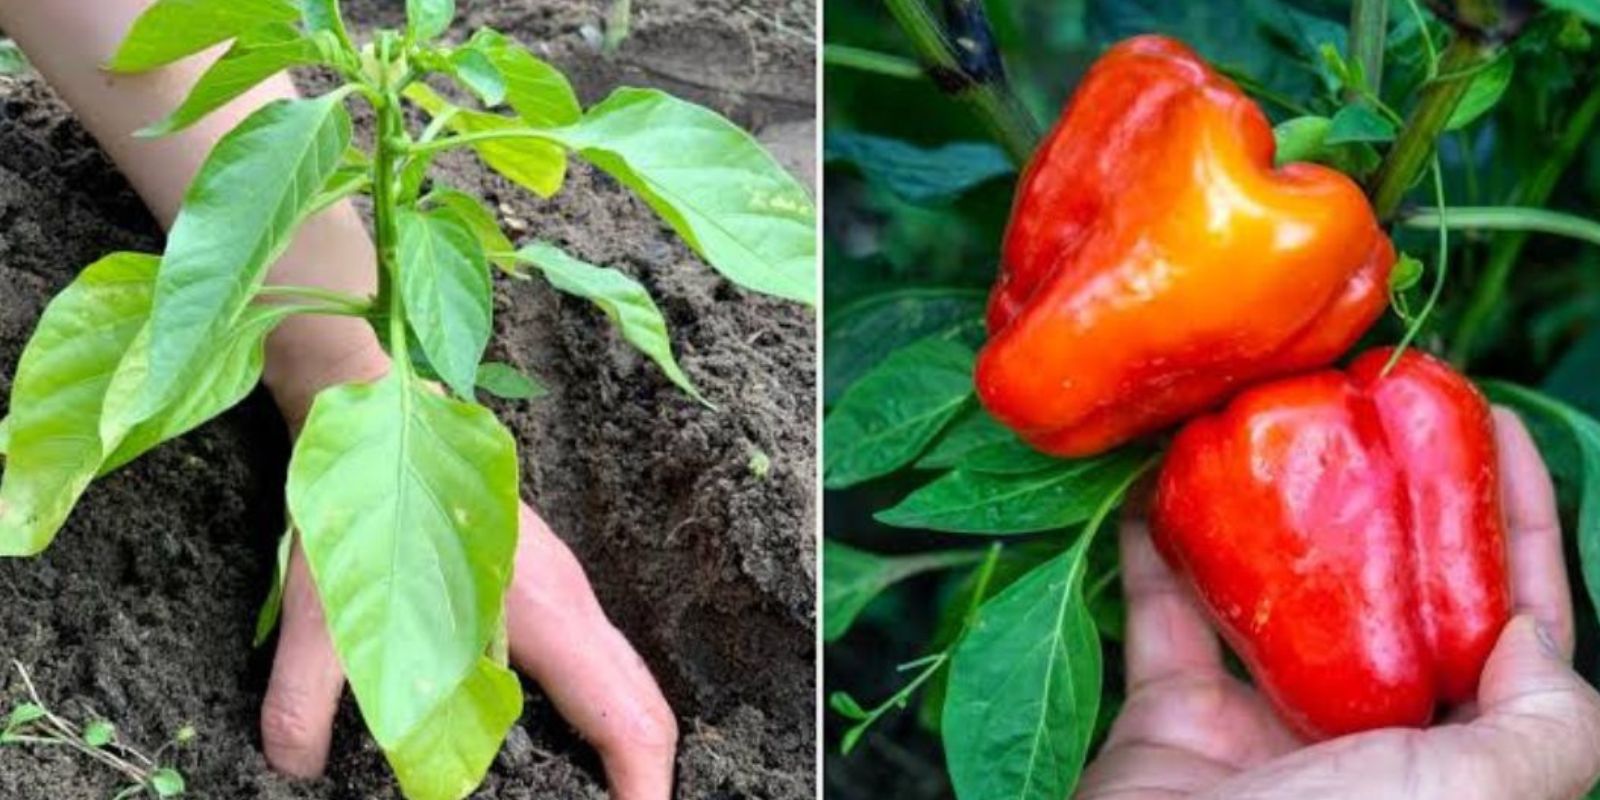
Step 8: Harvesting and Storing Peppers
The most rewarding part of gardening is harvesting. Here’s how to do it:
- Harvest Time: Peppers are usually ready to harvest in 60-90 days, depending on the variety. Pick them when they reach full size and color.
- Use Pruning Shears: Use a clean pair of pruning shears or scissors to cut peppers from the plant to avoid damaging branches.
- Storing: Store harvested peppers in a cool, dry place or freeze them for long-term use.
Regular harvesting also promotes continuous fruiting, ensuring a longer productive season.
Final Tips for Success
- Regular Pruning: Prune the lower leaves to increase airflow and reduce the risk of disease.
- Stake the Plants: Provide support for taller varieties, as heavy fruits may weigh down branches.
- Practice Crop Rotation: Rotate crops each year to prevent soil depletion and disease buildup.
By following these steps and providing consistent care, you can enjoy a prolific pepper harvest year after year.
Conclusion
Growing peppers at home is a fulfilling gardening project that offers delicious rewards. By carefully following each step—from seed preparation to regular maintenance—you can achieve a vibrant pepper garden that yields bucketloads of produce every season. Whether you’re a seasoned gardener or a beginner, these practices will help you master the art of growing peppers and enjoy a continuous harvest of homegrown vegetables.
Engage with Us!
What are your favorite pepper varieties to grow? Share your gardening tips, photos, and experiences in the comments below! Let’s inspire each other to grow beautiful, productive gardens.
#GrowPeppers #GardeningTips #HomeGarden #OrganicGardening #PepperHarvest #GreenThumb #UrbanFarming #PlantLovers #SustainableGardening #DIYGarden