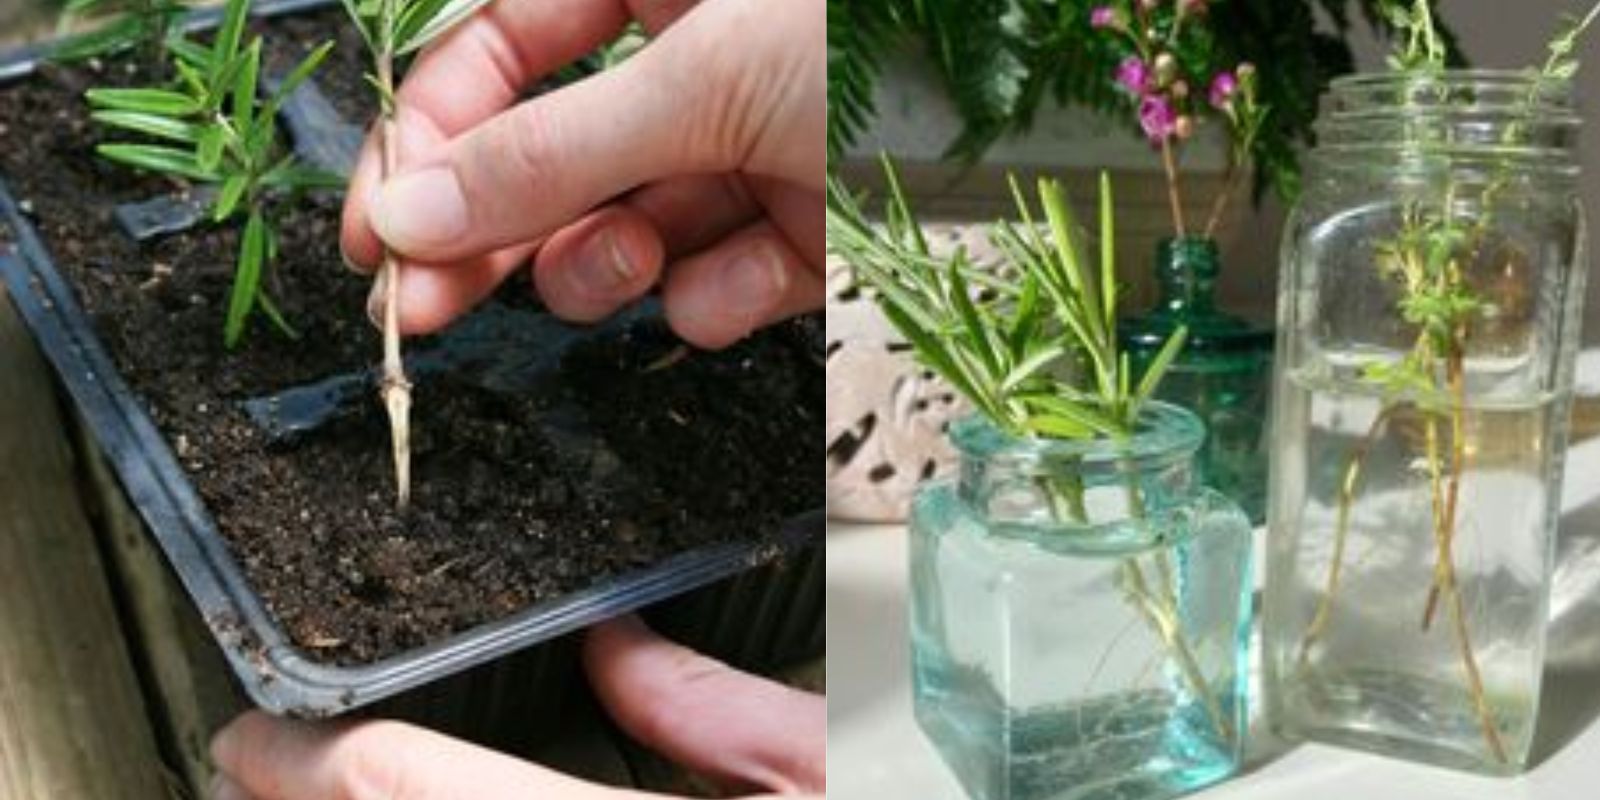
Rosemary (Rosmarinus officinalis) is not only a versatile herb in the kitchen but also a delightful addition to any garden with its fragrant foliage and attractive appearance. Propagating rosemary from cuttings is a straightforward and rewarding way to expand your herb garden, ensuring a fresh supply of this culinary favorite year-round. This comprehensive article explores the step-by-step process of propagating rosemary from cuttings, from preparation to care tips, enabling you to successfully grow new plants with ease.
Understanding Rosemary
Before diving into propagation techniques, it’s beneficial to understand the characteristics and benefits of rosemary:
- Plant Characteristics: Rosemary is an evergreen shrub with needle-like leaves that emit a distinctive pine-like aroma when crushed. It produces small, bluish-purple flowers that attract pollinators such as bees.
- Growing Conditions: Native to the Mediterranean region, rosemary thrives in well-draining soil with full sun exposure. It is drought-tolerant once established and prefers slightly alkaline soil conditions.
Propagation Methods
Propagating rosemary from cuttings is one of the most reliable methods for reproducing this herb. Here’s how to propagate rosemary successfully:
1. Selecting and Preparing Cuttings
- Choosing Cuttings: Select healthy, non-flowering stem cuttings from a mature rosemary plant. Cuttings should be approximately 4-6 inches long and taken from softwood or semi-hardwood growth (new growth that is not too woody).
- Preparation: Using clean, sharp scissors or pruning shears, cut each stem just below a leaf node. Remove the lower leaves along the bottom 2 inches of the cutting to expose the nodes where roots will form.
- Optional Rooting Hormone: While not always necessary, dipping the cut end of each cutting into rooting hormone powder can help stimulate root growth and increase success rates.
2. Planting the Cuttings
- Potting Mix: Prepare a well-draining potting mix suitable for herbs or cacti. A mixture of equal parts perlite and coarse sand or a commercial potting mix designed for herbs works well.
- Planting Technique: Insert the prepared cuttings into the potting mix, ensuring that at least one or two nodes are buried beneath the soil surface. Gently press the soil around the cuttings to secure them in place.
- Container Selection: Choose a small pot or container with drainage holes to prevent waterlogging. A shallow container works well initially, as it promotes root development.
3. Providing Optimal Growing Conditions
- Light Requirements: Place the potted cuttings in a location that receives bright, indirect light. Avoid direct sunlight, as it can scorch the tender cuttings. A sunny windowsill or under grow lights is ideal.
- Temperature and Humidity: Maintain a consistent room temperature between 65-75°F (18-24°C). Rosemary appreciates moderate humidity levels, so consider using a humidity tray or misting the plants occasionally, especially in dry indoor environments.
4. Watering and Care
- Watering Schedule: Water the newly planted cuttings lightly but regularly to keep the potting mix lightly moist. Allow the top inch of soil to dry out between waterings to prevent root rot.
- Fertilization: Avoid fertilizing rosemary cuttings immediately after planting. Once roots are established (typically after 2-3 months), begin fertilizing with a diluted, balanced liquid fertilizer every 4-6 weeks during the growing season (spring and summer).
- Transplanting: As the rosemary cuttings grow and roots develop, they can be transplanted into larger pots or directly into the garden once the roots fill out the initial container.
5. Encouraging Root Growth and Development
- Patience and Observation: Rooting rosemary cuttings typically takes 4-6 weeks, depending on environmental conditions and the health of the cuttings. Monitor the cuttings regularly for signs of new growth and root development.
- Propagation Success: Successful root growth is indicated by the emergence of new leaves and potential growth at the nodes. Once roots are established, the rosemary cuttings can be treated like mature plants, enjoying the same care and maintenance routines.
Benefits of Propagating Rosemary
Propagating rosemary from cuttings offers several advantages beyond simply expanding your herb garden:
- Cost-Effective: Propagating from cuttings is a cost-effective way to acquire new plants without purchasing seeds or established plants.
- Preserve Desired Traits: By propagating from a parent plant you already have, you can preserve specific traits such as flavor, growth habit, and aroma.
- Culinary and Medicinal Use: Enjoy an ongoing supply of fresh rosemary for culinary purposes, such as seasoning meats, vegetables, and breads, or for its potential health benefits in teas and infusions.
Conclusion
Propagating rosemary from cuttings is a fulfilling and practical gardening skill that allows you to enjoy the benefits of this versatile herb throughout the year. By following these step-by-step instructions and providing optimal care, you can successfully propagate and grow healthy rosemary plants from cuttings, enriching your garden and culinary endeavors. Whether you’re a novice gardener or an experienced enthusiast, propagating rosemary offers a rewarding opportunity to connect with nature, expand your herb collection, and enhance your culinary creations with the fresh, aromatic flavors of homegrown rosemary. Embrace the process, experiment with different varieties, and savor the satisfaction of nurturing plants from their earliest stages. Happy gardening!

