
Walnut trees, known for their majestic stature and valuable timber, have long been cherished in gardens and forests alike. Their nuts are not only a nutritious snack but also a key ingredient in various culinary delights. Propagating walnut trees from seeds is a rewarding endeavor, allowing gardeners to grow their own trees while fostering a deeper connection with nature. In this comprehensive guide, we will explore the step-by-step process of propagating walnut trees from seeds, covering everything from seed selection to planting techniques, care, and maintenance.
Understanding Walnut Trees
Types of Walnut Trees
Before delving into propagation techniques, it’s essential to understand the different types of walnut trees. The most commonly cultivated walnut species are:
- English Walnut (Juglans regia): Known for its high-quality nuts, the English walnut is widely grown in orchards and gardens. It thrives in temperate climates and is more frost-sensitive than other species.
- Black Walnut (Juglans nigra): This native North American species produces a rich-flavored nut and is valued for its dark, durable wood. Black walnuts are hardier than English walnuts and can withstand colder temperatures.
- California Black Walnut (Juglans californica): Primarily found in California, this species is less common for nut production but is an excellent choice for landscaping and wildlife habitat.
The Importance of Propagation
Propagating walnut trees from seeds is crucial for several reasons:
- Genetic Diversity: Seed propagation promotes genetic diversity, which helps trees adapt to changing environmental conditions.
- Cost-Effective: Growing walnut trees from seeds is a cost-effective alternative to purchasing nursery-grown saplings.
- Connection to Nature: Cultivating your walnut tree from seed fosters a deeper appreciation for nature and its cycles.
Step-by-Step Guide to Propagating Walnut Trees from Seeds
Step 1: Seed Collection
The first step in propagating walnut trees is collecting seeds. Follow these guidelines for successful seed collection:
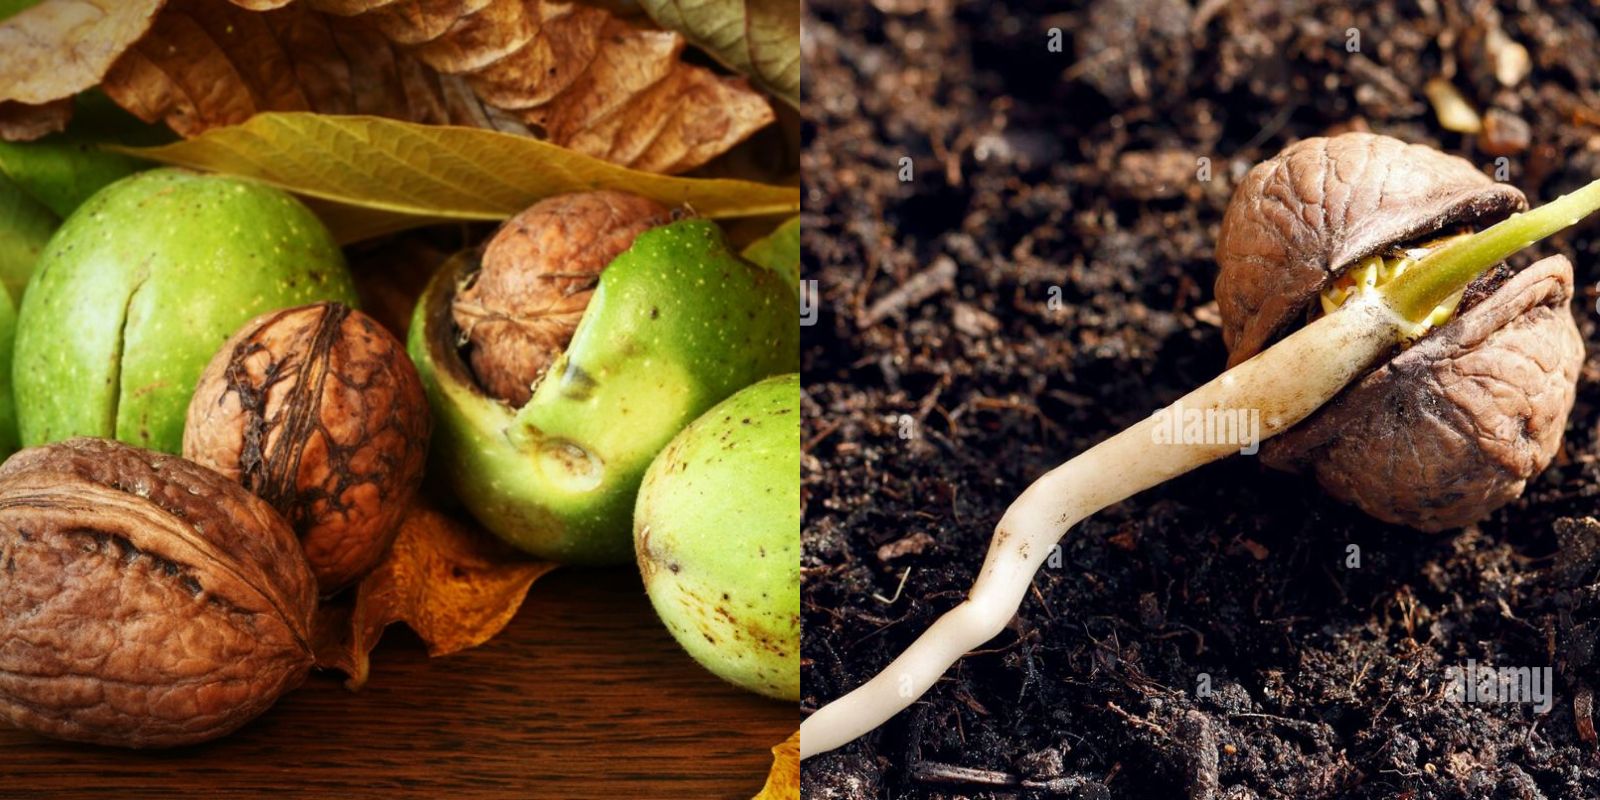
- Timing: Harvest walnuts in late summer to early fall when the nuts start falling from the tree. The husks should be green and moist.
- Selection: Choose healthy, mature nuts without blemishes or signs of disease. Avoid nuts that are overly shriveled or have holes, as these may be infested with pests.
- Processing: Remove the outer husk of the nut. This can be done by placing the nuts in a bucket of water to help loosen the husk or using a knife to carefully peel it away. Rinse the nuts thoroughly to remove any debris.
Step 2: Stratification
Walnut seeds require a period of cold stratification to germinate successfully. This mimics natural winter conditions and prepares the seeds for sprouting.
- Preparation: After processing, soak the seeds in water for 24 hours to enhance germination. This softens the seed coat and promotes moisture absorption.
- Stratification Method: There are two primary methods for stratifying walnut seeds:
- Outdoor Stratification: Plant the seeds directly in a designated area outdoors, about 1 inch deep, and cover them with mulch. Nature will take care of the cold treatment.
- Refrigerator Stratification: Place the soaked seeds in a damp paper towel or peat moss, and seal them in a plastic bag. Store the bag in the refrigerator for 60 to 90 days. Ensure that the medium remains moist but not waterlogged.
Step 3: Preparing for Planting
Once the stratification period is complete, it’s time to prepare for planting:
- Timing: The best time to plant walnut seeds is in early spring when the soil has warmed up, and the threat of frost has passed.
- Soil Preparation: Select a well-draining location with fertile soil. Walnut trees prefer loamy, sandy, or clay soils with a pH of 6.0 to 7.5. Amend the soil with compost or well-rotted manure to improve fertility.
- Spacing: Walnut trees can grow quite large, so plan for adequate spacing. If planting multiple seeds, space them at least 30 feet apart to allow for mature growth.
Step 4: Planting the Seeds
Now it’s time to plant your walnut seeds:
- Planting Depth: Dig holes approximately 2 to 4 inches deep. If using larger seeds, plant them deeper, about 4 inches.
- Positioning: Place the seeds with the pointed end facing downwards. This orientation helps the root system establish properly.
- Covering: Fill the hole with soil and gently pat it down to eliminate air pockets. Water the area lightly to settle the soil around the seeds.
Step 5: Caring for Young Walnut Trees
Once planted, young walnut trees require proper care to thrive:
- Watering: Keep the soil consistently moist but not waterlogged. Young seedlings need regular watering, especially during dry spells. Aim for about 1 inch of water per week.
- Mulching: Apply a layer of organic mulch around the base of the tree to retain moisture, suppress weeds, and regulate soil temperature.
- Fertilizing: Fertilize young walnut trees with a balanced fertilizer in early spring. Avoid high-nitrogen fertilizers, as they can promote excessive leaf growth at the expense of root development.
- Pruning: Prune young walnut trees to promote a strong central leader and remove any dead or damaged branches. This helps shape the tree and encourages healthy growth.
Step 6: Monitoring for Pests and Diseases
As your walnut trees grow, it’s important to monitor for potential pests and diseases:
- Common Pests: Walnut trees are susceptible to pests such as aphids, walnut husk flies, and codling moths. Regularly inspect the leaves and nuts for signs of infestations.
- Diseases: Watch for fungal diseases like walnut blight and root rot. Proper sanitation practices, including removing fallen debris and avoiding overhead watering, can help mitigate these issues.
- Integrated Pest Management (IPM): Employ IPM strategies to manage pests naturally. This may include introducing beneficial insects, using organic pesticides, and practicing crop rotation.
Step 7: Transplanting Young Trees
If you started your walnut trees in a seedbed or container, you might need to transplant them:
- Timing: Transplant young trees in early spring or fall when they are dormant.
- Preparation: Before transplanting, prepare the new planting site by clearing weeds and amending the soil.
- Transplanting Process: Gently remove the young tree from its original container or seedbed, taking care not to damage the roots. Plant the tree at the same depth it was previously growing, and water thoroughly after transplanting.
Step 8: Long-Term Care
As walnut trees mature, their care needs will change:
- Watering: Once established, walnut trees are relatively drought-tolerant but benefit from supplemental watering during prolonged dry periods.
- Fertilizing: Continue to fertilize mature trees every few years with a balanced fertilizer to promote healthy growth and nut production.
- Pruning: Regularly prune established walnut trees to maintain their shape and remove any dead or diseased branches.
- Harvesting: Depending on the species, walnut trees typically begin producing nuts within 4 to 6 years. Harvest nuts when the husks begin to split, and the nuts fall to the ground.
Conclusion
Propagating walnut trees from seeds is a rewarding process that requires patience, care, and attention to detail. By following the steps outlined in this guide, you can successfully cultivate these magnificent trees, contributing to the beauty of your landscape while enjoying the delicious nuts they produce. Whether you’re planting a single tree or creating an orchard, the journey of growing walnut trees from seed will deepen your connection with nature and provide a sense of accomplishment for years to come. So gather your seeds, roll up your sleeves, and start your walnut-growing adventure today!