
In an age where urban living is on the rise, many of us are finding it increasingly challenging to cultivate our love for gardening in limited spaces. Enter the vertical garden—a creative, space-saving solution that allows you to grow a variety of plants while adding beauty and life to your home or outdoor area. Whether you’re a seasoned gardener or just starting, vertical gardening can be a rewarding and fun way to enhance your green thumb. In this comprehensive guide, we will explore the concept of vertical gardening, its benefits, and step-by-step instructions for creating your own vertical garden.
What is a Vertical Garden?
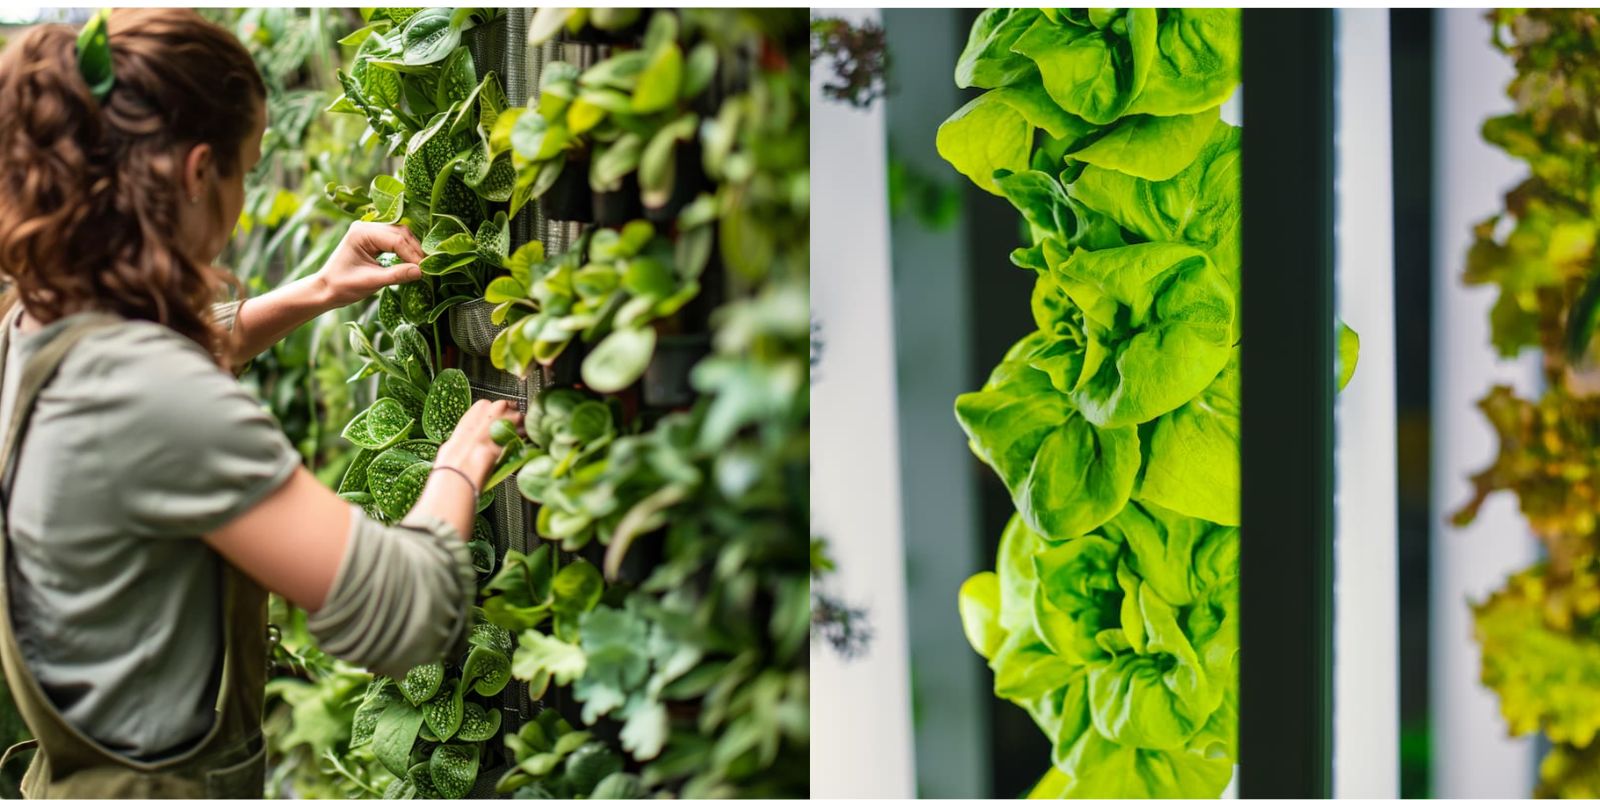
A vertical garden, also known as a living wall or green wall, is a method of growing plants on vertical surfaces rather than in traditional horizontal garden beds. This innovative approach can be applied to walls, fences, balconies, or even indoors. Vertical gardens can be made with a variety of plants, including flowers, herbs, succulents, and even vegetables, providing a unique way to enjoy nature in your living space.
Benefits of Vertical Gardening
Before diving into the steps for creating your vertical garden, let’s discuss the many advantages of this gardening method:
- Space Efficiency: Vertical gardens maximize space, making them perfect for small backyards, balconies, or even indoor environments.
- Aesthetic Appeal: A vertical garden adds visual interest and beauty to any space, transforming dull walls into lush green canvases.
- Improved Air Quality: Plants naturally filter air pollutants, so a vertical garden can enhance the air quality in your home or office.
- Enhanced Privacy: A well-placed vertical garden can create a natural privacy screen, shielding your space from prying eyes.
- Biodiversity: Vertical gardens can support a wide variety of plant species, contributing to biodiversity in urban environments.
- Easier Maintenance: Many vertical garden designs can be easier to maintain than traditional gardens, especially for those with mobility challenges.
- Educational Opportunities: Vertical gardens provide an excellent opportunity for learning about plants, gardening, and sustainability, making them ideal for families and educational settings.
Step-by-Step Guide to Creating a Vertical Garden
Step 1: Choose a Location
The first step in creating your vertical garden is selecting the right location. Consider the following factors:
- Sunlight: Assess how much sunlight the area receives throughout the day. Most plants require at least six hours of sunlight, so choose a location that meets this requirement.
- Accessibility: Ensure the location is easily accessible for watering and maintenance.
- Visibility: Consider placing your vertical garden in a spot where it can be admired, enhancing the aesthetics of your home.
Step 2: Select a Structure
Vertical gardens can take many forms, so you’ll need to choose a structure that suits your space and gardening style. Here are some popular options:
- Trellises: A simple trellis can be attached to a wall, providing support for climbing plants like peas, cucumbers, and climbing roses.
- Wall Planters: Wall-mounted planters or pockets allow you to grow multiple plants in a compact space.
- Hanging Baskets: Hanging baskets can be suspended from ceilings or hooks, creating a cascading effect with trailing plants.
- Pallet Gardens: Repurposed wooden pallets can be transformed into vertical gardens with minimal cost.
- DIY Frames: For a more custom approach, consider building a frame with shelves or latticework for a tailored look.
Step 3: Pick Your Plants
Choosing the right plants is crucial for the success of your vertical garden. Consider the following when selecting your plants:
- Light Requirements: Ensure the plants you choose are suitable for the amount of sunlight in your chosen location.
- Watering Needs: Some plants require more water than others. Group plants with similar watering needs together for easier maintenance.
- Size and Growth Habit: Consider how tall or wide plants will grow, and choose varieties that will fit well in your vertical space without overcrowding.
- Plant Types: Here are some great options for vertical gardens:
- Herbs: Basil, thyme, parsley, and mint are excellent choices for vertical gardening.
- Flowers: Petunias, geraniums, and nasturtiums add vibrant color to your garden.
- Succulents: Low-maintenance succulents like echeveria and sedum thrive in vertical gardens.
- Vegetables: Lettuce, strawberries, and small peppers can be successfully grown in vertical gardens.
Step 4: Prepare Your Containers
Once you’ve selected your plants, it’s time to prepare your containers. Depending on your chosen structure, you may need pots, bags, or wall pockets. Here are some tips:
- Drainage: Ensure all containers have proper drainage holes to prevent waterlogging.
- Soil Mix: Use a high-quality potting mix suitable for the plants you’ve chosen. Incorporate materials like perlite or vermiculite for improved drainage and aeration.
- Fertilization: Consider adding slow-release fertilizer to your soil mix to provide essential nutrients for your plants.
Step 5: Plant
Now comes the exciting part—planting! Follow these steps to ensure a successful planting process:
- Layout: Arrange your plants in their containers before planting to determine the best layout. Consider height, color, and texture.
- Planting: Fill each container with your soil mix, leaving enough space for the plants. Gently remove plants from their nursery pots and place them in their new containers, ensuring that the root ball is level with the top of the soil.
- Watering: After planting, water each container thoroughly, allowing excess water to drain out.
Step 6: Water and Maintain
Maintaining your vertical garden is essential for its success. Here are some key maintenance tips:
- Watering: Check your vertical garden regularly for moisture. Depending on the plants and weather conditions, you may need to water daily or weekly.
- Fertilization: Fertilize your plants according to their needs, typically every four to six weeks.
- Pruning: Regularly prune your plants to encourage healthy growth and prevent overcrowding. Remove dead or yellowing leaves as needed.
- Pest Control: Keep an eye out for pests and treat them promptly with organic pest control methods, such as neem oil or insecticidal soap.
Step 7: Enjoy and Experiment
Once your vertical garden is established, take the time to enjoy the fruits of your labor. Spend time observing your plants, and consider experimenting with different plant varieties or layouts to keep your garden fresh and exciting.
Tips for Success
- Start Small: If you’re new to vertical gardening, begin with a small project and gradually expand as you gain confidence.
- Incorporate Vertical Elements: Add decorative elements like fairy lights, garden art, or trellises to enhance the visual appeal of your vertical garden.
- Share Your Journey: Document your vertical gardening journey on social media using hashtags like #VerticalGarden #UrbanGardening and #GreenThumb to inspire others and connect with fellow gardening enthusiasts.
Conclusion
Creating a vertical garden is not only a beautiful way to enhance your living space, but it also provides a practical solution for urban gardening challenges. By following this comprehensive guide, you can cultivate a thriving vertical garden that brings joy, color, and fresh produce to your life. Whether you’re growing herbs for cooking, colorful flowers for decoration, or simply enjoying the process of nurturing plants, a vertical garden offers endless possibilities for creativity and enjoyment. So gather your materials, choose your plants, and start your vertical gardening journey today!
Happy gardening! 🌿✨