
Tomatoes are one of the most rewarding and versatile crops to grow in your garden. Whether you’re growing them for salads, sauces, or just to enjoy fresh off the vine, homegrown tomatoes offer unparalleled flavor and satisfaction. Growing tomatoes successfully can be easy with the right guidance. This article will walk you through each step of the tomato-growing process, from choosing the right variety to harvesting ripe, juicy fruits.
Introduction to Tomato Growing
Tomatoes come in a variety of shapes, sizes, and colors, from small cherry tomatoes to large beefsteak varieties. No matter what type you choose, tomatoes need proper care and attention to produce healthy plants and a bountiful harvest. Growing tomatoes at home is also a great way to ensure that you’re eating fresh, organic produce.
Below is a comprehensive guide to help you grow thriving tomato plants in your garden or containers.
1. Choosing the Right Variety of Tomatoes
The first step in growing tomatoes is choosing the variety that best suits your needs. There are two main types of tomatoes: determinate and indeterminate.
- Determinate tomatoes grow to a fixed size and produce all their fruit in a short period. They are perfect for small gardens and container gardening. Varieties like ‘Roma’ and ‘Celebrity’ are common determinate tomatoes.
- Indeterminate tomatoes, on the other hand, continue growing and producing fruit throughout the season. These plants can grow tall and require staking or caging. Popular indeterminate varieties include ‘Beefsteak,’ ‘Heirloom,’ and ‘Cherry’ tomatoes.
Consider your available space and climate when choosing which type of tomato to grow. If you have limited space, opt for compact or dwarf varieties. For those with plenty of room and a longer growing season, indeterminate tomatoes may offer a longer harvest period.
2. Starting from Seeds vs. Buying Seedlings
You can start your tomatoes either from seeds or by purchasing young seedlings from a nursery.
- Starting from seeds allows you to choose from a wider variety of tomatoes. Start seeds indoors 6-8 weeks before the last frost date in your area. Plant the seeds in small pots or seed trays, using a seed-starting mix. Keep the soil moist and provide plenty of sunlight (or grow lights) to encourage germination.
- Buying seedlings is a quicker option. If you prefer to skip the seed-starting process, you can buy healthy seedlings from your local garden center when the weather is warm enough to plant them outdoors.
3. Preparing the Soil
Tomatoes thrive in nutrient-rich, well-drained soil. To prepare your garden bed or container, follow these steps:
- Test your soil’s pH. Tomatoes prefer slightly acidic soil with a pH between 6.0 and 6.8.
- Amend the soil. Add compost, well-rotted manure, or organic fertilizers to enrich the soil and boost nutrient availability. This helps create a strong foundation for root development.
- Loosen the soil. If planting in the ground, loosen the soil to a depth of about 12 inches to allow roots to spread easily.
For those growing tomatoes in containers, choose pots that are at least 18-24 inches wide and deep. Use high-quality potting mix specifically formulated for vegetables, and add organic matter to boost fertility.
4. Planting Tomatoes
When the risk of frost has passed, and the soil has warmed, it’s time to transplant your tomato seedlings into the garden or containers.
- Plant deep. Tomatoes can be planted deeper than most plants. Bury about two-thirds of the plant, including some of the stem. This encourages a stronger root system since the stem will sprout additional roots.
- Spacing. Provide proper spacing for your plants to ensure good air circulation. Space determinate varieties 18-24 inches apart and indeterminate varieties 24-36 inches apart.
- Water deeply. After planting, water the seedlings well to help them establish in their new location.
5. Watering and Mulching
Tomatoes need consistent watering, especially during dry periods. Inconsistent watering can lead to problems like blossom end rot or cracked fruits.
- Watering schedule. Water your tomatoes deeply once or twice a week, depending on the weather. Avoid watering the leaves to reduce the risk of fungal diseases.
- Mulching. Apply a layer of mulch, such as straw or grass clippings, around the base of the plants. Mulch helps retain moisture, keeps the soil cool, and prevents weeds from growing.
6. Fertilizing Tomatoes
Tomatoes are heavy feeders and need regular fertilizing throughout the growing season.
- Initial fertilization. When planting, add an organic, slow-release fertilizer to the soil.
- Side-dressing. Once the plants start to flower, side-dress them with a balanced organic fertilizer or compost tea every 2-3 weeks. Avoid fertilizers high in nitrogen, as this encourages leafy growth at the expense of fruit production.
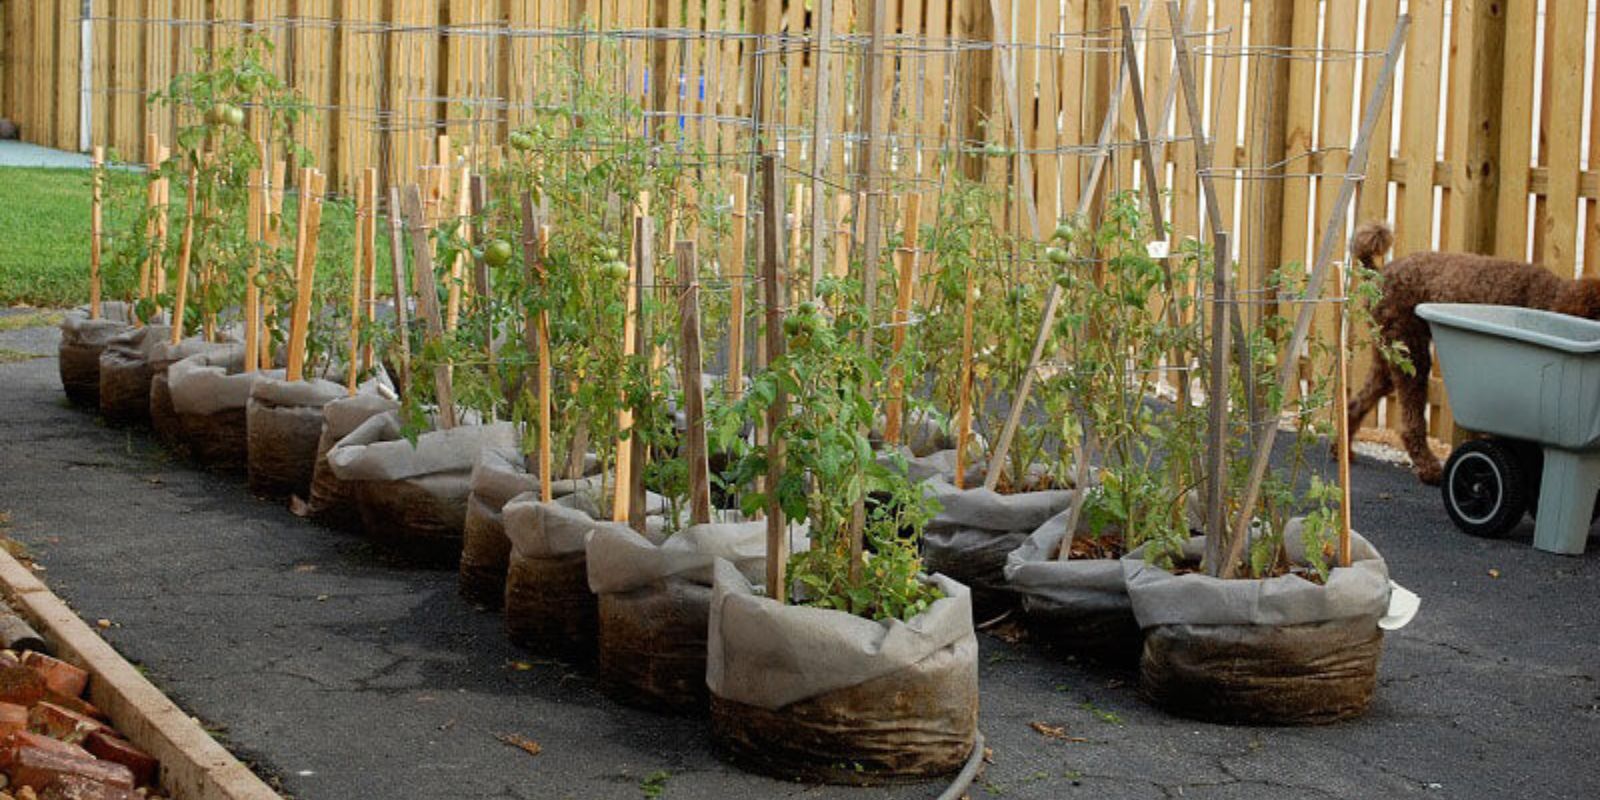
7. Supporting Your Plants
Indeterminate tomato plants will need support as they grow. Use cages, stakes, or trellises to keep the plants upright and prevent the fruit from touching the ground, which can lead to rot.
- Staking. Drive a sturdy stake into the ground near each plant and tie the stem loosely to the stake with soft ties or strips of cloth.
- Caging. You can also place a tomato cage around the plant to keep it supported. This method is especially useful for larger indeterminate varieties.
8. Pruning for Better Growth
Pruning your tomato plants can improve airflow, reduce disease, and encourage better fruit production. Focus on removing suckers, the small shoots that grow between the main stem and branches.
- Remove suckers. Pinch off suckers that appear in the leaf axils, especially on indeterminate varieties. This allows the plant to direct its energy towards fruit production rather than excessive foliage.
9. Pest and Disease Control
Tomato plants are susceptible to several pests and diseases, but with proper care, you can minimize the damage.
- Pests. Common pests include aphids, tomato hornworms, and whiteflies. Use natural remedies like neem oil, insecticidal soap, or introduce beneficial insects like ladybugs to keep pests in check.
- Diseases. Fungal diseases such as early blight or powdery mildew can affect tomatoes. Water the base of the plants and prune lower leaves to reduce the spread of diseases. If necessary, apply organic fungicides.
10. Harvesting Tomatoes
Harvest tomatoes when they are fully ripe and have a rich, deep color. The timing of the harvest will depend on the variety you’re growing, but tomatoes are usually ready 60-85 days after transplanting.
- Check for ripeness. A ripe tomato will feel slightly soft when gently squeezed. For the best flavor, harvest in the morning when the fruits are cool.
- Pick regularly. Regular picking encourages the plant to produce more fruit. You can also pick tomatoes just before they’re fully ripe and allow them to finish ripening indoors.
11. Extending the Growing Season
If you want to extend your tomato harvest into the cooler months, consider using techniques like covering the plants with row covers or growing tomatoes in a greenhouse.
- Row covers. Protect your plants from frost with lightweight row covers during cold nights.
- Greenhouse growing. If you have a greenhouse, you can start your tomatoes earlier in the season and continue growing them longer after the typical outdoor growing season ends.
Conclusion
Growing tomatoes at home is a rewarding experience that can provide you with an abundance of fresh, flavorful fruits. By following these easy steps—from selecting the right variety, planting in nutrient-rich soil, to providing proper care and support—you can enjoy a bountiful tomato harvest all season long.
If you’re a tomato-growing enthusiast or have tips of your own, we’d love to hear from you! Share your experiences and gardening advice in the comments below.