
Potatoes are one of the most versatile and beloved crops around the world. From mashed potatoes to French fries, their rich flavor and texture make them a staple in many kitchens. But did you know that growing your own potatoes can be incredibly rewarding and surprisingly easy? Whether you’re an experienced gardener or just starting out, growing potatoes in your backyard or garden space is a great way to enjoy a homegrown harvest.
In this article, we’ll cover 8 essential tips for growing potatoes, helping you achieve the best possible harvest, from selecting the right variety to planting, care, and harvesting. With the right knowledge, you’ll be able to grow your own delicious potatoes that are perfect for a variety of dishes. So let’s dig in!
Why Grow Potatoes?
Before diving into the tips, let’s briefly explore why you might want to grow potatoes in your garden. Aside from being a versatile food that can be prepared in countless ways, potatoes are relatively easy to grow and care for. They thrive in various climates and can be grown in a range of garden styles, including containers, raised beds, and traditional garden rows.
Potatoes are also a highly productive crop, yielding multiple tubers from a single seed potato. As a result, growing them in your garden can provide a rewarding and cost-effective way to enjoy fresh, delicious potatoes throughout the season. And the best part? Once you’ve mastered growing them, it’s a crop you can enjoy year after year.
Tip #1: Choose the Right Variety for Your Garden
The first step in successfully growing potatoes is choosing the right variety. Potatoes come in many types, each suited to different growing conditions and culinary uses. Whether you prefer waxy potatoes for boiling, starchy ones for mashing, or all-purpose types for a variety of recipes, selecting the right variety is essential for a great harvest.
Variety Considerations:
- Early Varieties: These potatoes mature quickly and are perfect for a quick harvest. Examples include ‘New Potatoes’ or ‘First Early’ varieties, which take around 10 weeks to mature.
- Mid-Season Varieties: These take a little longer, around 12 to 14 weeks, and are ideal for a larger harvest. Examples include ‘Yukon Gold’ or ‘Red Pontiac’.
- Late-Season Varieties: These take longer to mature, up to 16 weeks or more, but they often produce a larger yield. Varieties like ‘Russet Burbank’ and ‘Purple Viking’ fall into this category.
Choosing a variety suited for your region and climate is key. In colder climates, early varieties are often the best choice, while warmer climates may benefit from later-maturing varieties. Be sure to check the growing season for the specific variety you choose to ensure it will thrive in your area.
Tip #2: Pick the Perfect Planting Spot
Potatoes love full sunlight and well-drained soil, so selecting the right location in your garden is crucial for success. Choose a sunny spot where your potatoes will receive at least 6 hours of sunlight each day. Potatoes need this much sunlight to produce healthy tubers.
Additionally, potatoes prefer loose, well-drained soil that allows their roots to spread out freely. Avoid planting them in heavy clay or waterlogged soil, as this can lead to poor growth and root rot. If your soil tends to retain water, consider planting in raised beds or mounds to ensure proper drainage.
Soil Preparation:
- Loosen the soil to a depth of 8-10 inches to give the roots plenty of room to grow.
- Amend the soil with compost to improve fertility and drainage. Potatoes are heavy feeders, so enriched soil will provide the necessary nutrients for a bountiful harvest.
A well-prepared planting spot will lay the foundation for a healthy potato crop that’s sure to impress.
Tip #3: Use Certified Seed Potatoes
When it comes to planting potatoes, using certified seed potatoes is a must. Certified seed potatoes are grown specifically for planting and are guaranteed to be free from diseases and pests. Unlike grocery store potatoes, which may be treated with sprout inhibitors, seed potatoes are meant to sprout and grow into new plants.
To prepare your seed potatoes for planting, you can cut them into pieces that have at least one or two “eyes” (small buds) each. Let the cut pieces cure for a couple of days in a cool, dry place to prevent them from rotting in the soil. Plant your seed potatoes about 4-6 inches deep and space them about 12 inches apart to give the plants enough room to grow.
Tip #4: Proper Planting Depth and Spacing
When planting your seed potatoes, it’s essential to plant them at the right depth and spacing to ensure strong growth and a good yield. Planting too deep can result in poor sprouting, while planting too shallow can expose the tubers to sunlight, causing them to turn green and become toxic.
Planting Guidelines:
- Depth: Plant your seed potatoes 4-6 inches deep.
- Spacing: Space your seed potatoes about 12 inches apart in rows. This gives the plants enough space to grow and allows for good air circulation, which reduces the risk of disease.
Remember, as the plants grow, you’ll need to “hill” the soil around the plants to encourage more tuber production (more on this later). Proper planting depth and spacing at the start will set your potatoes up for success.
Tip #5: Water Regularly, But Don’t Overwater
Potatoes require consistent moisture to grow, but over-watering can lead to issues like rot or disease. The key is to keep the soil consistently moist, not soggy. Potatoes are especially sensitive to water stress during the tuber-forming stage, so it’s important to provide them with regular, deep watering.
Watering Tips:
- Water early in the morning to allow the soil to dry out by evening, preventing fungal diseases.
- Use soaker hoses or drip irrigation to ensure that the water reaches the root zone directly, minimizing water on the leaves, which can encourage disease.
- During dry spells, water more frequently, especially when the plants are flowering or when the tubers are developing.
Maintaining the right moisture levels is critical for healthy potato plants and a successful harvest.
Tip #6: Hill Your Potatoes for Better Growth
Hilling is the process of mounding soil around the base of your potato plants as they grow. This encourages the formation of additional tubers along the buried stems and provides better protection for the developing tubers.
How to Hill Potatoes:
- Once the plants are about 6-8 inches tall, begin mounding soil around the base of each plant.
- Repeat this process every few weeks as the plants continue to grow, adding more soil around the base until the mound is about 8-10 inches high.
Hilling not only boosts your potato yield but also helps to protect the tubers from sunlight, preventing them from turning green and toxic.
Tip #7: Fertilize Properly
Potatoes are heavy feeders, meaning they require a lot of nutrients to grow well. Fertilizing your potato plants will help them grow strong and produce a generous harvest. However, it’s important to avoid over-fertilizing, as too much nitrogen can encourage leaf growth at the expense of tuber formation.
Fertilizing Tips:
- Use a balanced fertilizer (10-10-10) or one that is specifically formulated for potatoes.
- Apply fertilizer at planting time and then again when the plants are about 6 inches tall. Avoid applying fertilizer directly to the roots, as this can burn the plants.
- Consider using organic compost or well-rotted manure to feed your potatoes.
Proper fertilization is crucial for healthy growth and a bountiful harvest.
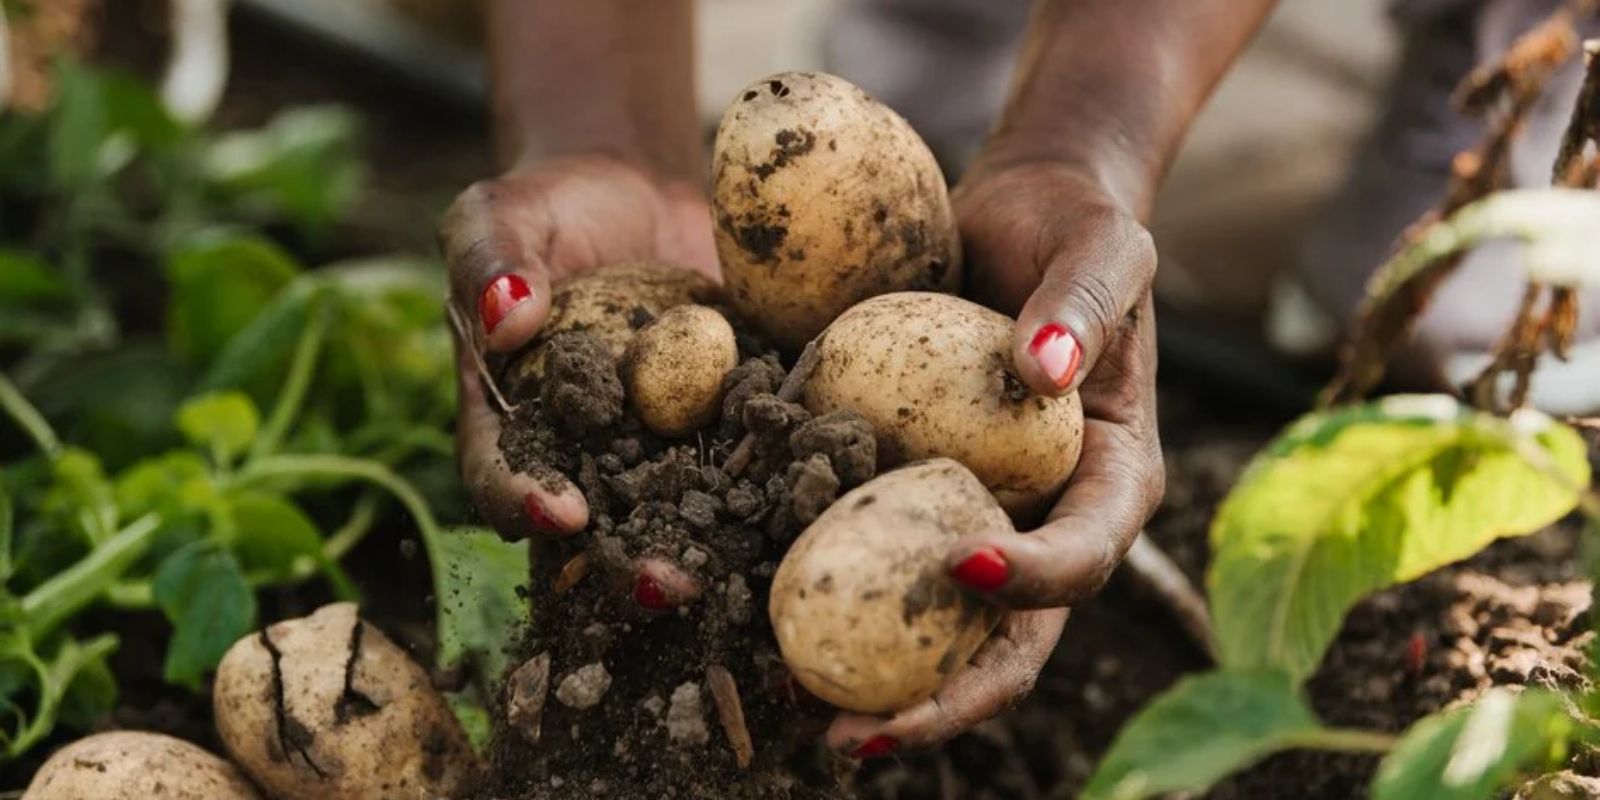
Tip #8: Harvest Your Potatoes Carefully
The final step in the process is harvesting your potatoes, which should be done when the plants begin to die back and the leaves turn yellow. This usually happens 10-12 weeks after planting, depending on the variety and growing conditions.
Harvesting Tips:
- Gently dig around the base of the plants with a shovel or garden fork to avoid damaging the tubers.
- Start by harvesting the largest potatoes first, leaving smaller ones to grow for a few more weeks.
- After harvesting, allow your potatoes to cure in a cool, dark place for a few days to toughen up their skins before storing them.
Be sure to handle your potatoes gently to avoid bruising or damaging the skins, which could lead to rot during storage.
Conclusion
Growing potatoes is a rewarding and relatively simple process that can provide you with a generous harvest of fresh, delicious tubers. By following these 8 tips—choosing the right variety, planting in a sunny, well-drained spot, hilling, watering properly, and harvesting carefully—you’ll set yourself up for success and enjoy the fruits (or tubers!) of your labor. Whether you’re growing them for the first time or have years of experience, there’s always something new to learn and enjoy when it comes to growing potatoes.
Happy gardening, and may your potato harvest be plentiful!
#GrowPotatoes #GardeningTips #HomegrownHarvest #VegetableGarden #OrganicGardening #PotatoHarvest #GreenThumb #SustainableGardening #GardeningCommunity #FreshFromTheGarden