
Growing chickpeas at home can be a rewarding and nutritious addition to your garden. Known for their rich nutritional value, chickpeas are a versatile legume used in various dishes worldwide, from hummus to stews. With the right care and attention, you can easily cultivate a bountiful harvest of these protein-packed legumes. In this article, we will explore the 7 best tips for growing chickpeas, ensuring you have the best possible chance for a successful crop.
Introduction: The Benefits of Growing Chickpeas at Home
Chickpeas, also known as garbanzo beans, are a valuable crop to grow in your home garden. Not only are they rich in protein, fiber, and essential minerals, but they are also an excellent addition to any meal. Growing chickpeas at home offers a sustainable option for gardeners looking to reduce their reliance on store-bought legumes. Furthermore, chickpeas are known to enrich the soil by fixing nitrogen, making them an ideal crop for crop rotation.
Whether you are an experienced gardener or a beginner, chickpeas are relatively easy to grow in the right conditions. Let’s dive into the 7 best tips for growing chickpeas that will help you achieve a healthy and abundant harvest.
Tip #1: Choose the Right Variety
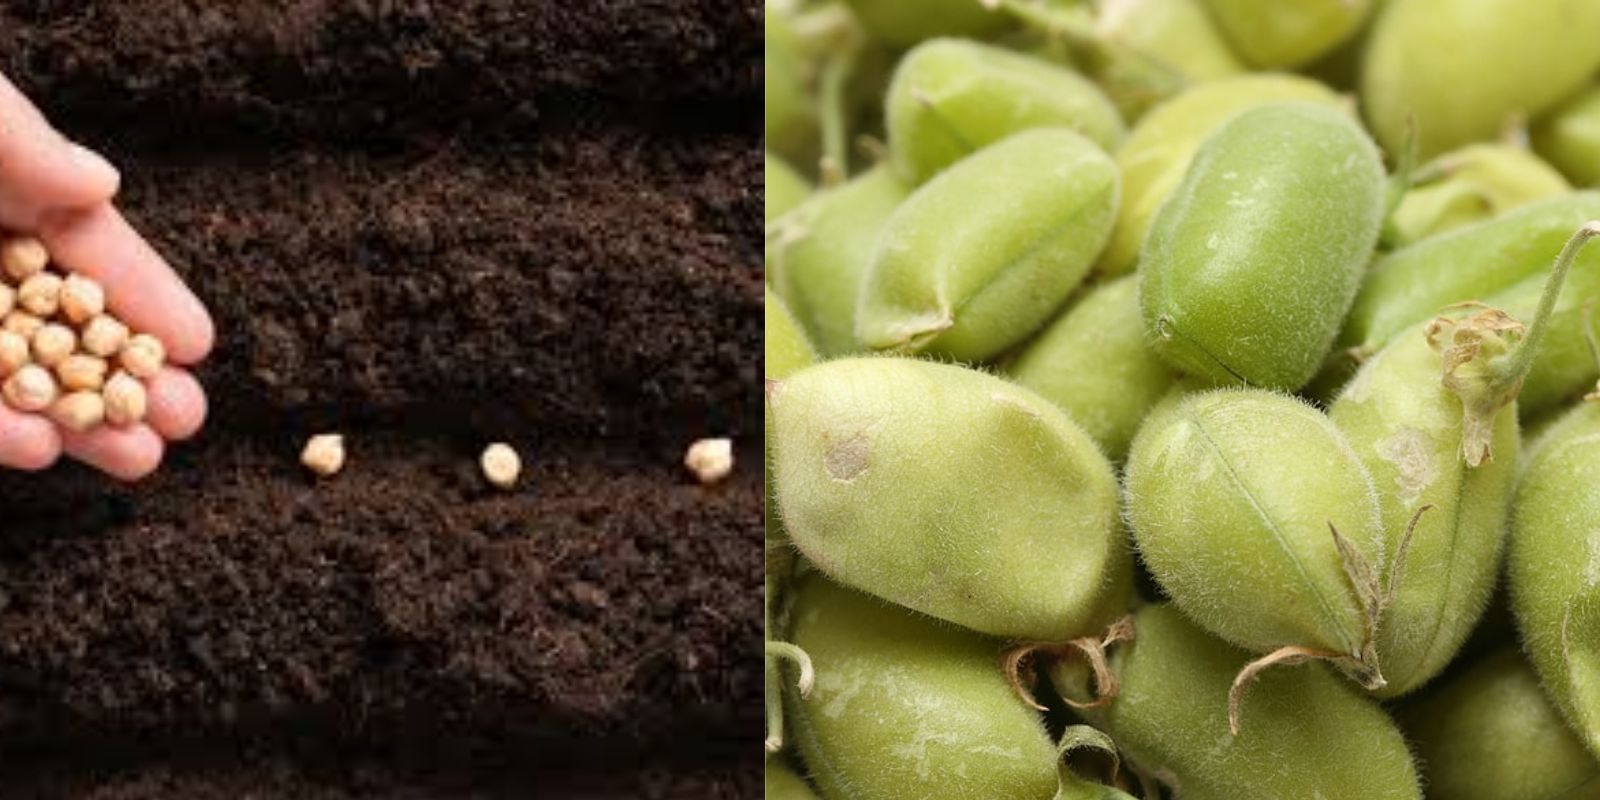
When it comes to growing chickpeas, selecting the right variety is crucial. There are two primary types of chickpeas: Desi and Kabuli.
- Desi Chickpeas: These are smaller, darker, and more angular than Kabuli chickpeas. They tend to grow better in cooler climates and are more resistant to diseases.
- Kabuli Chickpeas: These are the larger, rounder, and lighter-colored chickpeas most commonly found in grocery stores. They require a warm growing season and are ideal for warmer climates.
Choosing the correct variety that matches your local climate will significantly improve your chances of a successful harvest. If you’re unsure, it’s a good idea to talk to local farmers or nurseries for recommendations on the best varieties for your area.
Tip #2: Plant in Well-Draining Soil
Chickpeas require well-draining soil to thrive. They do not like their roots sitting in waterlogged soil, which can lead to root rot. When planting chickpeas, ensure that your soil is light and sandy or loamy. Chickpeas grow best in soil with a slightly acidic to neutral pH (6.0-7.0).
To prepare the soil, incorporate organic matter such as compost or well-rotted manure to improve the texture and fertility. If your soil is heavy clay, consider creating raised beds to provide better drainage. You can also mix in some perlite or coarse sand to help loosen the soil.
Tip #3: Choose a Sunny Location
Chickpeas are a sun-loving plant that needs at least 6-8 hours of direct sunlight per day to grow successfully. Choose a location in your garden that receives full sunlight throughout the day. If you live in an area with hot summers, partial shade in the afternoon can also help protect the plants from excessive heat.
Chickpeas do well in warmer temperatures, with ideal growing conditions between 70°F and 85°F (21°C – 29°C). If you live in a cooler climate, consider starting your seeds indoors and transplanting them outside once the weather warms up.
Tip #4: Maintain Consistent Moisture
While chickpeas require adequate moisture to grow, they do not like being overwatered. The key to success with chickpeas is maintaining consistent moisture, especially during critical stages like germination, flowering, and pod formation. Chickpeas are drought-tolerant once established, but they do best when watered regularly during dry periods.
Water the plants deeply and evenly, aiming to keep the soil moist but not waterlogged. To reduce evaporation, apply a layer of mulch around the base of the plants. This helps to retain moisture and also suppresses weed growth, which can compete with your chickpea plants for nutrients.
Tip #5: Fertilize Sparingly
Chickpeas are nitrogen-fixing plants, meaning they have the unique ability to convert atmospheric nitrogen into a form that can be used by plants. This helps improve the soil’s fertility naturally. Therefore, chickpeas don’t require heavy fertilization like other crops. In fact, too much nitrogen can encourage excessive leafy growth at the expense of pod development.
If your soil is lacking in organic matter, consider adding compost before planting to give your chickpeas a boost. If you prefer commercial fertilizers, use a balanced fertilizer with a higher phosphorus and potassium ratio rather than high-nitrogen fertilizers.
Tip #6: Space Properly for Healthy Growth
Proper spacing is crucial for chickpeas to grow without competition for resources. When planting chickpea seeds, space them approximately 2 inches deep and 6 inches apart. This allows the plants to spread their roots and grow healthy, strong stems. If you are growing chickpeas in rows, space the rows about 18 to 24 inches apart to allow enough airflow between the plants.
Crowded chickpea plants can lead to stunted growth and increase the likelihood of diseases and pest infestations. Proper spacing also promotes better pollination and ensures your plants have ample access to sunlight and nutrients.
Tip #7: Protect from Pests
Chickpeas can be vulnerable to several pests, including aphids, caterpillars, and root rot caused by fungi. Early intervention is key to protecting your plants from these common threats. Here are a few natural pest control methods to keep your chickpeas healthy:
- Neem Oil: Neem oil is a natural insecticide that can help control aphids and other pests. It’s safe for your plants and the environment.
- Beneficial Insects: Ladybugs and lacewings are natural predators of aphids. Consider introducing them to your garden to keep pest numbers in check.
- Companion Planting: Planting herbs like basil or mint near your chickpeas can help deter pests with their strong fragrances.
Keep an eye out for any signs of pests or disease, and act promptly to prevent the issue from spreading. Regularly check the leaves, stems, and soil for aphids, caterpillars, or mold. If you notice any signs of fungal infections, remove the affected plants to prevent further spread.
Harvesting Chickpeas
Chickpeas typically take around 100-120 days to mature from planting to harvest, depending on the variety and growing conditions. You will know your chickpeas are ready to harvest when the pods turn brown and dry out. Gently pick the pods from the plant and leave them to dry in a cool, dry place for a week or two.
Once dried, you can remove the chickpeas from the pods by gently squeezing them or using your hands to peel them open. Allow the seeds to dry further before storing them in an airtight container.
Conclusion
Growing chickpeas at home is a rewarding experience, offering fresh, nutritious legumes for your meals and improving the overall health of your garden. With the right variety, proper soil, adequate space, and consistent care, you can achieve a bountiful harvest of chickpeas. Following these 7 best tips for growing chickpeas will help ensure that you get the most out of your crop, whether you’re a novice gardener or an experienced green thumb.
Ready to grow your own chickpeas? Start today, and let your garden thrive!
#Chickpeas #Homegrown #GardeningTips #SustainableGardening #OrganicGardening #Legumes #GreenThumb #GrowYourOwn #HealthyEating #ChickpeaHarvest #GardenFresh